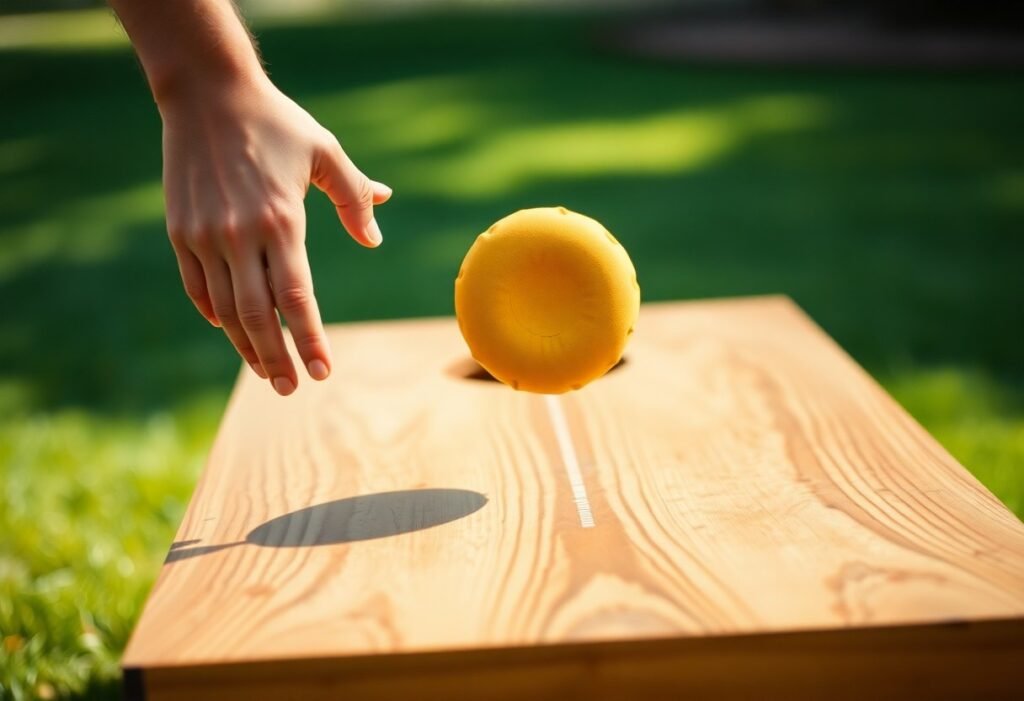
Practice solo cornhole by using short, focused drills that build your consistency and hone your stance, release, and aim. Vary target spots, keep a score log so you can track measurable progress, and simulate game-pressure scenarios. Warm up, limit repetitive throws, and rest between sets to avoid injury-pay particular attention to shoulder and elbow strain. Set boards at regulation distance and prioritize deliberate, repeatable reps to make every session effective.
Key Takeaways:
- Build a repeatable stance, grip, and release: fix foot placement and arm path, focus on consistent arc and follow-through, and do sets of 50-100 reps to develop muscle memory.
- Drill targeted shots and progress distances: practice short-range accuracy, mid-range consistency, and long-range arc control with spot drills (corner targets, backboard bounces) while varying distance and angle.
- Simulate match conditions and track results: play timed rounds, keep score, practice pressure shots (final-point scenarios), log make percentage, and adjust practice to shore up weak areas.
Understanding the Basics of Cornhole
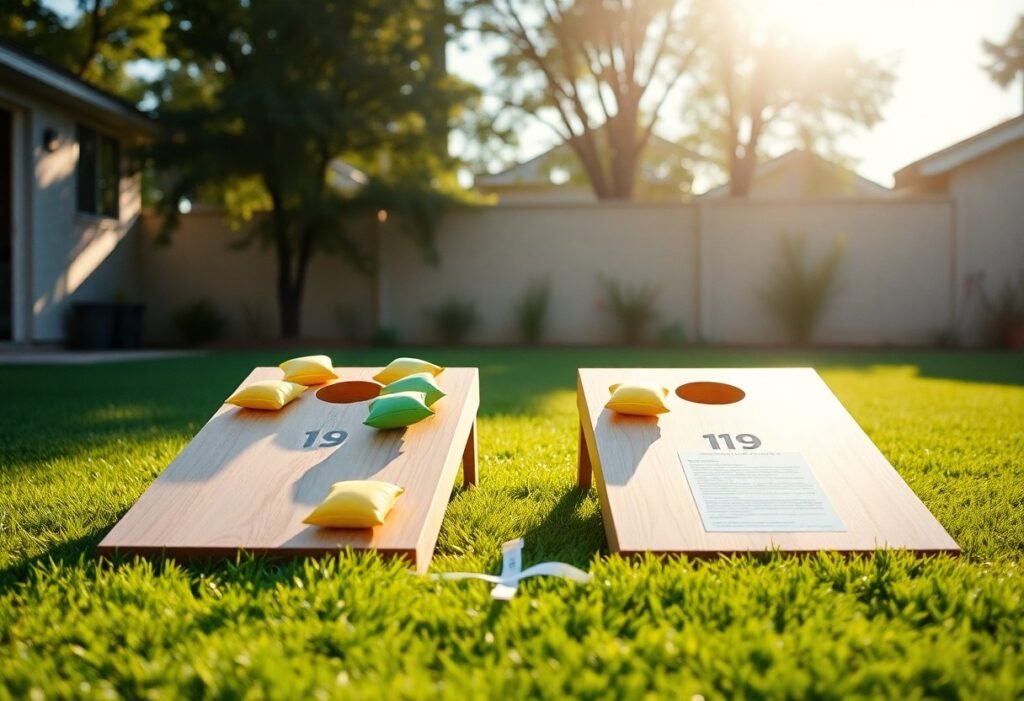
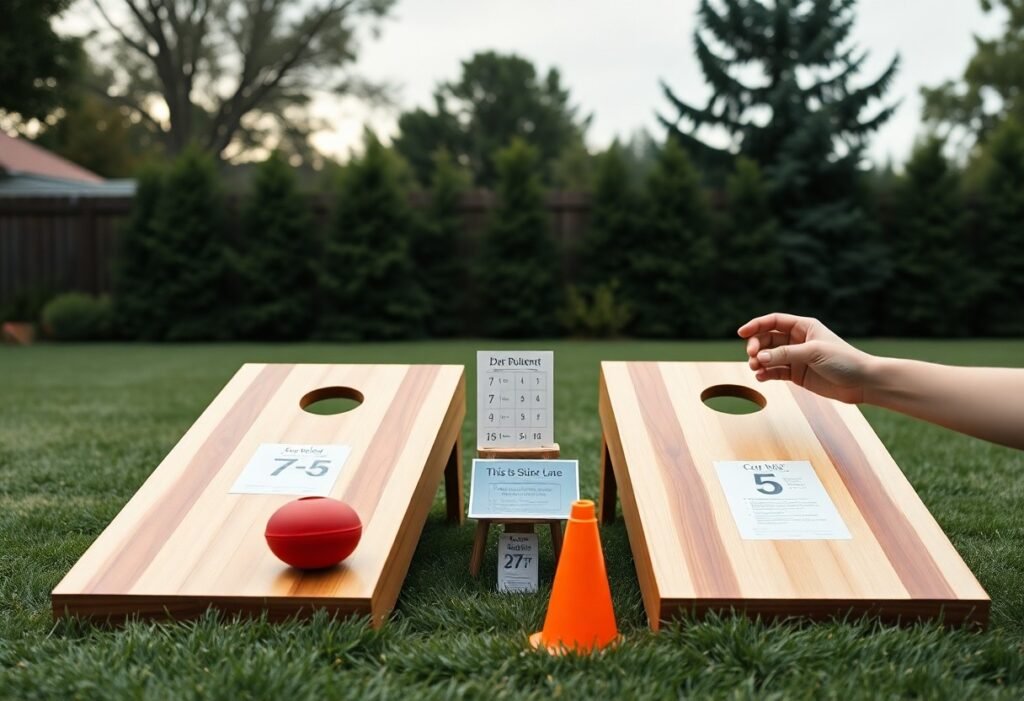
You need to internalize the playing field: regulation boards are 48″×24″ with a 6″ hole and a 3-4″ front height, and standard scoring gives 3 points for a bag in the hole and 1 point for a bag on the board, using cancellation scoring to a target of 21 points. The American Cornhole Association distance is 27 feet between front edges. Practice in measured sets to avoid shoulder or elbow overuse while tracking your shot-to-shot consistency.
Overview of Cornhole Gameplay
You throw four bags per inning; in solo work throw complete frames from both boxes to simulate opponent responses. Vary shots between high-arc bags for direct holes and flat push shots for board control; use blockers to practice defense. Since cancellation scoring removes matched points, drill sequences that produce net gains, for example alternating aggressive hole attempts with conservative blockers. Keep your front foot behind the 27-foot line and monitor volume to prevent overuse injuries.
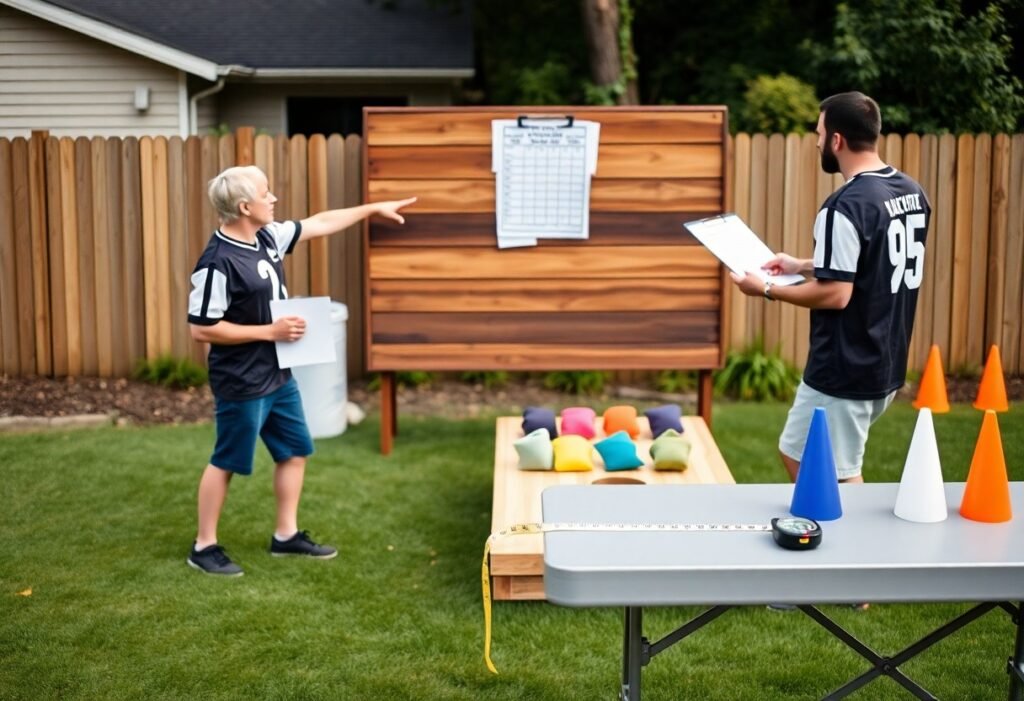
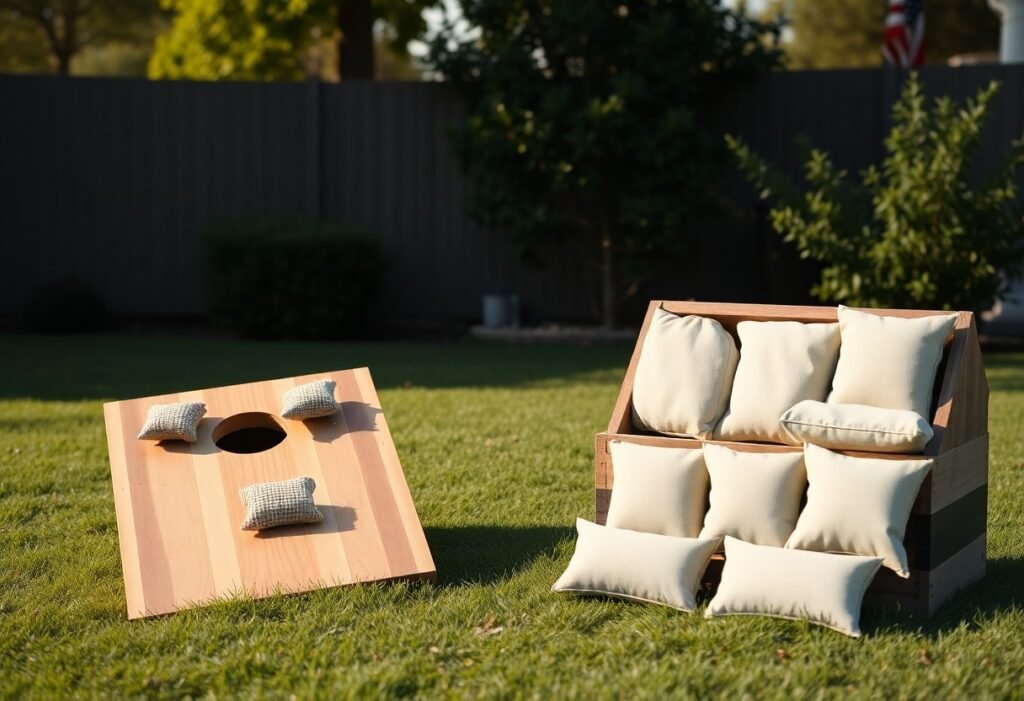
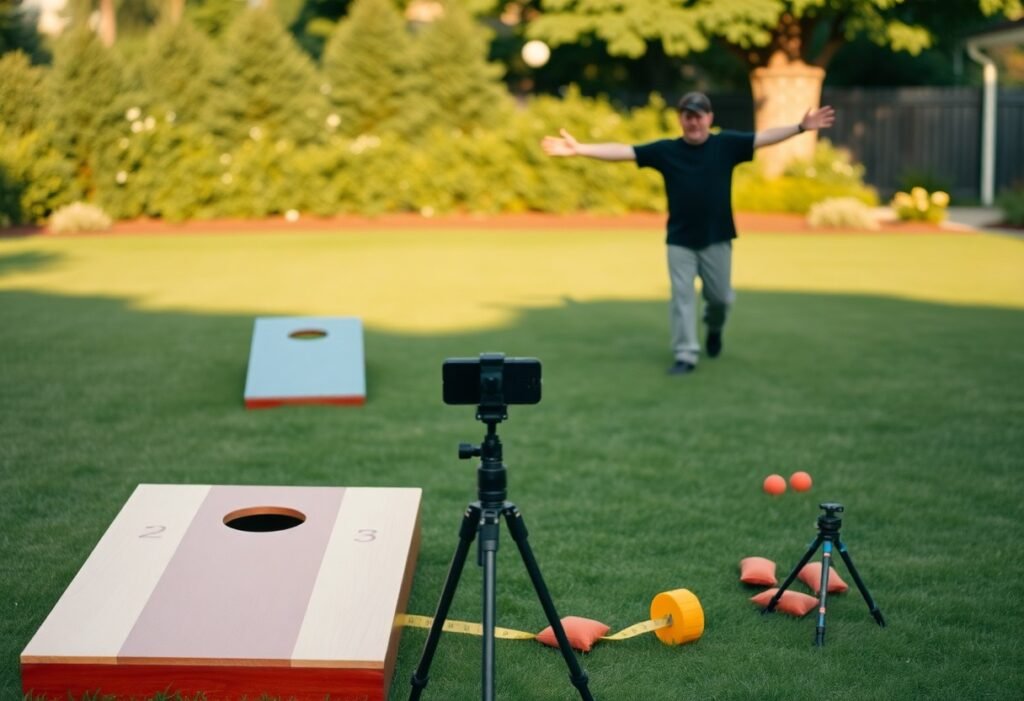
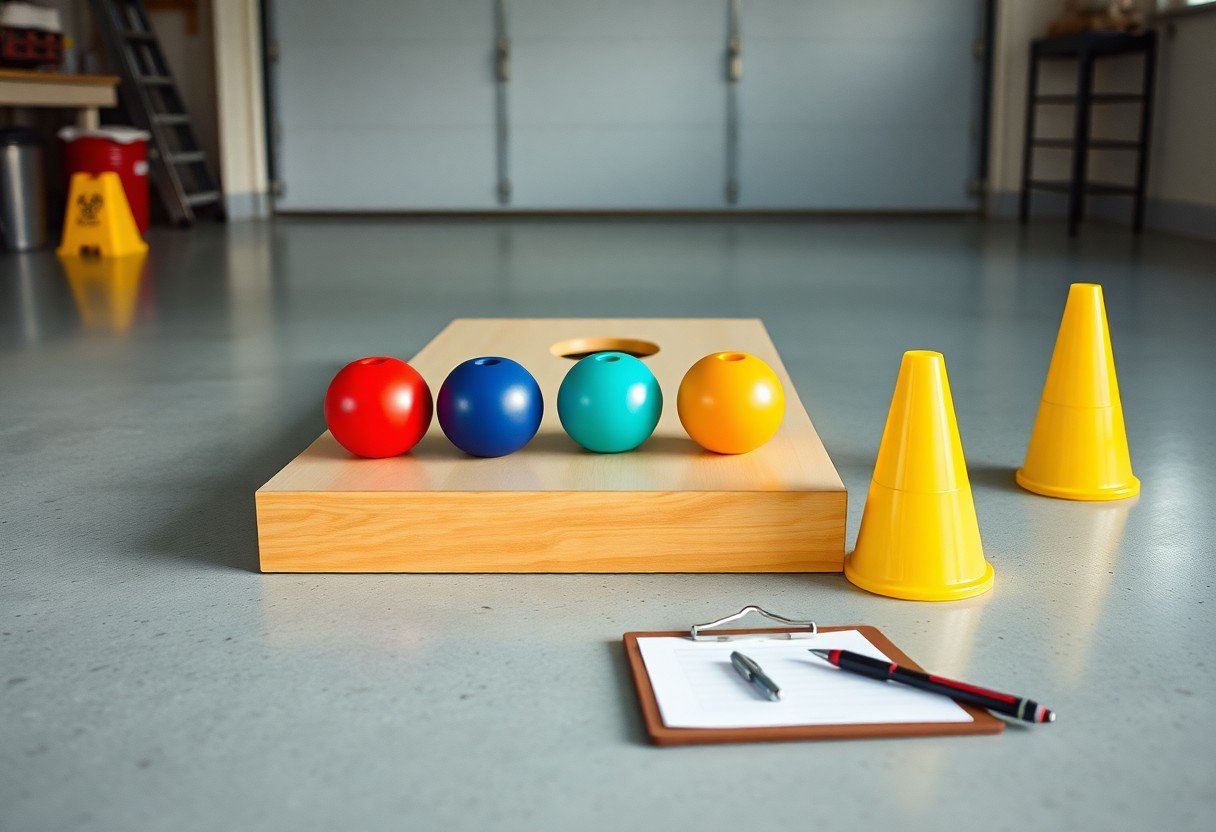
Equipment Needed for Solo Practice
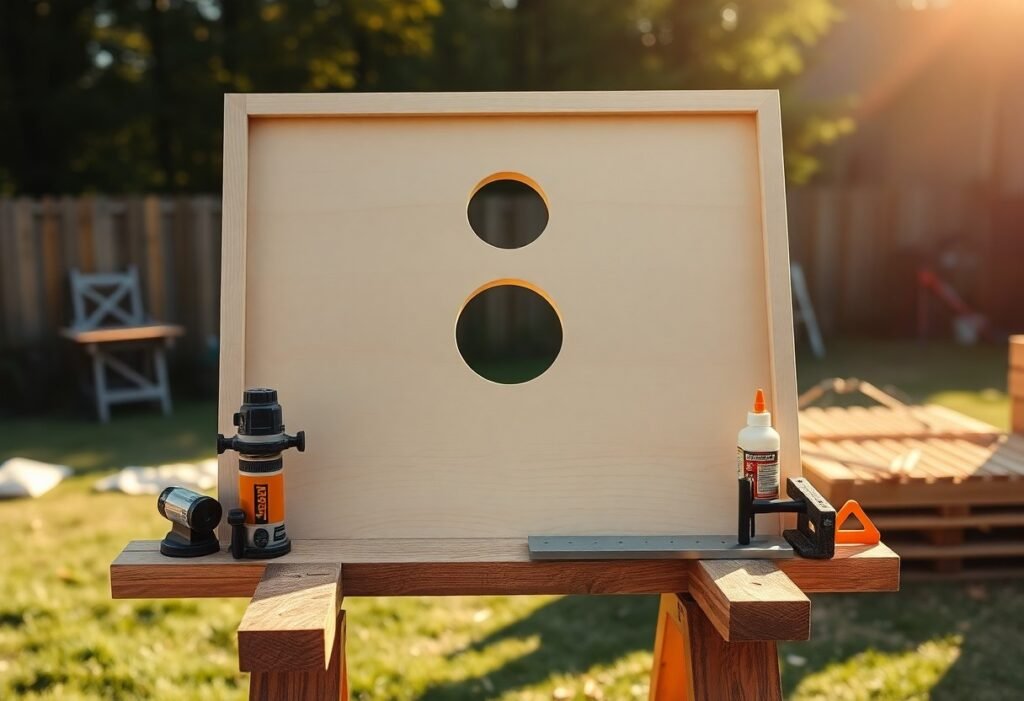
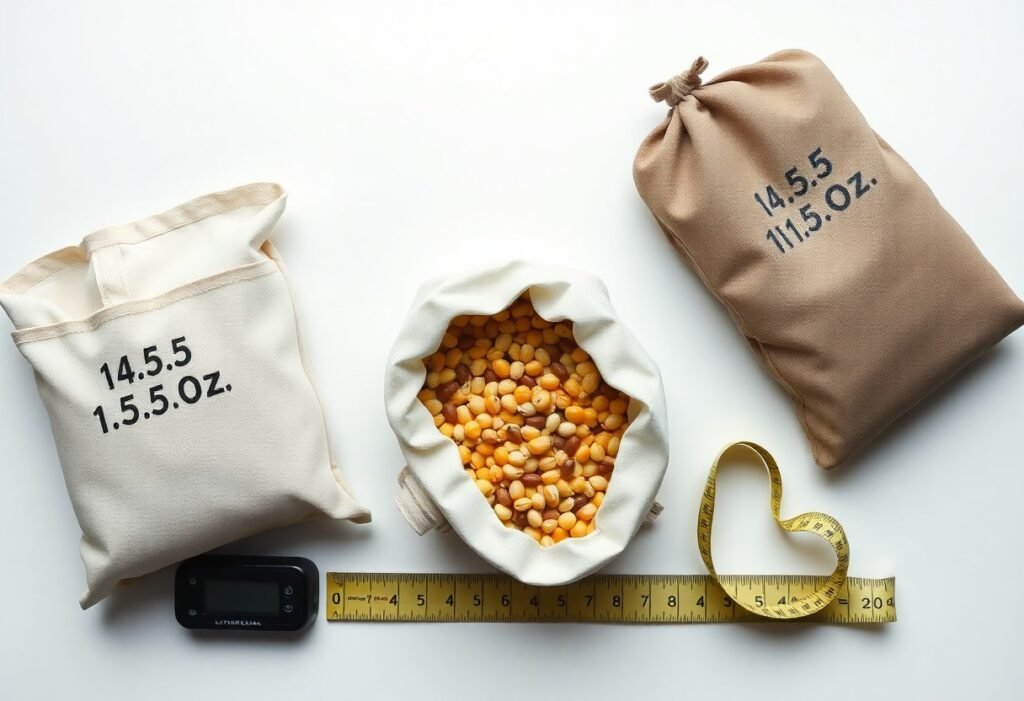
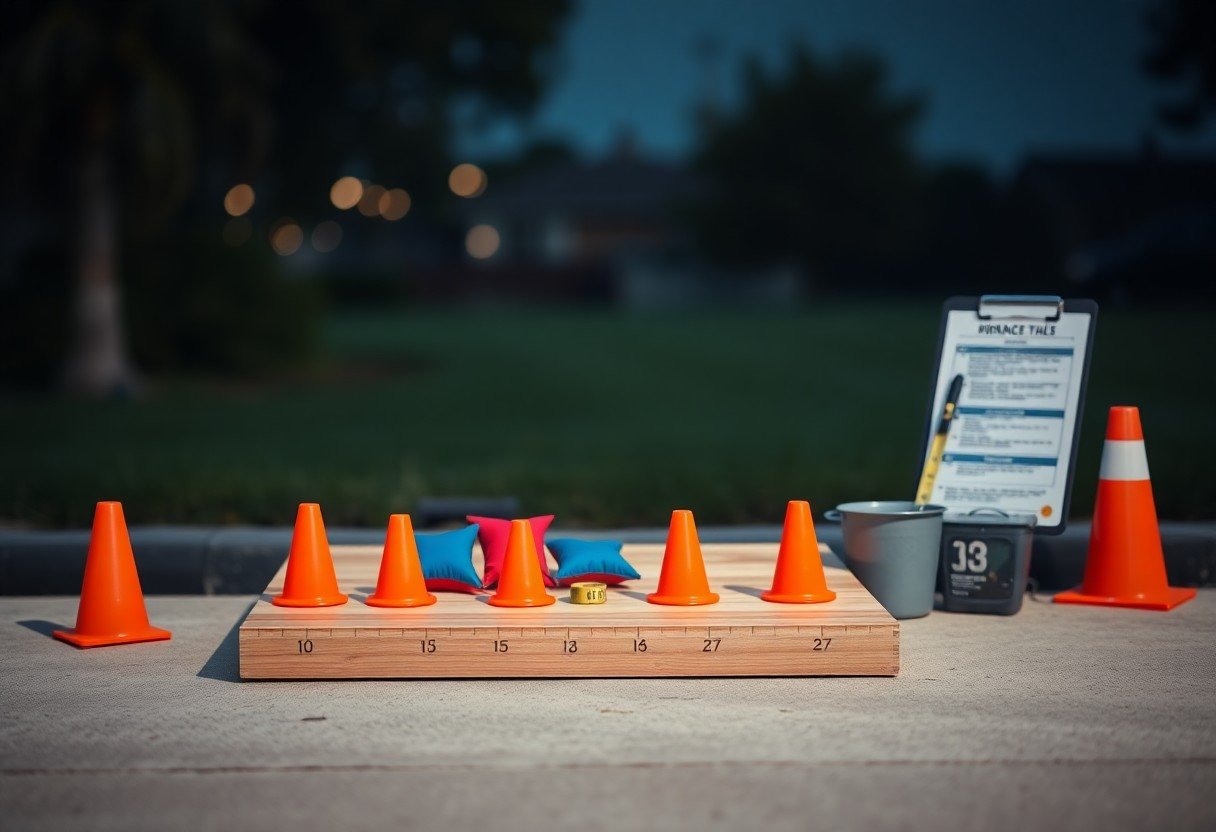
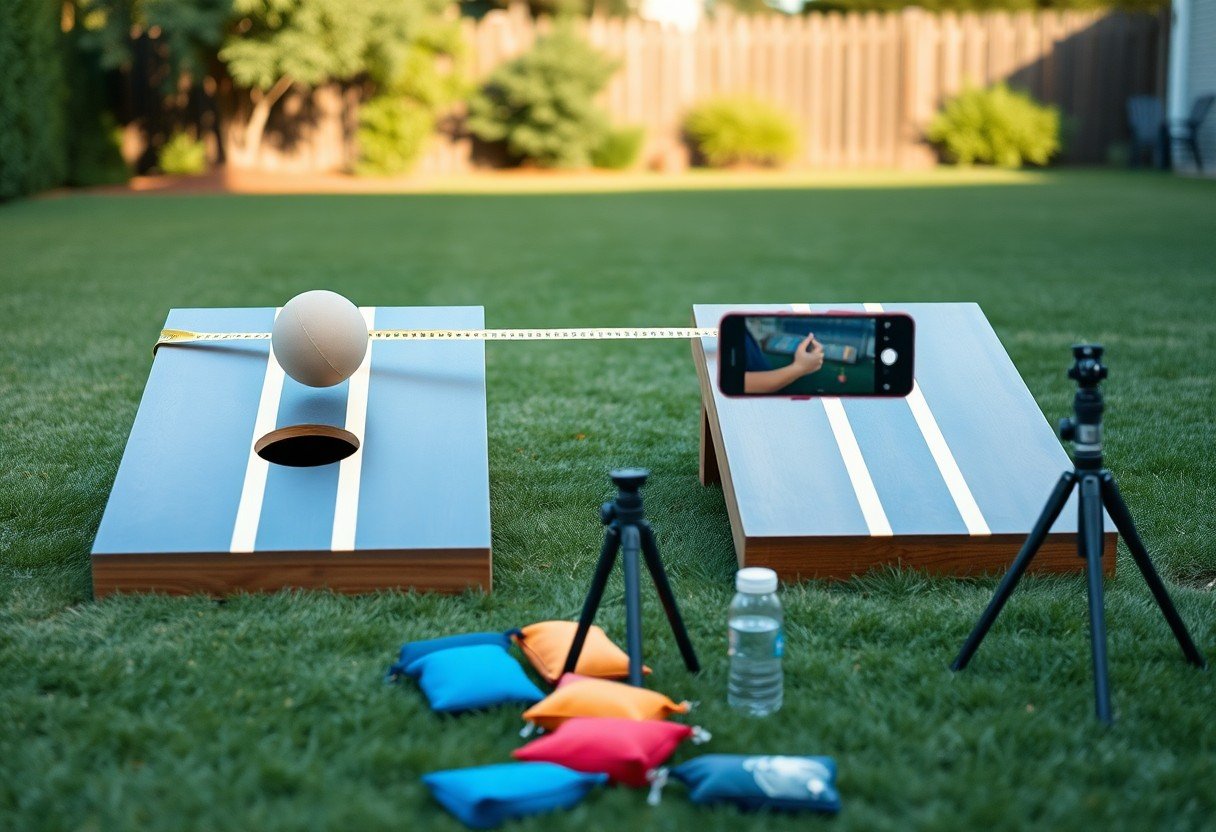
You’ll want a regulation board (48″x24″, 6″ hole), a set of eight bags about 15-16 oz each and 6″x6″, a tape measure, and a clear foul-line marker. Add a phone and tripod for video, cones or painter’s tape for alignment, and a simple bag return or ramp to cut retrieval time. Those items let you simulate tournament conditions and ramp up reps efficiently.
For more detail, choose a rigid board (plywood or molded plastic), low-slip bags for predictable flight, and a reliable tape measure set to exactly 27 feet. Use a tripod-mounted camera for frame-by-frame review, a stopwatch for paced drills (try 10-minute focused intervals), and a mat to standardize foot placement. DIY options-painter’s tape for the line or a cardboard catch box-work fine for early practice but upgrade to regulation gear as your accuracy improves.
How to Set Up Your Practice Area
Choosing the Right Space
Pick an area that accommodates regulation placement: two boards set with front edges 27 feet apart if you’re practicing adult distances (or 21 feet for juniors). Aim for a minimum footprint of 30 ft × 12 ft to allow your follow-through and sidestep practice. Prioritize flat, level ground-concrete, hardwood, or compacted turf-and avoid slopes greater than 1-2 inches across the board width to prevent misreads of roll and bounce.
Creating a Safe and Effective Environment
Keep a clear zone of at least 3 feet around the boards and remove cords, toys, and glass so you reduce tripping hazards. If you practice indoors, use rubber mats or indoor/outdoor carpet under the legs to prevent slipping and protect floors; outdoors, choose packed dirt or synthetic turf over loose gravel. When lighting is dim, add an LED strip or lamp so you maintain consistent visual tracking of the bag.
To stabilize boards, anchor legs with a 2-5 lb sandbag or heavy Velcro straps to eliminate wobble and keep the front height at the regulation 3-4 inches. Shim uneven spots with thin wood or folded cardboard until the board sits level across its 24″ width. You should avoid practice when wind exceeds 10 mph, since gusts change bag flight and increase the risk of chasing bags into traffic or hazards.
Techniques for Practicing Alone
Work through targeted drills that isolate parts of your delivery: do sets of 50 throws split into 5×10 to train your release and arc, use the 27′ regulation distance for full reps, and try improvised targets if you don’t have boards-see How to practice cornhole without boards? for ideas. Emphasize consistency over power and watch for shoulder strain as a sign to stop.
| Drill | Details |
| Stance adjustments | 3×10 reps at 10′ focusing on foot placement and weight shift |
| Short toss | 4×15 throws from 6-10′ to hone release and aim |
| Arc control | 5×10 throws varying height by 2-4″ to refine trajectory |
| Speed/slide | 3×20 throws with towels to simulate friction and stopping |
| Target practice | 5×12 throws at specific board zones; track make % each session |
Focusing on Your Stance and Throw
Adjust your feet so your plant foot points toward the board, keep feet shoulder-width, and shift weight slightly forward; run 30 slow throws from 15′ concentrating on a repeatable stride and a straight arm path. Practice a relaxed grip to improve your follow-through and aim, and pause if any joint pain develops to avoid aggravating injuries.
- stance: front foot aimed at target, feet shoulder-width for balance
- weight: 60/40 forward during release for controlled trajectory
- grip: relaxed, consistent hold-avoid squeezing between reps
- After you log reps, analyze video to spot subtle inconsistency in your motion
Practicing Different Types of Throws
Allocate dedicated blocks to each throw: 30 throws for flats, 30 for slides, and 30 for airmails, adjusting arc and spin between blocks and logging make rates. Use measurable changes-2-3″ arc shifts or 10% spin adjustments-to see how your trajectory and touch respond under match-style pacing.
When you train the slide, place towels on the board to simulate friction and test backspin effects; for airmails practice 10-shot blocks from 27′ aiming directly at the hole, and for flat tosses focus on consistent low arcs and a steady release rhythm to improve stoppage on contact.
- flat toss: low arc, minimal spin, 30 throws per block
- slide: backspin emphasis, use towels to practice stopping
- airmail: higher arc, aim directly at hole in 10-shot sets
- After each session, chart make rates to track incremental improvement
| Throw Type | Practice Focus |
| Flat toss | Low arc, 30 reps, aim for consistent board contact |
| Slide | Backspin control, towels on surface, 30 reps |
| Airmail | High arc, 10-shot blocks from 27′, measure hit % |
| Backboard hits | 30 reps targeting rebounds to study angle changes |
| Mixed sets | Combine 3 throw types in rounds to simulate match pressure |
Tips for Improving Your Skills
Push your practice intensity with structured drills: do sets of 25 throws, alternate distances (9, 12, 15 feet), and film your sessions so you can analyze your release timing and arc. Use a metronome to lock a steady rhythm, mark board targets with tape, and schedule rest days to avoid overuse injuries. Prioritize a repeatable release and track hit percentage over sessions. Perceiving subtle changes in board angle, bag slide, and wind helps you make immediate adjustments.
- Stance
- Release
- Arc
- Aim
- Follow-through
Maintaining Consistency in Your Throw
Fix your foot placement and use the same backswing length each repetition-aim for a 12-14 inch backswing measured from your shoulder to hand for repeatable power. Time 5 sets of 25 throws with a short break between sets, and use tape on the board to note landing spots. If you feel fatigue, reduce volume that day to protect against injury while preserving technique.
Utilizing Aim and Targeting Techniques
Pick a micro-target on the board-edge of the hole, a 2-inch mark, or the top-center-and practice hitting it 50 times per distance; that builds visual consistency. Alternate direct-hit drills with slow-slide attempts, and vary aim points by 3-6 inches to learn how small adjustments change outcomes. Use video to compare where your bag lands versus your intended point.
When you expand aiming practice, run drills like a 5×5 grid where you place five markers across the board at two distances and hit each marker five times; this quantifies your spread. Track your hit rate and adjust release angle by about 2-4 degrees if your bags consistently miss left or right. Practice bank shots off the board edge to learn how different impact points alter sliding behavior, and log conditions (surface friction, humidity) that affect bag reaction.
Factors Influencing Your Practice Effectiveness
Conditions shape practice: focus on wind, surface, and lighting; drills that work indoors may falter outdoors.
- Wind over 8-10 mph alters arc and aim
- Surface grip changes slide, bounce and speed
- Lighting at dusk reduces depth perception
Assume that you log conditions each session and tweak bag weight, arc, or distance to maintain steady improvement.
Weather and Outdoor Conditions
When you train outside, wind and precipitation are the biggest modifiers: crosswinds above 8-10 mph push bags off-line, rain or dew increases board friction and cuts slide, and temperatures below 40°F can stiffen bag fabric; practicing 3 short sets in varying conditions teaches you to compensate for these factors.
Physical and Mental Fatigue
Fatigue degrades release consistency and decision-making: accuracy commonly dips after 100-150 throws, and mental lapses spike when you’re dehydrated or below 7 hours of sleep; structure practice into 25-throw sets with 60-90 second rests to preserve form.
To combat both physical and mental fatigue, aim for 7-9 hours of sleep, hydrate before and during sessions (roughly 500-750 ml per hour during heavy work), monitor perceived exertion, keep high-intensity bursts under ~120-130 bpm, and alternate intense sets with low-pressure aiming drills and 90-second micro-breaks to sustain accuracy and lower injury risk.
Tracking Your Progress
Track accuracy by logging makes/attempts, average game score, and shot location so you can spot patterns: for example, note a jump from 40% to 60% accuracy after four weeks of targeted drills. Use video to analyze release and aim, and a simple spreadsheet or app to chart weekly trends. Watch for signs of overuse-shoulder strain or wrist pain-and reduce volume immediately if you feel sharp discomfort.
Keeping a Practice Journal
Keep each entry brief: date, session length, drill type, makes/attempts, wind or surface notes, and a 1-5 fatigue rating. You might log “30 min, 5×20 singles, 70/100 makes, crosswind 8 mph,” then one adjustment you tried. Over time the journal reveals what drills actually improve your numbers; highlight wins like consecutive 10-make streaks and flag recurring pain to avoid injury.
Setting Goals and Milestones
Set clear, measurable goals: short-term (1 week) aim for 60% make rate with 20-minute daily practice, mid-term (4 weeks) push to 70% or a 30-point increase in average game score, and milestone goals like 10 consecutive ringers or a 3-game average over 40 points. Tie each goal to a drill, a rep count, and a deadline so you can objectively check progress.
Break goals into reps and recovery: plan 50-100 targeted throws per session, 3-5 sessions weekly, and increase volume by 10% each week until you reach a goal metric. Use specific drills-backboard control, arc consistency, and distance variance-and retest every 7-14 days. If you plateau, swap drills, add video feedback, or take two days off to prevent overuse; rest is as important as reps for steady improvement.
Final Words
To wrap up, when practicing cornhole alone you should create consistent routines that simulate game conditions: mark distances, rehearse stance and release, focus on smooth follow-through, and vary target spots to build accuracy and touch. Track your makes and misses, set progressive goals, and practice deliberate repetitions to convert technique into reliable, repeatable performance.
FAQ
Q: How should I set up a solo cornhole practice area?
A: Use regulation spacing (27 ft between front edges) if you want official distance; shorten to 18-22 ft while building fundamentals. Place the board on a flat surface and mark your foul line and preferred foot position with tape or a small mat. Position a visual aiming point on the board (a piece of tape or a small sticker) to train consistency. If indoors or space-limited, angle the board slightly or use a shorter distance to maintain the same release mechanics.
Q: What solo drills will improve my accuracy most efficiently?
A: Start with targeted repetition: place tape targets for the front center, mid-board, and near the hole; throw 20 bags at each target, focusing on the same release. Do progressive-distance drills: 10 throws at a close distance, step back 2-3 ft, repeat until regulation distance. Try the “Five-in-a-Row” drill: aim to land five consecutive bags on the board or in the hole from one spot before moving back. Use the “Block and Follow” drill by placing a bag on the board to simulate obstruction and practice slight loft and slide adjustments.
Q: How can I simulate game pressure and keep accurate scoring when practicing alone?
A: Keep score using standard cancellation scoring: throw four bags, tally points after each round, and play to 21 or 11. Force yourself to play alternating lead and trailing scenarios by starting some games with a score disadvantage. Use time pressure-set a short rest window between throws or a timer for each round-to mimic tournament pace. Log each session’s score, hit rate (board vs hole vs off-board), and any clutch moments to create measurable pressure-training goals.
Q: What techniques help build a consistent stance and release during solo practice?
A: Mark a fixed foot placement and stance width on the ground with tape to recreate the same setup every throw. Film your throws from the side and front to check shoulder alignment, elbow path, and follow-through; compare slow-motion clips to identify drift. Use a metronome or count cadence (e.g., 1-2) to synchronize foot movement and release. Practice the same grip and release point for 50-100 throws per session before adding variations.
Q: How should I structure a solo practice session for steady improvement?
A: Warm up with 15-20 throws at a comfortable distance focusing on rhythm. Split the session into blocks: 20-40 accuracy throws (target work), 20-40 distance/control throws (vary your release to control slide vs. hole), and 20 pressure throws (scoring simulation). End with a short cool-down of easy throws and a quick review of metrics (hit percentage, rounds won). Aim for 100-200 quality throws per session, two to four times weekly, and update targets or distances as your hit rate improves.