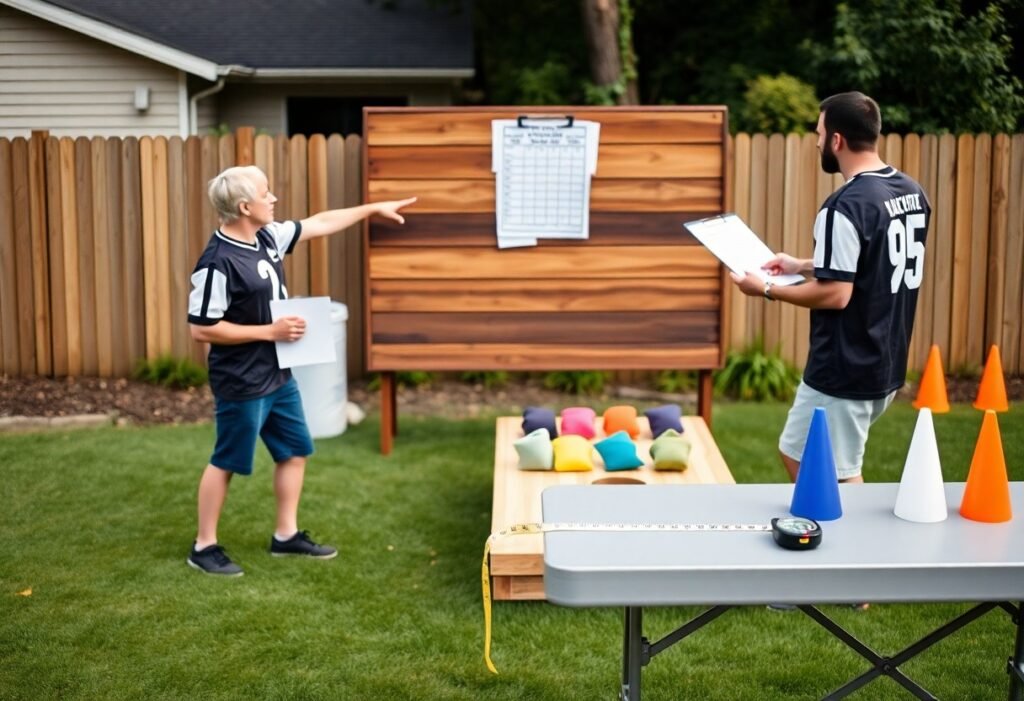
You can build a durable, portable cornhole set in a weekend using basic tools and common lumber; follow precise measurements, sturdy joinery, and simple hardware so your boards are level and safe. Wear safety goggles and clamp workpieces to avoid injury, secure screws and hinges tightly for stability, and choose exterior-grade plywood and lightweight, collapsible legs for weather resistance and easy transport.

Key Takeaways:
- Use lightweight, weather-resistant materials (exterior plywood and a simple frame) and quality bags for durability and consistent play.
- Build to regulation board size (24×48 in) and position the hole correctly; design folding or removable legs for easy setup and transport.
- Seal and finish surfaces, add handles or a carrying case, and use secure fasteners so the set packs compactly and travels safely.
Understanding the Basics
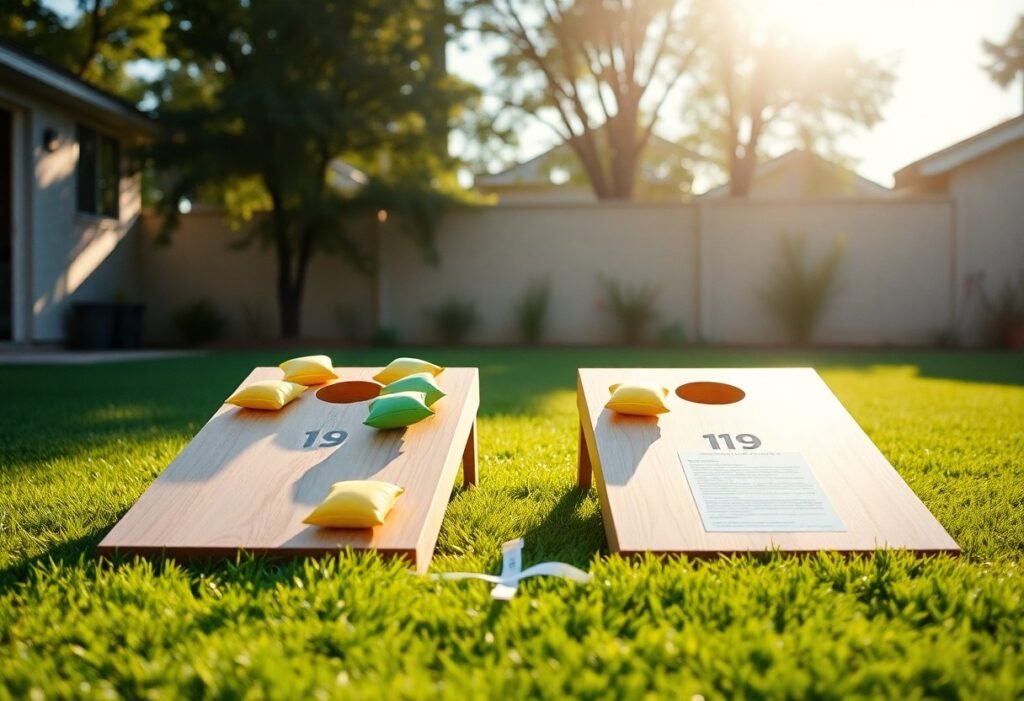
Regulation cornhole boards are 48 inches long by 24 inches wide with a 6-inch diameter hole centered 9 inches from the top; you should build to those specs for tournament play, or shorten the 27-foot pitching distance for casual sets. Use 3/4″ exterior plywood for a flat surface and a simple 2×4 frame to keep weight near 25-30 lbs per board while preserving rigidity and portability.
What is Cornhole?
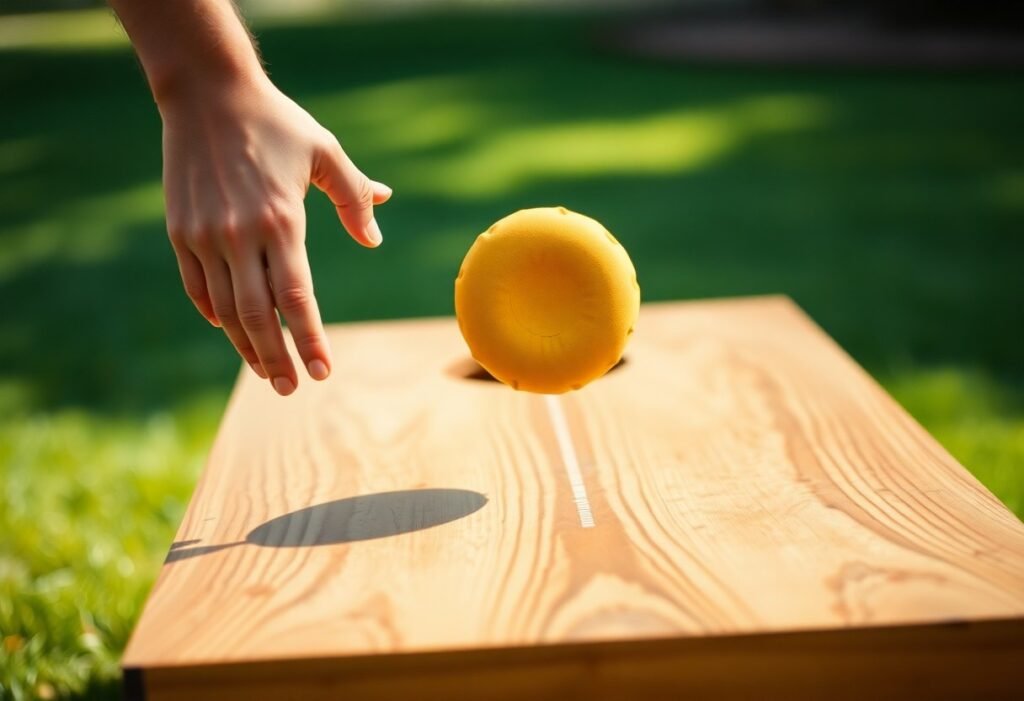
Cornhole is a toss game where you and an opponent or partner pitch 14-16 oz bags toward the hole; a bag in the hole scores 3 points and a bag on the board scores 1 point. Standard adult play uses a 27-foot distance between front edges, but you can reduce to 21-24 feet for kids or backyard play to make games faster and more accessible.
Materials Needed
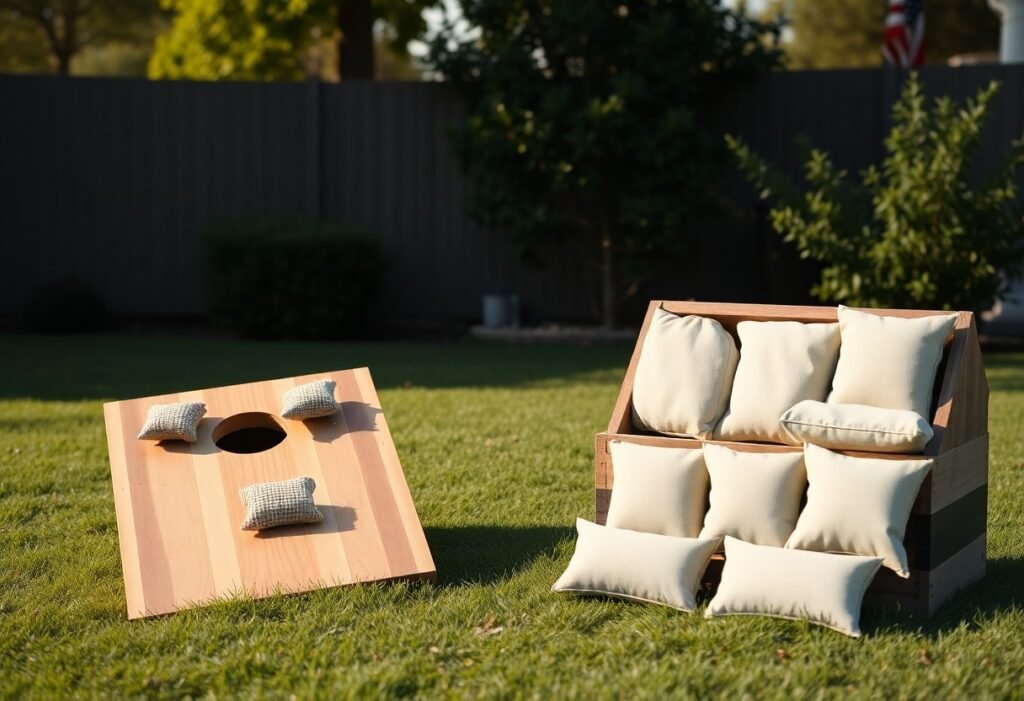
For a durable, portable set you’ll need: one 4’x2′ sheet of 3/4″ exterior plywood per board, 2×4 lumber for the frame and legs, wood screws (1-1/4″ and 2-1/2″), exterior paint or marine varnish, a 6″ hole saw, sandpaper (120-220 grit), and eight cornhole bags (regulation 14-16 oz, duck cloth). Use PPE and proper clamps when cutting.
Choose AC-grade exterior plywood for a smooth paintable surface; 3/4″ thickness resists flex under play. Cut 2x4s for the 24″x48″ frame, use 2-1/2″ exterior screws with glue at joints and pre-drill to prevent splits. Mount legs with carriage bolts and knobs for quick setup; expect each finished board to weigh ~25-30 lbs. Select duck-cloth bags filled with resin pellets for consistent weight and weather resistance (14-16 oz each). Seal edges with primer, two coats of exterior paint, plus two coats of spar urethane, and wear eye and hearing protection when using power tools.
Essential Tools for Construction
You’ll want a compact kit that handles measuring, cutting, fastening, sanding and finishing: a 25 ft tape, speed square, clamps, a drill/driver, circular saw and a 5″ orbital sander cover most tasks for a 24″x48″ board with a 6″ hole centered 9″ from the top. Choose quality where it matters-straight cuts and secure joints depend on it-so plan for at least one reliable cordless drill and a pair of 24″ clamps for accurate assembly.
Power Tools
Use a 7-1/4″ circular saw with a 40-tooth plywood blade for straight rip/square cuts, and an 18V brushless drill/driver for pilot holes and driving screws; select a 6″ hole saw or jigsaw with a 5-6 TPI blade for the cornhole opening. Add a 5″ random-orbit sander (80 then 120 grit) for finish. Always engage blade guards, clamp the work, and wear eye and ear protection-these tools can kick back or produce dangerous debris.
Hand Tools
Keep a speed square, combination square, sharp pencils, a 25 ft tape, utility knife, hand plane and a set of chisels on hand; use a countersink and a 3/32″ pilot bit to avoid split plywood. Clamps (24″ or 36″) and a mallet ensure tight glue joints, while a nail set and pry bar help with trim. Treat sharp chisels and blades with care to avoid splinter injuries and store them with guards.
For practical workflow, mark the hole center 9″ from the top and use the speed square to transfer straight cut lines; when fastening a 3/4″ plywood top to a 2×4 frame, pilot with a 3/32″ bit and use 1-1/4″ to 1-5/8″ #8 or #10 wood screws depending on your frame depth. Apply glue along seams and clamp for 30-60 minutes, then sand with 80 grit to level joints and finish with 120 grit. Keeping blades and chisels sharp both speeds work and reduces tear-out.
Step-by-Step Guide to Building the Set
| Step-by-Step Tasks | |
|---|---|
| Cutting the Wood | Cut materials for two 24″×48″ boards: 3/4″ plywood tops, 2×4 frame rails, and leg blanks; cut a 6″ hole centered 9″ from the top. |
| Assembling the Frame | Dry-fit frame, clamp square, use wood glue plus 1¼” pocket screws or 1¼” exterior screws every 6-8″ and pre-drill to avoid splitting. |
| Creating the Playing Surface | Fasten plywood to frame with screws every 6″, sand to 220 grit, prime and apply two coats of exterior acrylic paint; seal with marine poly. |
Cutting the Wood
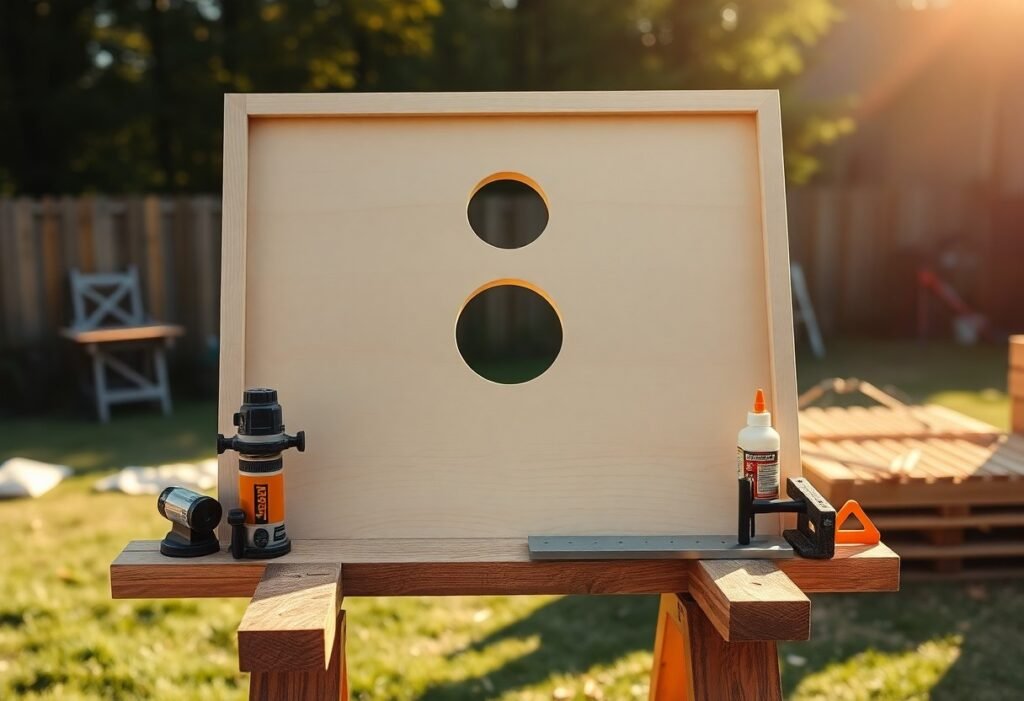
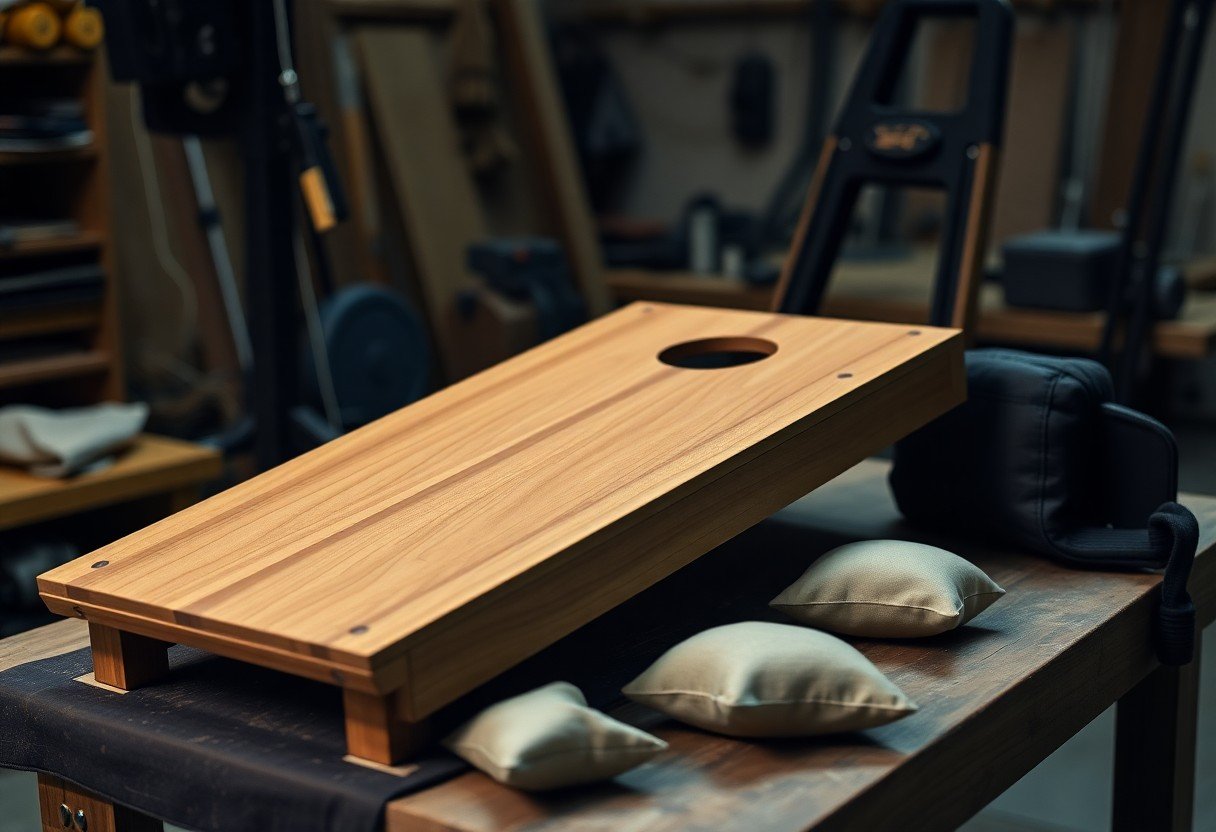
If you use 2x4s (1.5″ actual thickness), cut two side rails at 48″ and two cross rails at 21″ so the finished deck measures 24″×48″; cut the 3/4″ plywood tops to 24″×48″ and mark the hole center 9″ down from the top edge, then use a jigsaw with a fine-tooth blade to cut a 6″ diameter hole. Wear eye and ear protection and clamp the piece to prevent movement and kickback.
Assembling the Frame
Dry-fit the 2x4s, square the corners with a speed square, apply wood glue to joints, then fasten with 1¼” pocket screws or 1¼” exterior wood screws spaced every 6-8″; pre-drill or use pilot holes to avoid splitting and use clamps to keep everything flush while the glue cures. Check diagonals to confirm a true rectangle before attaching the top.
For stronger joints, add a 3/4″ plywood cleat inside each end of the frame and fasten with glue plus 1¼” screws; if you plan folding legs, rout 3/8″ deep pockets for hinges or install leg-socket cleats 12″ from the rear edge. Space internal supports every 12″ across the span to prevent sag under the 8 lb beanbag load typical in casual play.
Creating the Playing Surface
Fasten the 3/4″ plywood top to the frame using 1¼” exterior screws every 6″, countersink and fill holes, then sand progressively from 120 to 220 grit to a smooth finish; prime with an exterior primer and apply two coats of acrylic enamel, allowing 24 hours between coats, then seal with a coat of marine polyurethane for weather resistance. Seal all edges to protect against moisture.
To elevate play quality, route a 1/8″ round-over on the top edges to prevent chipping and tape the 6″ hole before spraying to avoid overspray inside the cavity; after final sanding, apply a non-glare finish or light-grit clear coat and cure the boards 72 hours before first use to ensure full hardness and durability.
Tips for Enhancing Durability
Upgrade to 1/2″ exterior plywood or 3/4″ pine for the tops, countersink and use stainless steel 1/4″ bolts, seal cut edges with thin epoxy, and fit soft rubber feet to reduce wear; sanding between coats with 220 grit extends finish life. Apply three coats of marine varnish or two coats of oil-based polyurethane for UV and moisture resistance, and store your portable cornhole set indoors when not in use. Perceiving the durability gains after these steps helps you decide which upgrades are worth the cost.
- Use 1/2″ exterior plywood for tops
- Apply marine varnish, 3 coats
- Fasten with stainless steel hardware (1/4″ bolts)
- Seal edges with epoxy
- Store dry and elevated to prevent rot
Weatherproofing Options
You can prime with an exterior alkyd primer, then apply 2-3 coats of oil-based polyurethane or spar marine varnish for UV resistance; an epoxy topcoat seals end grain best but needs a UV-stable varnish over it to prevent yellowing. Caulk seams with marine-grade silicone and grease hinges with silicone spray; in coastal climates plan for a full recoat every 1-2 years.
Maintenance and Care
Inspect hardware each season and torque 1/4″ bolts to about 10-12 ft-lbs, replace corroded fasteners with stainless steel, and clean surfaces with mild soap and a soft brush; avoid pressure washers above 1200 psi which can delaminate layers. Touch up chips with exterior wood filler and sand with 220 grit before recoating.
Store boards flat or upright in a ventilated, dry area at moderate humidity (20-50%); stack with padding to prevent gouges. Check the hole rim for splinters-use 120 grit to smooth-and reapply finish to high-wear zones every 12-24 months depending on play frequency. Replace foam or rubber feet when compressed to maintain proper clearance and prevent frame moisture contact.
Factors to Consider When Designing Your Set
You’ll balance portability, durability and playability: standard boards are 24″×48″ with a 6″ hole centered 9″ from the top, and front/back heights of 3″ and 12″. Choose 1/2″ or 3/4″ plywood for weight vs stiffness, and avoid exposed fasteners that can snag. See a portable plan at Portable Cornhole Game : 6 Steps (with Pictures). This helps you prioritize features for the build.
- Materials – plywood thickness, stainless hardware, foam pads for transport
- Portability – target <20 lb per board, foldable legs or quick-release pins
- Play specs – 24″×48″, 6″ hole, 9″ center from top, 3″ front / 12″ back heights
Size and Dimensions
You should build to official specs: two 24″×48″ boards with a 6″ diameter hole centered 9″ from the top, and set the back leg to 12″ and front to 3″ for the correct slope; if you need ultra-portability use 1/2″ plywood to keep each board under 20 lb for easy carrying and airline-friendly transport.
Aesthetic Choices
Pick finishes that match use: marine-grade paint or spar urethane resists UV and moisture better than indoor latex, and vinyl decals give crisp graphics without much weight; avoid heavy metal trim that can affect balance or create unsafe edges.
Apply an exterior primer, sand between coats with 220 grit, then add 2-3 coats of acrylic or marine enamel and finish with 2 coats of spar urethane for UV protection; allow 24 hours curing between coats, press vinyl decals with a roller and topcoat to lock edges, and keep any decorative hardware away from the play surface to prevent weird bounces.
Final Touches
Finish assembly by checking fasteners and smoothing edges; sand joints with 120-220 grit paper and tighten the frame bolts to the specified 1/4″ torque so your boards stay stable. You should apply at least 2 coats of finish, allow proper cure times (8-24 hours), and inspect for splinters or gaps-using a file or block plane to remove sharp edges; power tools demand eye and hearing protection while you work.
Painting and Finishing
Start with a good primer, then use exterior acrylic enamel or marine spar varnish for deck protection-plan on 2-3 thin coats with 150-220 grit sanding between coats for adhesion. If spraying, work in a ventilated area and wear a respirator; brushing needs 12-24 hour dry times. Seal the underside with a coat of exterior polyurethane to limit moisture uptake and keep play consistent across seasons.
Adding Personalizations
Consider stencils, vinyl decals, or routed logos to brand your boards: cut a 24″ team logo stencil from 1/8″ Mylar, mask with 2″ tape for crisp borders, and use exterior vinyl for high-contrast numbers. Small accents like painted foul lines or engraved cup holders take 15-30 minutes each and give a pro look without adding appreciable weight-use weather-rated materials so graphics last outdoors.
For example, project your artwork at full scale using a projector or grid method, trace onto 1/8″ MDF to make a reusable stencil, then spray two light coats of enamel (15-20 minutes between passes). Round edges with a 1/8″ round-over bit for a finished feel, and protect decals with two clear coats of satin spar varnish; avoid heavy metal badges so your set stays portable.
Conclusion
Following this guide, you can build a lightweight, durable portable cornhole set that breaks down for travel, uses balanced board dimensions, secure hinges or folding legs, and a weatherproof finish; pack methodically, test stability and weight distribution, and maintain your set so it performs consistently wherever you play.
FAQ
Q: What materials and tools do I need to build a sturdy, portable cornhole set?
A: Lumber: one 48″ x 24″ sheet of 1/2″ or 3/4″ exterior-grade plywood for each board top (1/2″ is lighter; 3/4″ is stiffer), four 2x4s (standard 1.5″ x 3.5″) for the frame and supports. Hardware: wood screws (1-1/4″ and 2-1/2″), exterior wood glue, 6″ round hole saw or jigsaw, carriage bolts/wingnuts (3/8″ if using removable legs), or hinges and bolts for folding legs, sandpaper (80-220 grit), exterior paint and spar polyurethane or marine varnish, recessed or strap handle for carrying. Tools: circular saw or table saw, drill/driver, jigsaw or hole saw for the hole, tape measure, square, clamps, countersink bit. Optional: pocket-hole jig, router for smooth edges, staple gun for storage bag attachment.
Q: What are the standard dimensions and hole placement for regulation play?
A: Regulation board top is 48″ long by 24″ wide. Cut a 6″ diameter hole centered horizontally (12″ from each side) and positioned with the hole center 9″ from the top edge of the board. The playable surface should be flat and smooth. For height, the front edge of the board sits on the ground; the back edge should be elevated about 12″ above the ground when the board is set up, which is achieved with the rear leg length or angle. Spacing between paired boards for official play is 27′ from front edge to front edge, but for casual play you can shorten that distance.
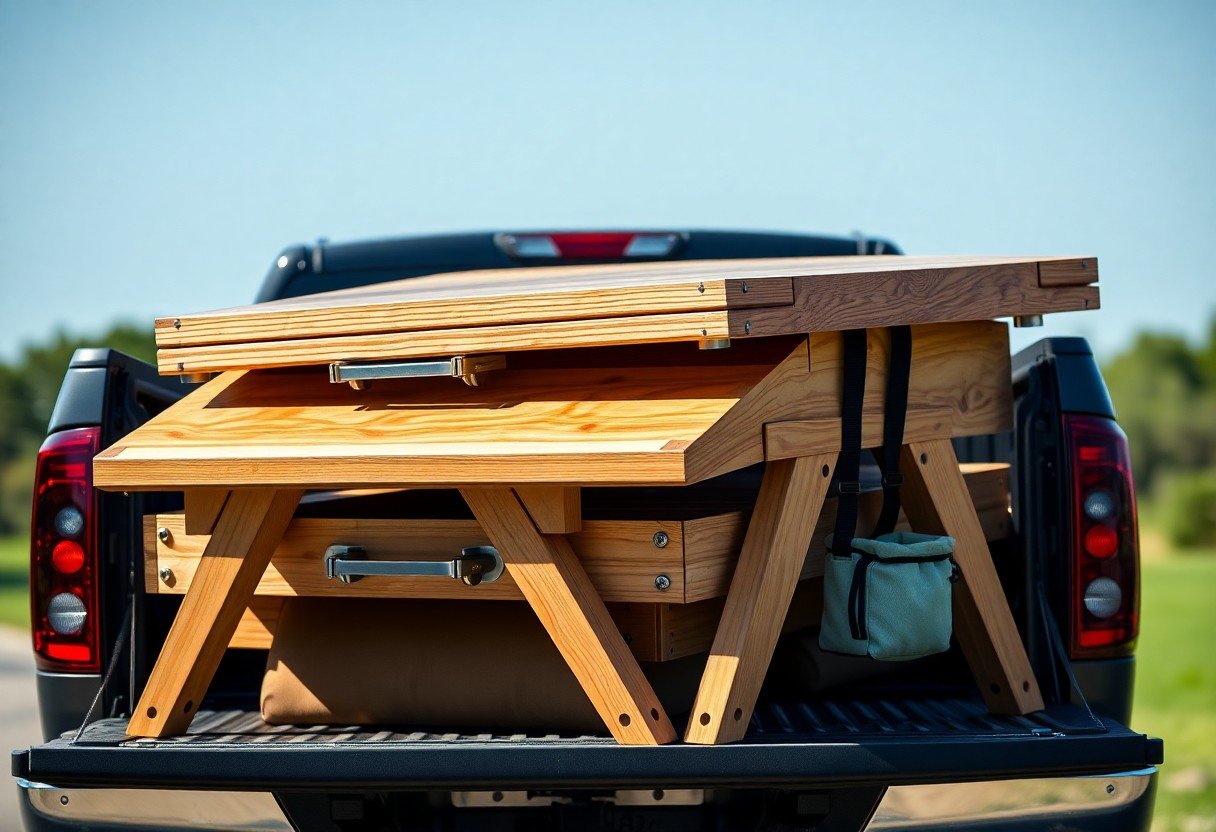
Q: How do I design the boards to be lightweight and truly portable?
A: Use 1/2″ plywood and 2×4 frame members set inside the plywood perimeter to minimize weight while retaining strength. Make legs removable (threaded with carriage bolts/wingnuts) or hinge them to fold under the board with a simple latch to lock in place for play. Use recessed or fold-flat handles and round over edges to avoid snagging. If you want to carry both boards together, add a canvas strap or build a simple hoop/clip system to lock them face-to-face; adding recessed bag storage compartments inside the frame lets you store bags when transported. Keep total board weight under 30-40 lbs for easier carrying; use exterior plywood and avoid bulky finishes that add weight.
Q: What surface finishing and weatherproofing steps will keep the boards playable and durable outdoors?
A: Seal all cut edges with exterior primer or a thin coat of spar varnish before assembly to prevent moisture wicking. Sand the top smooth up to 220 grit. Apply a high-quality exterior primer, then two coats of exterior acrylic paint for color and graphics. Finish with two to three coats of spar urethane or marine varnish for abrasion and moisture resistance; sand lightly between coats. If using decals, encapsulate them under the final clear coats. For traction, you can add a thin layer of polycrylic mixed with a small amount of fine texture additive at the final coat or apply a thin spray of textured clear coat-test to avoid excessive roughness that affects bag slide.
Q: What is a clear step-by-step cut list and assembly sequence to build one board?
A: Top: 48″ x 24″ plywood. Frame long rails: two 48″ 2x4s. Frame short rails: two 21″ 2x4s. Optional center support: one 46″ or two 21″ cross supports. Legs: two 12″ pieces per board.
Assembly sequence:
Dry-fit the frame pieces slightly inset from plywood edges. Glue and screw rails together with 2-1/2″ screws. Add center support(s) screwed to long rails. Drill the 6″ hole with center 9″ from top edge and 12″ from sides. Attach top to frame using 1-1/4″ countersunk screws and glue. Space screws 6-8″ apart. Install legs with hinges or bolts so they fold or detach. Test for 12″ rear height and stable support. Sand all surfaces, prime and paint, then apply exterior clear coats. Add handles and storage features last.