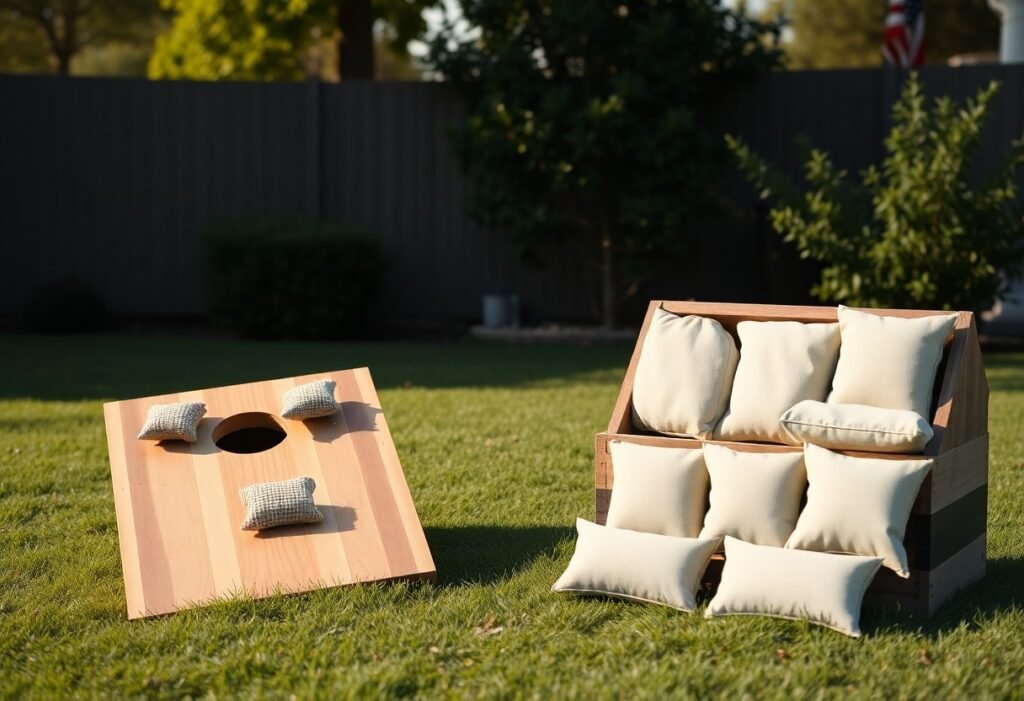
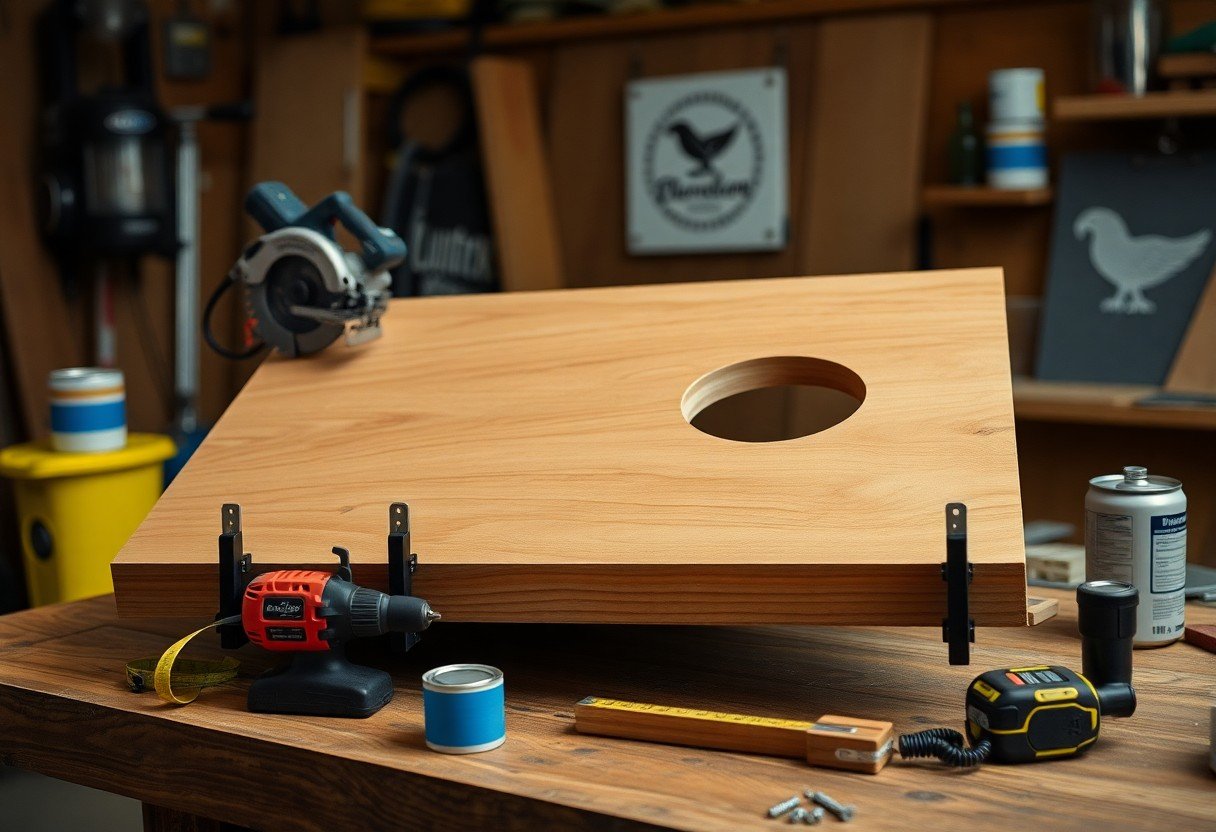
Many projects start with a plan, and when you build a cornhole board you should follow the standard 48″×24″ dimensions with the hole centered 9″ from the top and a 6″ diameter; ensure you measure and cut accurately, and be aware that power tools can be dangerous so wear safety gear at all times. You’ll assemble plywood and 2×4 supports, sand, and finish with exterior paint and sealant for durability so your board plays well and lasts outdoors.
Key Takeaways:
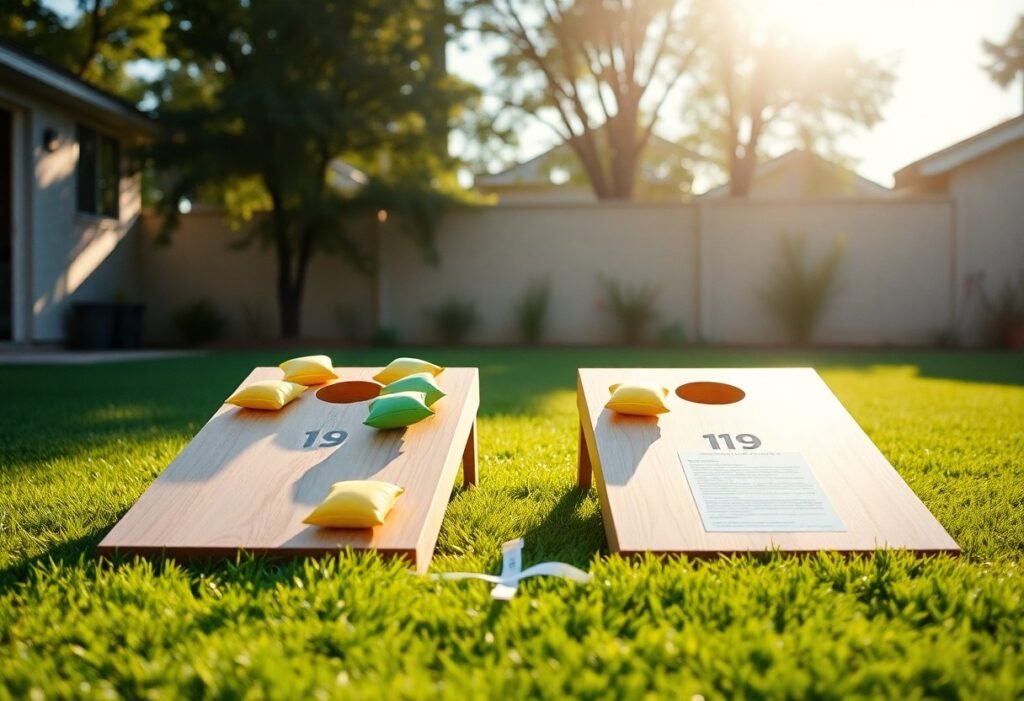
- Use 3/4″ plywood for the top and 2x4s for the frame; standard board is 24″×48″ with a 6″ hole centered 9″ from the top and a back height of about 12″ to set the playing angle.
- Cut and assemble a sturdy 2×4 perimeter frame, attach the plywood top with glue and screws, sand edges and the hole, and add foldable or hinged legs for storage and correct pitch.
- Prime and paint the surface, seal with a clear finish for durability, and test with bags to fine-tune leg height and ensure a smooth, consistent playing surface.
Materials Needed
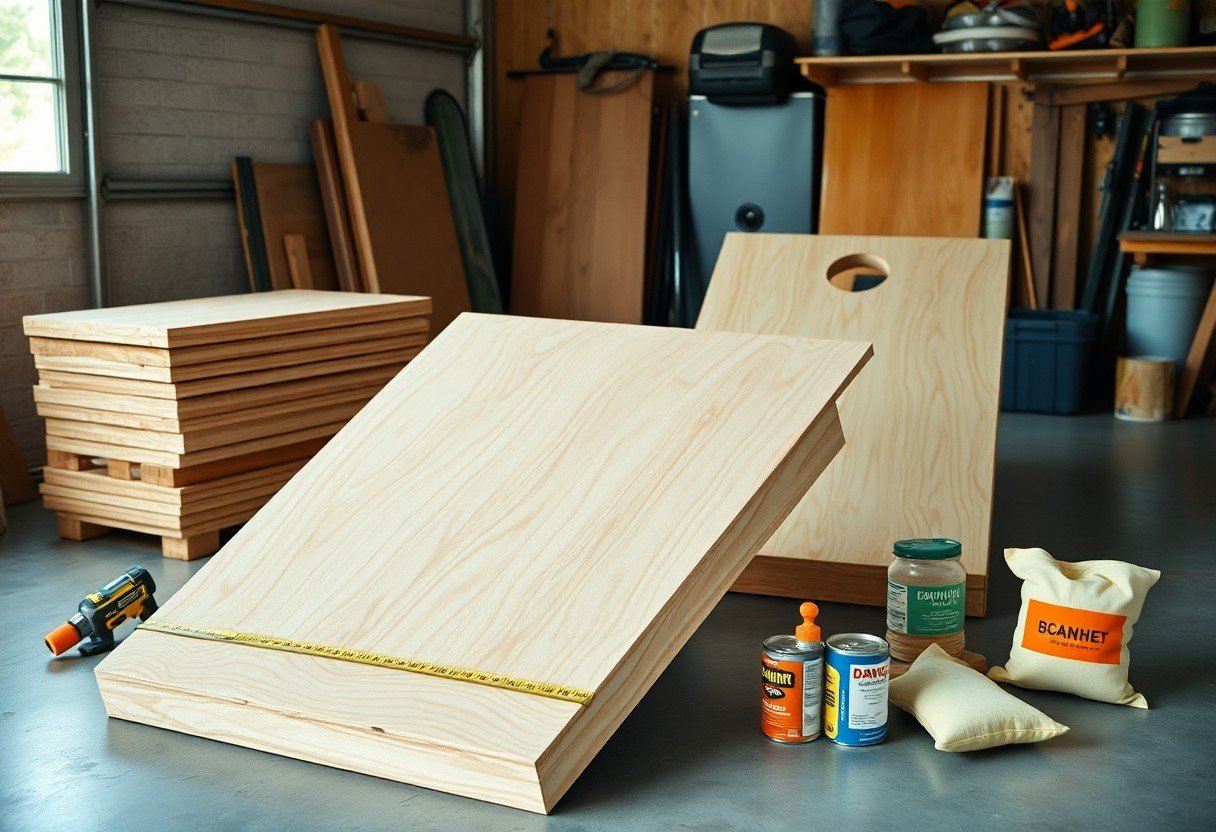
Gather a 48″×24″ top cut from a 4’×8′ sheet of 3/4-inch cabinet-grade plywood, two 2x4s for the frame and legs, exterior wood glue, 1-1/4″ and 2-1/2″ wood screws, a 6″ hole saw or jigsaw, drill, orbital sander, clamps, tape measure, speed square, painter’s tape, and sandpaper (80-220 grit). Add primer, exterior paint and clear polyurethane for finishing. Make sure you wear eye and respiratory protection when using power tools.
Wood Selection
You should choose 3/4-inch birch or hardwood plywood for the top to get a stiff, smooth playing surface-tournament boards use 3/4″. If you want a lighter board, 1/2″ birch with solid cross-bracing will work. Use kiln-dried 2x4s for frames and legs to reduce warping, and seal or edge-band exposed plywood edges to prevent moisture absorption and long-term cupping.
Paint and Finishing Supplies
Choose a high-build exterior primer, two coats of exterior acrylic latex or oil-based enamel for color, and a UV-resistant spar or marine polyurethane as a clear topcoat; plan on 2-3 coats of paint and 2 coats of clear. Use 150-220 grit sandpaper between coats, a foam roller for smooth coverage, angled brushes for details, and quality painter’s tape for crisp lines. Make sure you use a respirator and gloves with solvent-based finishes.
Allow 2-4 hours dry time between latex coats and about 24 hours for oil-based products, with full cure taking 72 hours to a week depending on your humidity and temperature. Sand lightly with 220 grit between coats to knock down dust nibs. For outdoor play, choose a UV-resistant spar urethane and apply two clear coats; you can add a fine non-slip additive to the final coat to improve grip without changing play characteristics.
Tools Required
You’ll need a mix of cutting, assembly, measuring, sanding, and safety tools to build two regulation-size cornhole boards (48″ x 24″ with 6″ hole). Expect to use a circular or table saw for panels, a drill and clamps for frame assembly, and sanding gear for a smooth finish. Prioritize quality: sharp blades and proper PPE (eye and ear protection, gloves) speed work and reduce risk.
Cutting Tools
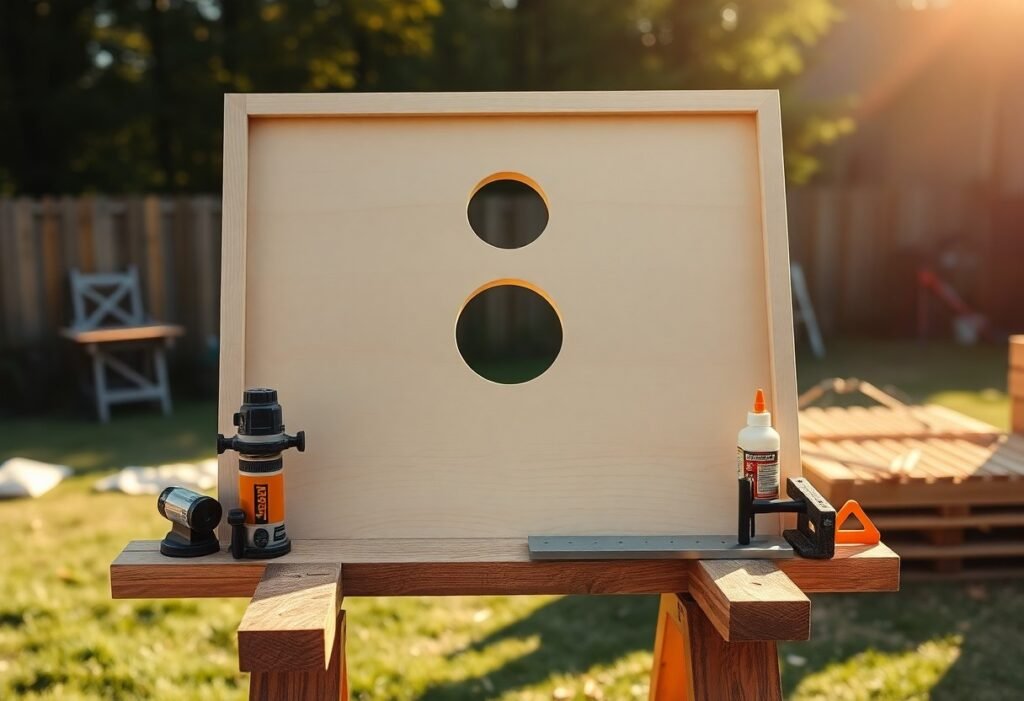
Primary cutting tools include a 7-1/4″ circular saw for rip and cross cuts, a 10″ table saw if you have one for straighter edges, and a jigsaw for the 6″ hole. Use a 60-80 tooth blade for plywood to minimize tear-out. Always check blade condition and keep guards in place since power saws present significant hazard.
Assembly Tools
Key assembly tools are a 20V cordless drill/driver with a set of bits, a Kreg jig or pocket-hole system, bar clamps (at least two 24″ and four 12″), a speed square, tape measure, and a countersink bit. Use #8 x 1-5/8″ wood screws for 2×4 frames and 1-1/4″ pocket screws for 3/4″ plywood; Kreg jig gives strong, hidden joints and faster alignment.
When assembling, pre-drill 1/8″ pilot holes for 2×4-to-2×4 joints to prevent splitting, and apply PVA wood glue plus screws for permanent bonds. Place clamps every 12-16″ during glue-up; two 24″ clamps and four 12″ clamps handle one board. Drive screws at moderate speed and use a countersink so screw heads sit flush before sanding and painting.
Step-by-Step Guide
Step Checklist
| Step | Details |
|---|---|
| Cut list | Cut two 48″×24″ tops from 3/4″ sanded plywood; rip frame pieces from 2×4 or 1×4 to fit underside; cut legs from 2×2 at 12″. |
| Hole | Drill a 6″ diameter hole with its center 9″ from the top edge; use a jigsaw or hole saw for a clean circle. |
| Frame & fasteners | Assemble apron with wood glue and 1-1/4″ wood screws for plywood attachment, 3″ screws for 2×4 joins; countersink and pilot-drill. |
| Legs | Attach 12″ legs with 1/4″ bolts and washers for pivot action so the board sits ~12″ high at back and ~3″ at front. |
| Sanding & finish | Start 80-120 grit, finish 220 grit; prime, paint two coats of exterior acrylic, then apply 2-3 coats of spar polyurethane for weather resistance. |
| Safety | Wear eye protection and hearing protection; clamp pieces when cutting and pilot-drill for all screws to avoid splitting. |
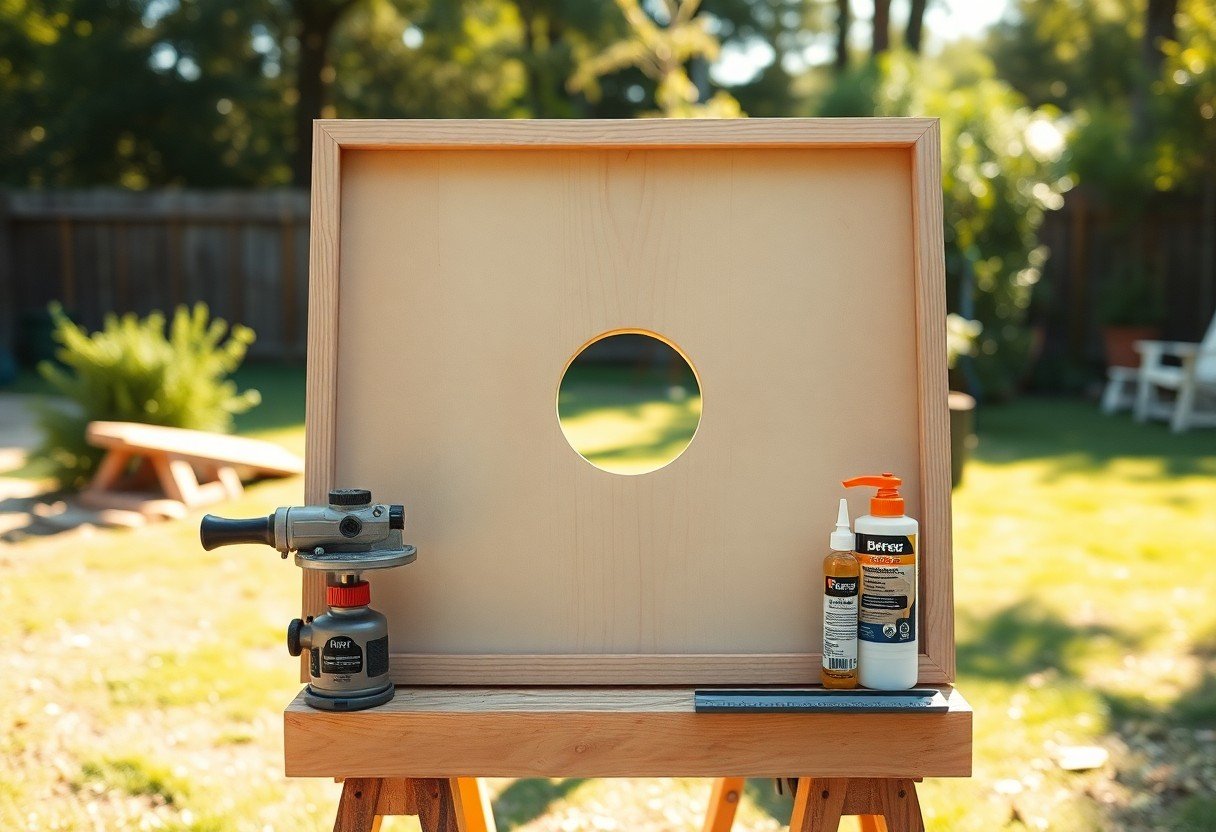
Cutting the Wood
You’ll cut two 48″×24″ tops from 3/4″ sanded plywood, mark the hole center 9″ down from the top edge, and cut a 6″ diameter opening with a jigsaw or 6″ hole saw; then rip apron pieces from 2×4 or 1×4 stock and cut legs to 12″ for regulation tilt-use a straightedge and square to keep corners true and clamp while cutting for cleaner edges.
Assembling the Board
Start by building the underside frame: glue joints and use 3″ screws for the 2×4 apron, then secure the plywood top with 1-1/4″ screws every 6-8″ along the apron, countersink and plug if desired; pilot-drill all screw holes to prevent splitting and clamp assemblies while the glue cures for a flat, stable top.
For legs, cut two 2x2s at 12″, drill a pivot hole near the top of each leg and attach with a 1/4″ carriage bolt, washer, and lock nut so legs fold; set the pivot location so the back of the board rests at about 12″ high and the front at about 3″-test and adjust the pivot placement before final fastening.
Painting and Finishing
After sanding to 220 grit, apply an exterior primer and two coats of acrylic exterior paint or enamel for a smooth playing surface; let each coat dry 2-4 hours, lightly sand between coats with 220 grit, then seal with 2-3 coats of exterior spar polyurethane for durability and weather resistance.
When detailing, mask the hole and edges with painter’s tape for crisp lines, use stencils or vinyl decals for logos, and consider spray for even coverage on graphics; wait at least 24 hours after final coat before gameplay, and store boards dry to prolong the finish and prevent delamination.
Tips for a Perfect Finish
Fine-tune your boards by focusing on consistent prep: fill shallow gaps, sand progressively, and use a breathable primer before color to prevent peeling; choose an exterior-grade paint and finish with a clear sealer for abrasion resistance. Work in 60-70°F, low-humidity conditions and avoid heavy, wet coats-multiple thin layers dry harder and last longer. This will keep your boards playable and weather-resistant for seasons of use.
- Sanding – follow a 80→120→220 grit progression and sand with the grain.
- Primer – apply a stain-blocking, exterior primer for adhesion.
- Paint – use exterior acrylic latex or oil-based enamel for durability.
- Sealer – topcoat with an exterior polyurethane containing UV inhibitors.
- Safety – always wear a dust mask and eye protection when sanding.
Sanding Techniques
Begin with 80 grit to remove mill marks or glue squeeze-out, then move to 120 grit to flatten the surface and finish with 220 grit before priming; sand with the grain and use a random-orbit sander for large areas while hand-sanding the hole edge to avoid tear-out. Keep pressure light to prevent gouging, change grits promptly, and wear a dust mask and goggles to protect yourself from fine dust.
Choosing the Right Paint
Pick an exterior acrylic latex for ease of use and quick drying, or an oil-based enamel if you need a harder surface; select semi-gloss for easier cleaning and moderate reflectivity, and plan for at least two thin coats over primer to achieve uniform coverage.
For more durability, use products rated for exterior decking or trim: apply a high-quality primer, then two to three thin coats of paint, allowing 4-6 hours between coats for acrylics and longer for oils. After color coats cure (24-48 hours depending on product and weather), apply two coats of exterior polyurethane with UV inhibitors, sanding lightly with 220 grit between coats to promote adhesion and a smooth finish. Test a small area first to ensure the paint does not become too slick for play.
Factors to Consider
When planning your build you must balance site, materials, and finish for a functional cornhole board; regulation play uses a 48″×24″ surface with a 6″ hole and 9″ top offset, and 3/4″ plywood plus 2×4 framing gives stiffness. Prioritize a weatherproof finish and tie-downs for outdoor use, and respect that power tools can be dangerous. The board should fit your typical play area (about 30-40 feet throw line) and storage space.
- Materials: 3/4″ plywood, 2×4 frame, exterior screws
- Dimensions: regulation 48″×24″, 6″ hole, 9″ from top
- Portability: target 20-30 lb per board for easy transport
- Finish: exterior paint and sealant for UV/water resistance
- Safety: proper PPE and safe use of power tools
Size and Dimensions
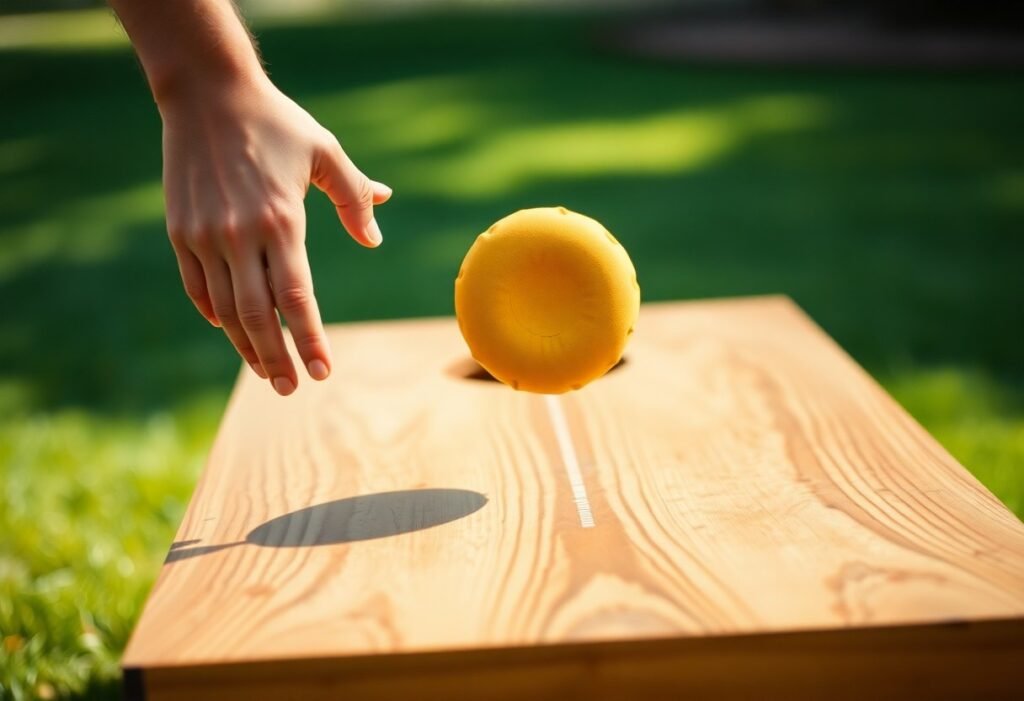
You should follow regulation-size specs for competitive play: a 48″×24″ board, 6″ hole centered 9″ from the top and 12″ from each side, with front height 3″ and back height 12. Use 3/4″ plywood for the top and allow a 1/8″ tolerance on cuts; alternatively, build a 36″×18″ junior board for kids or tight storage.
Weight Distribution
You want an even load across the frame, so build a perimeter with 2×4 joists and add cross braces every 12″ to prevent sag; that layout typically yields a 20-30 lb board using 3/4″ plywood. Reinforce the area beneath the hole with a 24″ crossmember to avoid bounce, and swap to 1×3 slats if you need to shave 5-10 lbs while keeping stability.
To fine-tune balance, position your legs so the pivot point sits about 12-14″ from the back edge to maintain the 3″/12″ height profile and keep the center of gravity low; use carriage bolts with washers for secure leg mounts and install rubber feet to prevent slipping. For windy or uneven sites, add 1-3 lbs of removable sandbags in a rear pocket to stabilize without changing play characteristics.
Maintenance and Care
Keep the boards game-ready by inspecting them after every season: sand scuffs with 220-grit, touch up paint, and apply 2 thin coats of exterior polyurethane for UV and moisture protection. If you want build notes or a refresher, consult the DIY Project – How To Make Cornhole Boards at Home for tips on finishes and sanding schedules that extend board life.
Storing Your Cornhole Boards
When not in use, store your boards flat or upright in a dry, ventilated space at about 50-70°F and 40-60% humidity; avoid attics or basements prone to extremes. Use breathable covers and keep boards elevated off concrete to prevent moisture wicking. Do not stack heavy items on top-excess weight can warp plywood and stress joints.
Repairing Damage
For surface dents or edge chips, sand to clean wood, fill with a two-part epoxy or quality wood filler, let cure, then sand flush and recoat; for loose legs or hardware, tighten or replace bolts with grade-5 fasteners. Small gouges can often be fixed in one afternoon; structural breaks need stronger epoxy and clamps.
Assess damage by degree: hairline scratches need 220-320 grit sanding and a single touch-up coat, while deep gouges require filling, clamping for at least 24 hours, then sanding to shape. After repairs, apply primer if bare wood, two finish coats, and allow a full 24-48 hour cure before play; improper curing risks finish failure and premature wear.
To wrap up
From above you learned how to plan, cut, assemble, sand, finish and seal your DIY cornhole board; with accurate measurements, sturdy joints and a smooth surface you can produce regulation, weather-resistant boards that play well, and by testing and adjusting stance and hole placement you ensure consistent performance for backyard games and tournaments.
FAQ
Q: What materials and tools do I need to build a cornhole board at home?
A: Two 3/4″ exterior-grade plywood sheets (one per board, 24″ x 48″), four 2x4s per board for the frame and braces, two 2x4s for legs, wood screws (1-1/4″ and 2-1/2″), exterior wood glue, sandpaper (80-220 grit), exterior primer and paint, and a clear outdoor sealer (spar urethane or exterior poly). Tools: circular saw or table saw, jigsaw, drill/driver, countersink bit, measuring tape, speed square, clamps, pencil, and paint supplies.
Q: What are the standard dimensions and hole placement for regulation cornhole boards?
A: Regulation boards are 48″ long by 24″ wide. The playing surface is flat with the hole diameter 6″. The center of the hole is located 9″ from the top edge and centered 12″ from either side. Back of the board should be approximately 12″ off the ground (measured to the top surface), and the front should sit about 3-4″ off the ground when legs are extended to play.
Q: How do I cut the plywood and assemble the frame and legs step-by-step?
A: Cut two 2x4s to 48″ for side rails. Cut two more to 21″ for end rails. Lay them into a rectangular frame. Check for squareness. Glue and screw the joints with 2-1/2″ screws.
Add one or two cross supports for stiffness. Cut them to the same width minus 3″. Space them under the plywood area.
Cut two legs 12″ long from 2×4 stock. You can round or bevel one end for looks. Drill a 1/2″ hole near the top of each leg. Drill a matching hole under the frame’s back edge. Bolt the legs on with a carriage bolt so they pivot.
Mark the hole center 9″ from the top and 12″ from each side. Drill a pilot hole. Cut a 6″ diameter circle with a jigsaw.
Finally, test-fit everything. Attach the 3/4″ plywood top to the frame. Use wood glue and 1-1/4″ screws, countersinking slightly. Sand all edges smooth before finishing.
Q: What finishing, painting, and sealing steps give the board a durable, playable surface?
A: Sand the plywood starting with 80-120 grit to remove splinters, then finish with 180-220 grit for a smooth playing surface. Apply an exterior primer if using latex paint; then two coats of exterior paint or porch paint, allowing full drying between coats. For best durability and a slick, consistent slide, apply 2-3 coats of clear outdoor sealer (spar urethane or exterior poly) sanding lightly between coats with 220 grit. If you want reduced skid, use satin rather than high-gloss on the final coat or add a thin layer of fine-grit sanding between coats. Let everything cure fully (follow product times) before playing or storing outdoors.
Q: How do I fix common problems like wobbling boards, crooked holes, or uneven play?
A: For wobble, tighten frame and leg fasteners and ensure leg pivot bolts are snug but able to rotate; add corner braces or a diagonal cross brace if frame flexes. If the front height is uneven, check leg length and hinge placement; add a small shim under the front edge or sand the underside of legs slightly to equalize. For a crooked hole, fill the cutout with wood filler or epoxy, sand flat, and recut the circle from a correct center; you can also install a thin replacement top piece and recut the hole. Keep surfaces clean and sealed; rough or warped tops affect bag roll and should be resurfaced or replaced if heavily damaged.