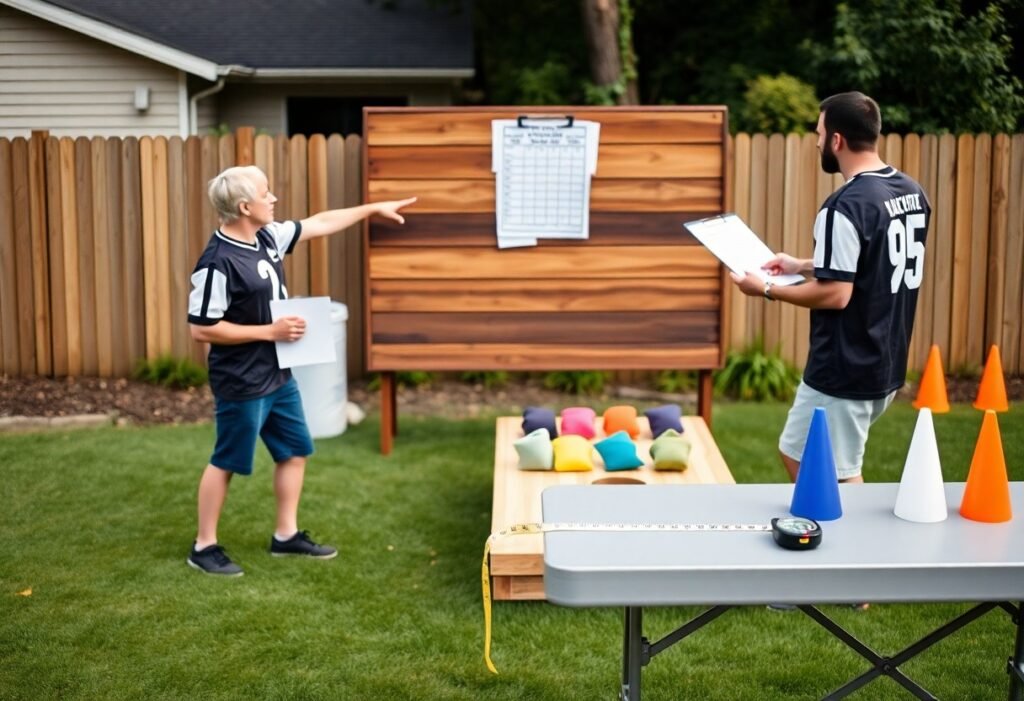
Cornhole boards look professional when you plan the layout, prepare your surfaces, and pick materials that suit play; you should sand, prime, and seal for longevity, avoid hazards like power tools and airborne sanding dust without proper protection, and opt for finishes that give a durable finish and an eye-catching design to make your boards tournament-ready.
Key Takeaways:
- Prepare the surface: sand to a smooth, even finish, fill gaps, clean off dust, and apply a good primer to ensure paint adhesion and long-lasting results.
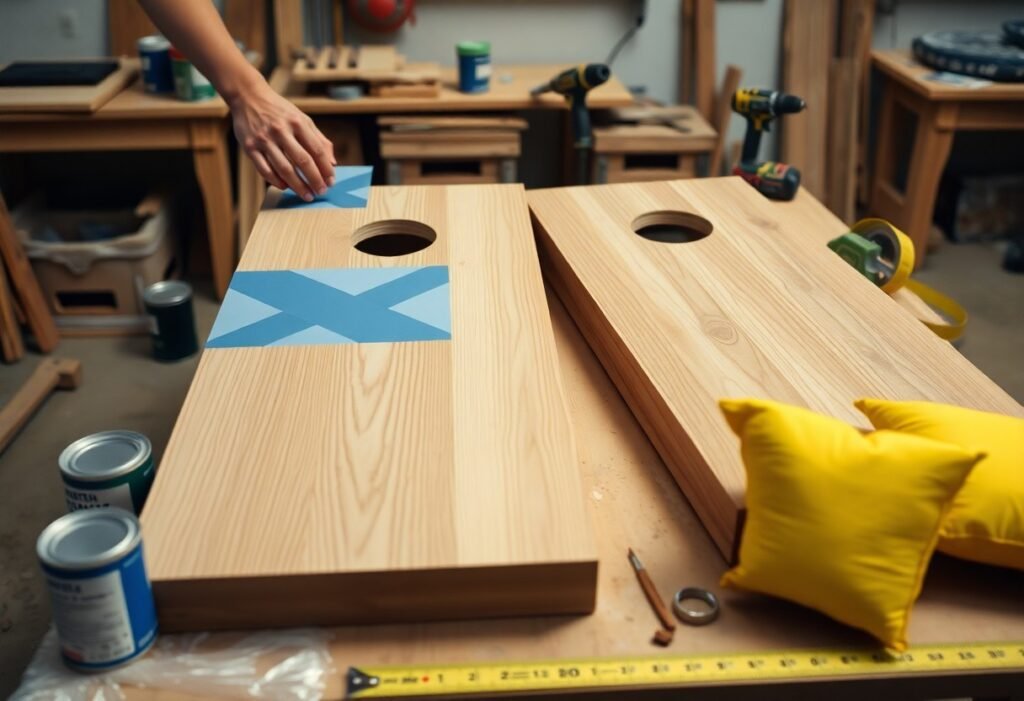
- Plan and execute the design: lay out measurements, use stencils or templates and painter’s tape, work from light to dark colors, and allow full drying between layers to avoid bleed and smudging.
- Seal and protect: finish with multiple coats of exterior-grade polyurethane or polycrylic (sanding lightly between coats), and use a durable, slightly textured topcoat on the playing surface for grip and weather resistance.
Understanding Cornhole Board Designs
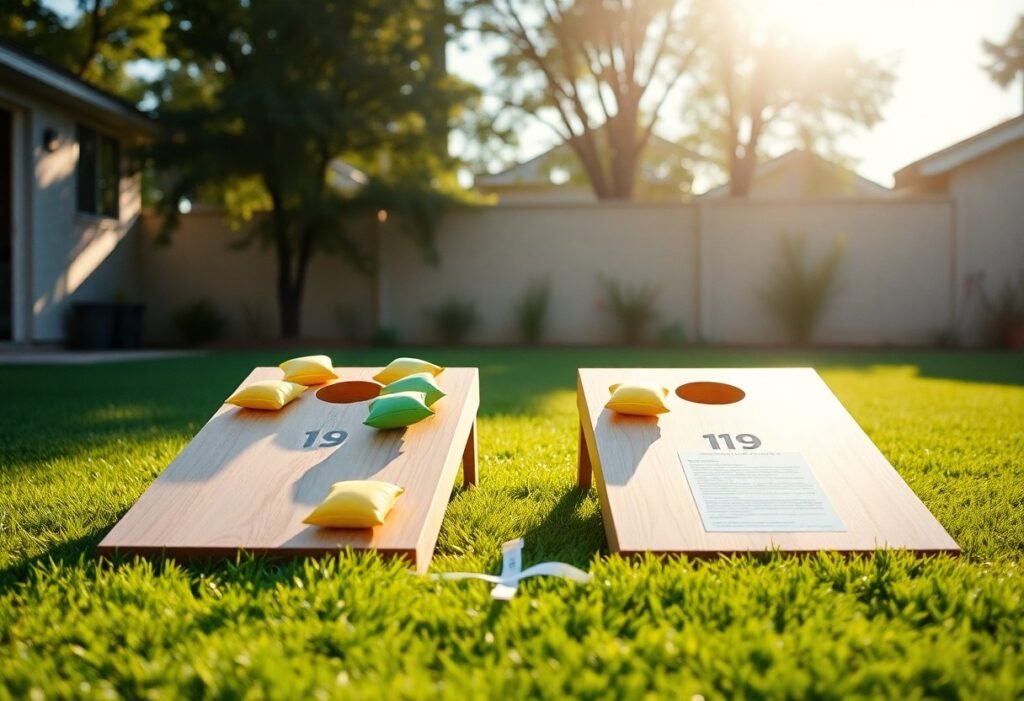
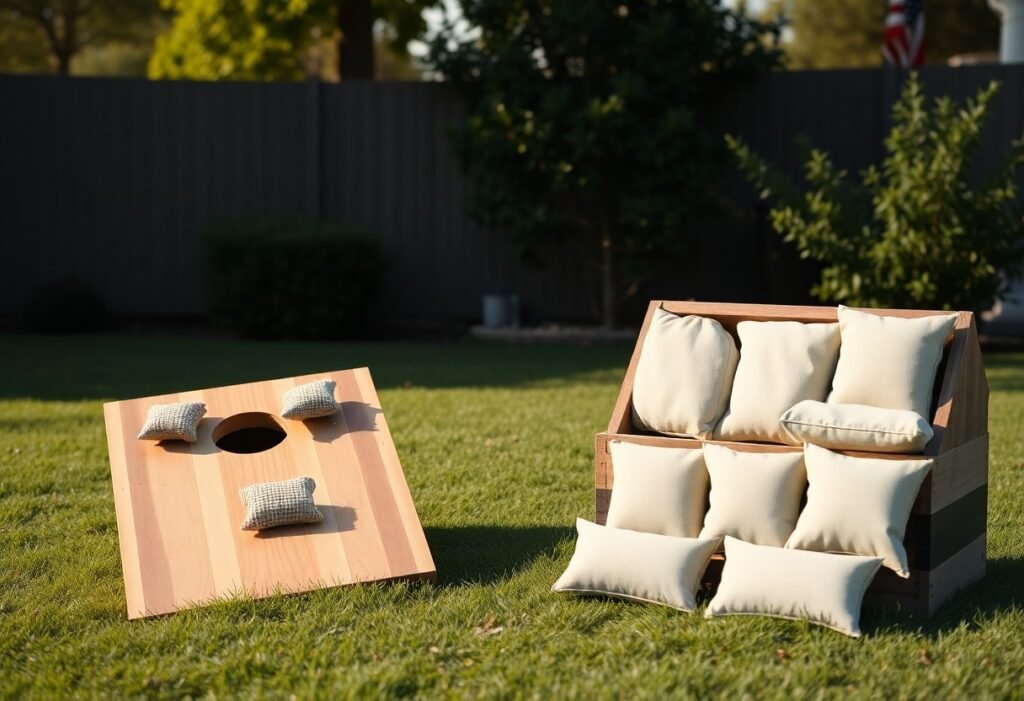
Design choices shape both playability and aesthetics: standard boards measure 48″ x 24″ with a 6″ hole centered 9″ from the top, and those proportions affect layout, stenciling, and leg placement. You should balance graphics with functional space-avoid busy center areas that obscure the hole-and pick finishes that resist wear; polyurethane can reduce splinters but may become slippery when wet.
Factors to Consider When Choosing a Design
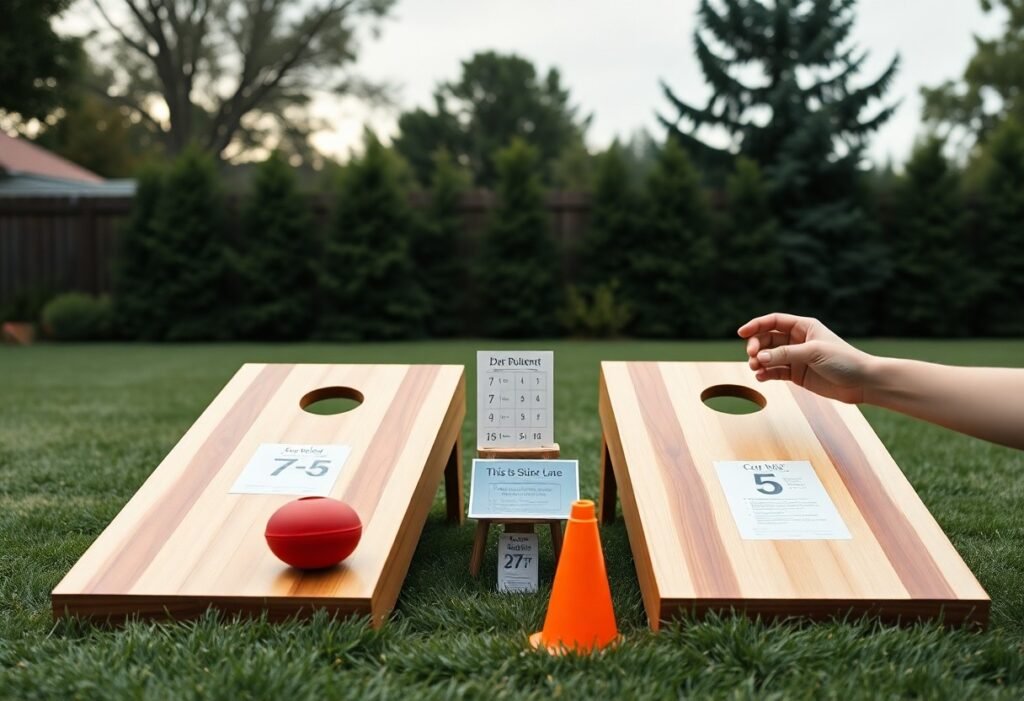
Match your design to use: tournament players favor high-contrast, simple patterns while backyard boards allow detailed art; materials matter too-plywood grades, primer type, and topcoat affect longevity. Consider viewing distance (players stand ~27′ apart) and color contrast for visibility. Knowing how weather exposure, storage, and player skill influence material and graphic choices will guide your final decisions.
- Durability – plywood grade, topcoat
- Visibility – contrast, viewing distance
- Weatherproofing – UV inks, marine coatings
- Theme – logos, personalization, licensing
- Surface prep – sanding grit, primer
Popular Themes and Styles for Custom Boards
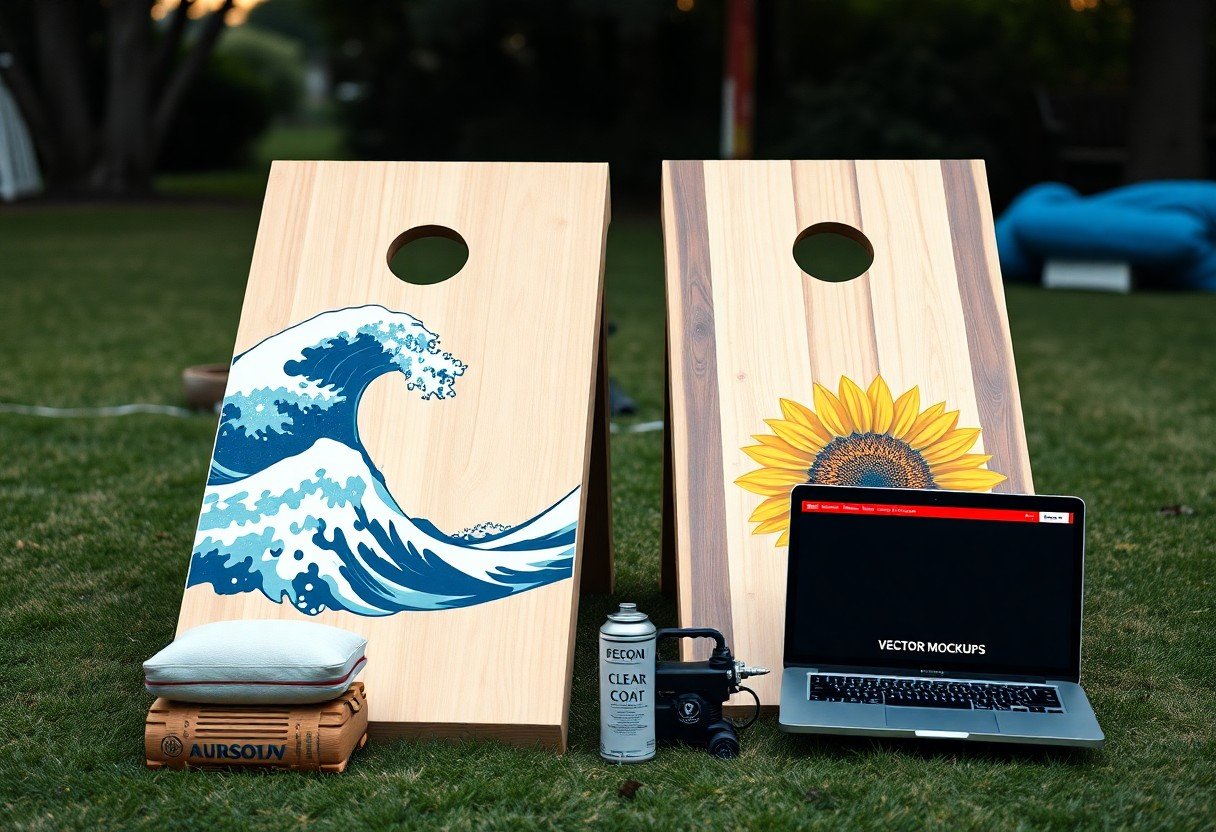
You often see themes such as sports logos, vintage woodgrain, bold geometric patterns, and team colors; Americana and collegiate styles account for roughly 20% of custom orders at many shops. Apply stencils for crisp logos, vinyl decals for photographic art, and use UV-stable inks and marine topcoats for prolonged outdoor exposure.
If you want a distressed wood effect, sand to 220-grit, apply stain, then sand back for authentic wear; pros use 3M vinyl and laminate before a clear marine topcoat. Expect material costs of $40-$120 per board depending on decals and finish. For tournament play avoid glossy finishes that cause glare, and personalize with names and dates using stencils or adhesive vinyl.
Gathering Materials and Tools
To keep your project efficient, assemble quality 1/2″ or 3/4″ plywood, a circular saw, orbital sander, and drill, plus clamps and a worktable. Stock up on primer, acrylic or exterior paint, and a clear sealer, along with 120-220 grit sandpaper, brushes, and rollers. Any extra consumables like painter’s tape, rags, and drop cloths prevent costly mistakes.
Essential Supplies for Painting or Designing
You’ll want a water-based acrylic latex paint for durability and a water-based or spar urethane sealer for UV protection; plan on 2-3 coats. Bring a 3″ angled brush, 4″ foam rollers, a small detail brush, and a sprayer if covering many boards. Use wood filler and a 120-220 grit sandpaper progression for a smooth finish. Any small extras like mixing sticks, tack cloths, and spare screws are helpful.
- Plywood (1/2″ or 3/4″)
- Circular saw and drill
- Orbital sander and sandpaper (120-220 grit)
- Primer, paint, and clear sealer
- Brushes, rollers, and optional sprayer
- Any consumables like painter’s tape, rags, and drop cloths
Safety Precautions and Tips
Work in a well-ventilated area and wear a NIOSH-rated respirator when sanding or applying solvent-based finishes; use eye protection, gloves, and hearing protection for power tools. Keep a metal container for used rags because oil-soaked cloths can be flammable, and store finishes away from heat. Any step you take to control dust and fumes reduces long-term health risk.
When spraying or using high-VOC products, use an organic vapor respirator and ensure 4-6 air changes per hour-run a box fan to exhaust fumes. Check each product’s SDS for flashpoint and recommended PPE, and label containers clearly; keep a fire extinguisher within reach. Any proper disposal and containment practice lowers accidental fires and exposures.
- Respirator (NIOSH-rated for particulates; organic vapor for solvents)
- Ventilation (fans or outdoor work to exhaust fumes)
- Eye protection and gloves
- Fire extinguisher and metal rag can for soaked cloths
- Any product SDS reviewed and followed before use
Preparing the Cornhole Boards
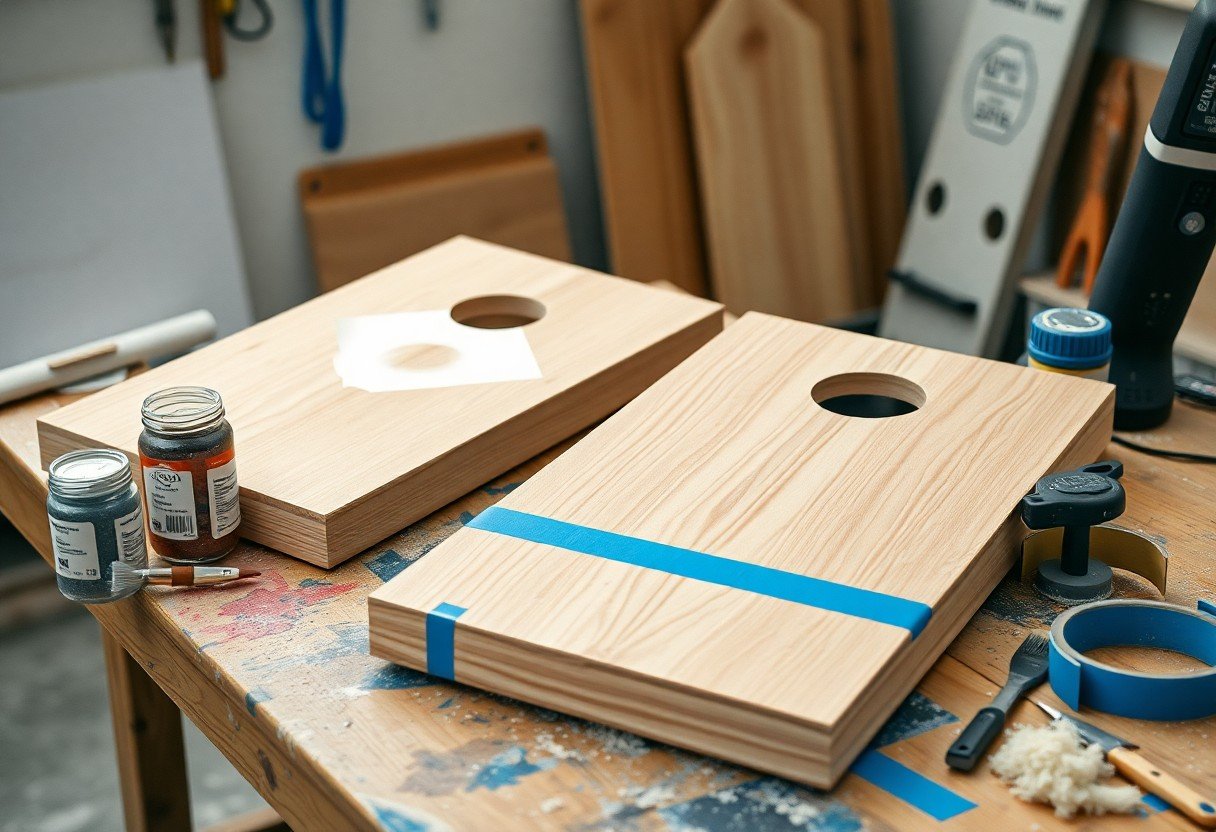
Before you paint, strip loose finish, sand flat, and seal gaps so your design lays smooth; start with 80-120 grit to level joints, follow with 180-220 grit for a fine surface, and fill any knot holes or screw countersinks with epoxy or wood filler. Use clamps for warped panels, vacuum thoroughly, then wipe with a tack cloth or denatured alcohol to remove dust; wear a respirator when sanding and keep the workspace well ventilated to avoid inhaling fine dust.
Surface Preparation Techniques
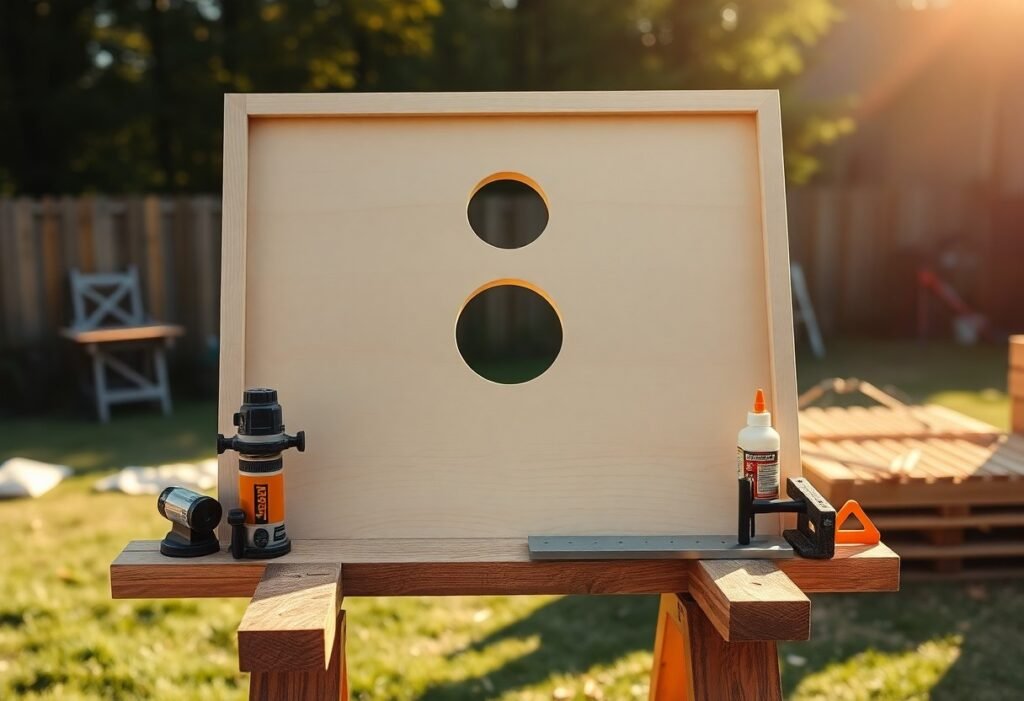
Begin by fastening the board to a workbench and sanding across the grain to remove ripples-use 80 grit for heavy leveling, 120-150 for smoothing seams, and 220 for finish sanding. Route or sand a 1/8″ chamfer around edges for paint adhesion and less chipping; apply a thin layer of epoxy over screw holes and sand flush once cured. Finally, vacuum and wipe with a tack cloth so paint bonds evenly and you avoid trapped dust.
Priming and Base Coating
Choose a high-build acrylic latex primer for plywood; apply 1-2 thin coats with a 3/8″ nap roller and a brush for the hole edges, allowing 2-4 hours dry at 70°F between coats. Use a shellac-based primer on knotty pine to block tannins, and lightly sand with 220 grit between primer coats to remove raised grain; this improves adhesion and reduces paint soak-in for truer colors.
For best results, thin the first primer coat 5-10% with water (acrylic) to encourage penetration, then apply a full second coat once tack-free. If humidity is above 60%, extend dry times-oil primers often need 6-8 hours. Test adhesion with a fingernail after the second coat; if paint lifts, add another thin coat or spot-sand problem areas before base color application.
Painting Techniques for Custom Designs
When you tackle complex artwork, plan layering: apply a full-coverage primer, sand with 220-grit between coats, then build color with 2-3 thin coats of paint to avoid runs. Use a foam roller for bases and a synthetic brush for detail; spray can or HVLP give smooth gradients. Allow 2-4 hours dry time per coat and finish with a durable clear coat to protect against chips and UV. Ventilate well when using solvent-based products.
Freehand vs. Stencils: Pros and Cons
You’ll pick freehand for organic, fluid artwork and stencils for repeatable logos; freehand rewards practice and spontaneity while stencils deliver consistent edges and faster production for multiples. For precise school or team branding choose stencils; for bold, one-off murals choose freehand, and combine both when you need sharp logos plus painterly fills.
| Pros | Cons |
|---|---|
| Complete creative control | Requires a steady hand and practice |
| Flexible for curves and gradients | Harder to reproduce exactly |
| Low upfront cost | Can be time-consuming |
| Quick setup for repeats (stencils) | Stencil edges can bleed without proper sealing |
| Great for clean logos | Less organic look for intricate art |
| Easy to scale designs | Stencil cutting adds prep time |
Tips for Achieving Clean Lines and Vibrant Colors
Mask edges with painter’s tape and press the edge down firmly, sand between coats with 220-grit, and use a tinted primer to boost coverage-two coats of base color usually suffice for bright results. Spray light mist coats to avoid pooling, and seal with two coats of satin or gloss polyurethane. Thou should always test tape adhesion on scrap wood before applying to the board.
- painter’s tape
- 220-grit sandpaper
- tinted primer
- polyurethane
You can sharpen edges further by cutting custom stencils from 3M stencil film and spraying a light “tack” coat of clear sealer on the tape to prevent bleed; professional painters often hold the nozzle 6-8 inches away for even coverage and flip the board between coats to avoid drips. For high-contrast color combos use a white primer under neon or pastel shades to preserve vibrancy, and thin acrylics 10-15% with water or flow enhancer for smoother application. Thou must let full cure time pass-typically 24-48 hours-before heavy use.
- 3M stencil film
- spray distance 6-8 in
- white primer
- 24-48 hour cure
Sealing and Finishing Touches
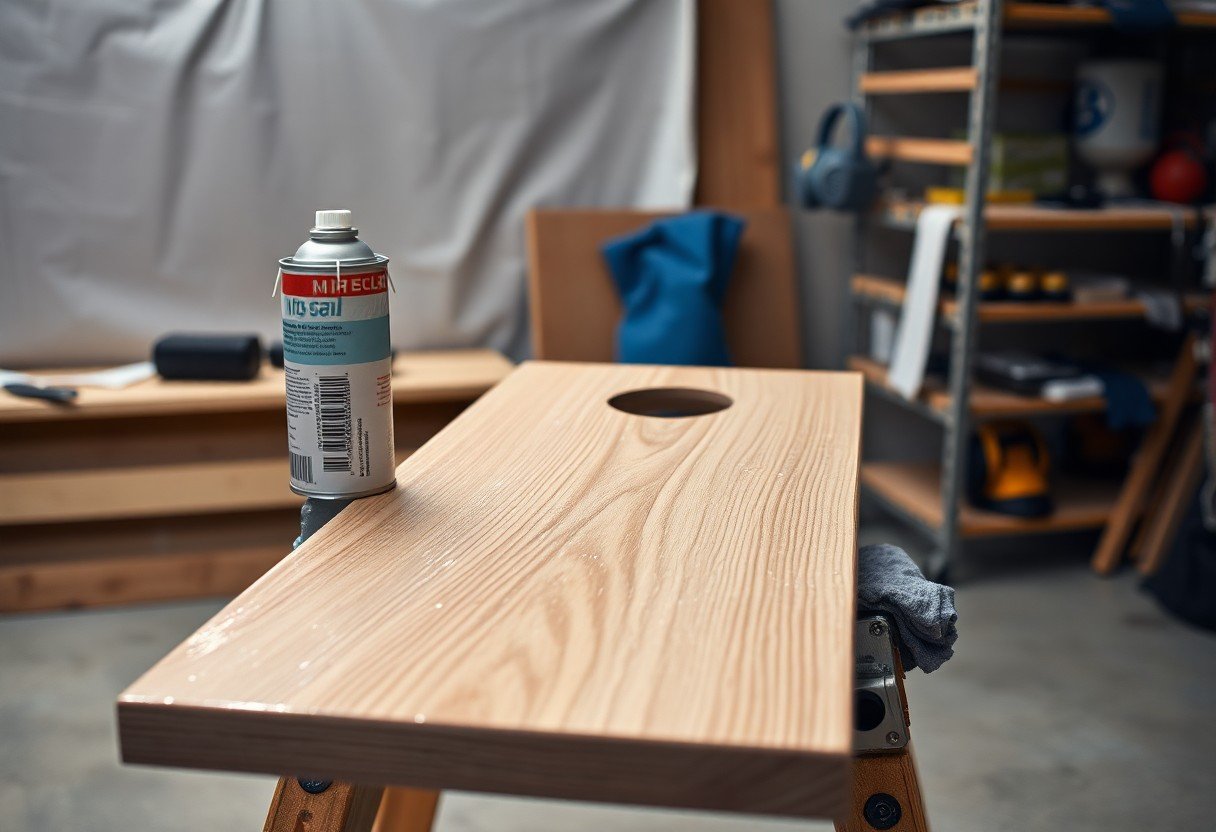
When sealing, you should lock paint with 2-4 thin coats of clear sealer, sanding lightly with 220-320 grit between coats and allowing 2-6 hours dry time per coat; full cure takes ~72 hours. Use a water-based polyurethane for indoor play or a marine-grade spar varnish for outdoor boards to add UV protection. Painting Cornhole Boards- a beginner’s guide – Poplolly Co. offers step examples. Wear a respirator and eye protection when spraying, and note that oil-based finishes yellow over time.
Choosing the Right Finish for Durability
Pick a finish based on exposure: for outdoor use choose spar varnish or exterior polyurethane with UV inhibitors; for indoor play select a non-yellowing, water-based polyurethane. Apply 2-4 coats, thin per manufacturer instructions, and sand with 320 grit between coats for adhesion. Avoid oil-based products indoors because of strong fumes, and expect a properly finished board to last 3-5 years under regular play and maintenance.
Final Touches to Enhance Aesthetics
Add routed edges, contrasting border paint, stenciled logos, or metallic leaf accents; countersink and fill screw holes before finishing for a clean look. Choose satin or semi-gloss to reduce glare-gloss can distract players-and use low-tack vinyl stencils and painter’s tape for crisp lines. If you need traction, mix a clear anti-slip additive into the final coat to retain appearance while improving grip.
To refine appearance further, wet-sand the last clear coat with 1000-2000 grit and buff with polishing compound for a showroom shine, or leave a matte finish for a vintage vibe; both benefit from a final spray of wax or matte sealer. For custom branding, apply high-resolution vinyl decals to a fully cured surface, use gentle heat for better adhesion, and seal decal edges with a thin bead of clear sealer to prevent peeling during heavy use.
Maintenance of Custom Cornhole Boards
Cleaning and Care Tips
Keep your painted surfaces playable by wiping with a soft microfiber and a mild dish soap solution (1 tsp per quart) after dusty play; avoid pressure washers and harsh solvents that strip finishes. You should tighten hardware monthly and sand chips with 220-320 grit before recoating. Inspect for water intrusion and warping after storms, and apply a UV-resistant sealer every 12-24 months based on exposure. After heavy use or visible wear, sand edges and apply a thin coat of varnish to protect the top.
- Weekly cleaning: damp microfiber, mild soap, dry immediately.
- Monthly care: check screws, hinge hardware, and surface chips.
- Annual: recoat with two thin coats of clear sealer if stored outdoors.
- Do not: use pressure washers or leave boards in standing water.
Storage Solutions for Longevity
Store your boards flat on a pair of sawhorses or upright in a padded rack to prevent uneven support; maintain indoor conditions around 40-60% humidity and 50-80°F to reduce seasonal warping. Use breathable board bags or padded covers and place silica gel packs inside for long-term storage; avoid direct contact with concrete or the ground where moisture can wick into the wood. Rotate stacked boards every 6 months to avoid permanent bends.
When storing for winter, remove bean bags and hardware to a labeled bag and elevate boards on pallets or shelving to keep them off cold floors. You can apply one thin coat of sealer before stowing and check storage conditions every 6-12 months. Commercial racks hold 4-8 boards neatly, while a DIY 2×4 A-frame with felt pads protects painted faces.
Conclusion
Summing up, when you design and paint custom cornhole boards you should plan your layout, properly prepare and sand surfaces, use quality primer and paint, employ stencils or masking for crisp graphics, and apply a durable clear coat to protect your work and play. With consistent technique and attention to detail you’ll create professional-looking, long-lasting boards that reflect your style and perform reliably.
FAQ
Q: What materials and tools do I need to paint or design custom cornhole boards?
A: Start with quality boards (24″ x 48″ plywood, 1/2″-3/4″ thickness) and these tools and supplies: sandpaper (80-220 grit) and an orbital sander, primer (stain-blocking or bonding), exterior acrylic or enamel paint and/or spray paint, brushes and foam rollers, painter’s tape, drop cloths, drill and 6″ hole saw, measuring tape and straightedge, compass or circle jig, tack cloth, clear topcoat (exterior polyurethane or spar varnish), vinyl cutter or pre-cut stencils for graphics, adhesive vinyl or printable outdoor vinyl for complex images, respirator and gloves for safety, and a heat gun or hair dryer for applying vinyl if needed.
Q: How should I prepare the board surface and lay out the design?
A: Clean and dry the boards, then sand to remove mill glaze and smooth edges (start with 80-120 grit, finish with 180-220 grit). Fill knots or seams with wood filler and sand flush. Measure and mark the board centerlines and the 6″ hole center 9″ down from the top edge (official size). Use a compass, jig, or circle template to cut the hole accurately, then sand the cut edge smooth. Apply a coat of primer to seal the wood and create a uniform surface for paint; sand lightly between primer and paint coats with 220 grit. Lay out your artwork by sketching directly, projecting an image, or transferring with carbon paper or transfer paper; secure stencils or vinyl with low-tack tape before painting to avoid bleed.
Q: What painting techniques give the smoothest, most durable finish?
A: Apply thin, even coats rather than one heavy coat: spray or roller for base coats to reduce brush marks, then brush detail work. Allow appropriate dry time between coats and sand lightly with 220 grit for a smooth finish before the next coat. For best durability on outdoor boards use exterior acrylic enamel or oil-based enamel for paint and a UV-resistant spar urethane or exterior polyurethane as a topcoat; apply at least two coats of paint and two to three coats of clear sealer, sanding lightly between coats. Keep temperature and humidity within manufacturer recommendations and use a respirator when spraying or using solvents.
Q: How do I transfer or create complex graphics, logos, or photo-quality designs?
A: For crisp logos and photos use printable outdoor adhesive vinyl or have a sign shop print large decals; apply with a squeegee and heat to remove bubbles, then seal with clear coat. For layered color designs, cut masks or stencils from Mylar, contact paper, or a vinyl cutter and build colors from light to dark, allowing dry time and sanding between layers for clean edges. A projector lets you trace complex art directly onto the board for hand-painting. For hand-lettering, use pencil guidelines and a steady brush; fix small mistakes with a fine brush and touch-up paint, then protect the whole surface with clear coats.
Q: How should I seal and weatherproof cornhole boards for long outdoor life and maintenance?
A: Seal the entire board, including undersides and inside the hole edge, with multiple coats of a UV-stable exterior clear (spar urethane or marine varnish for maximum weather resistance, or exterior polyurethane for less ambering). Sand lightly between coats and ensure full cure before use. Pay special attention to the hole rim-round the edge slightly, paint, then seal to reduce chipping. Add rubber feet or bumpers under the front lip and leg joints to reduce water ingress and wear. Store boards indoors or under cover when not in use and reapply clear coat annually or as wear appears to maintain protection.