Aim for a consistent stance and release to sharpen your accuracy; align your feet, square your shoulders, and use a relaxed grip while you focus on a steady target. Use a smooth, repeatable motion and controlled wrist action rather than power; overpowering throws reduce accuracy and risk injury. Build precision through deliberate practice, practicing distances, adjusting angle, and monitoring follow-through to make your throws reliable under pressure.
Key Takeaways:
- Consistent stance, grip, and arm motion create a repeatable delivery and improve aim.
- Control release and follow-through by aiming at a specific board spot and maintaining a smooth, directed motion to shape trajectory.
- Use targeted drills at varying distances and angles, adjust speed and spin, and make small corrections based on results.
Understanding the Game
History of Cornhole
You can trace cornhole’s roots to centuries-old European bag-toss games, but the modern American variant evolved through midwestern backyard and tailgate play, especially around Cincinnati, Ohio, where families standardized board sizes and scoring. Over the last few decades it moved from casual pastime to organized sport, spawning regional leagues and tournaments that draw hundreds of teams and national events that showcase advanced strategy and consistency.
Objective of the Game
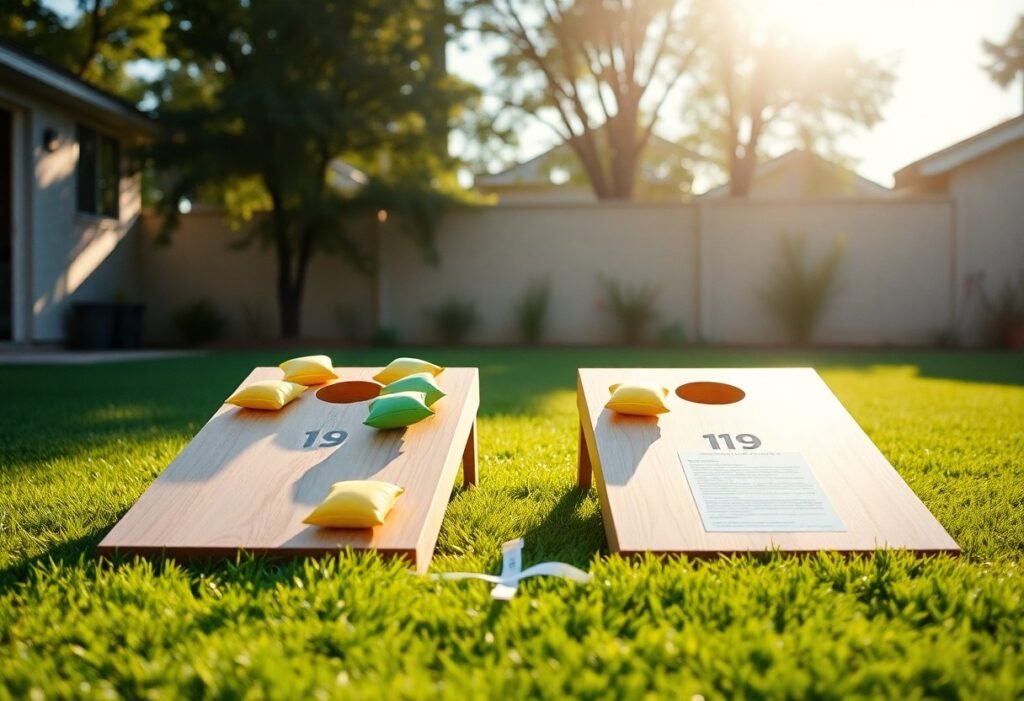
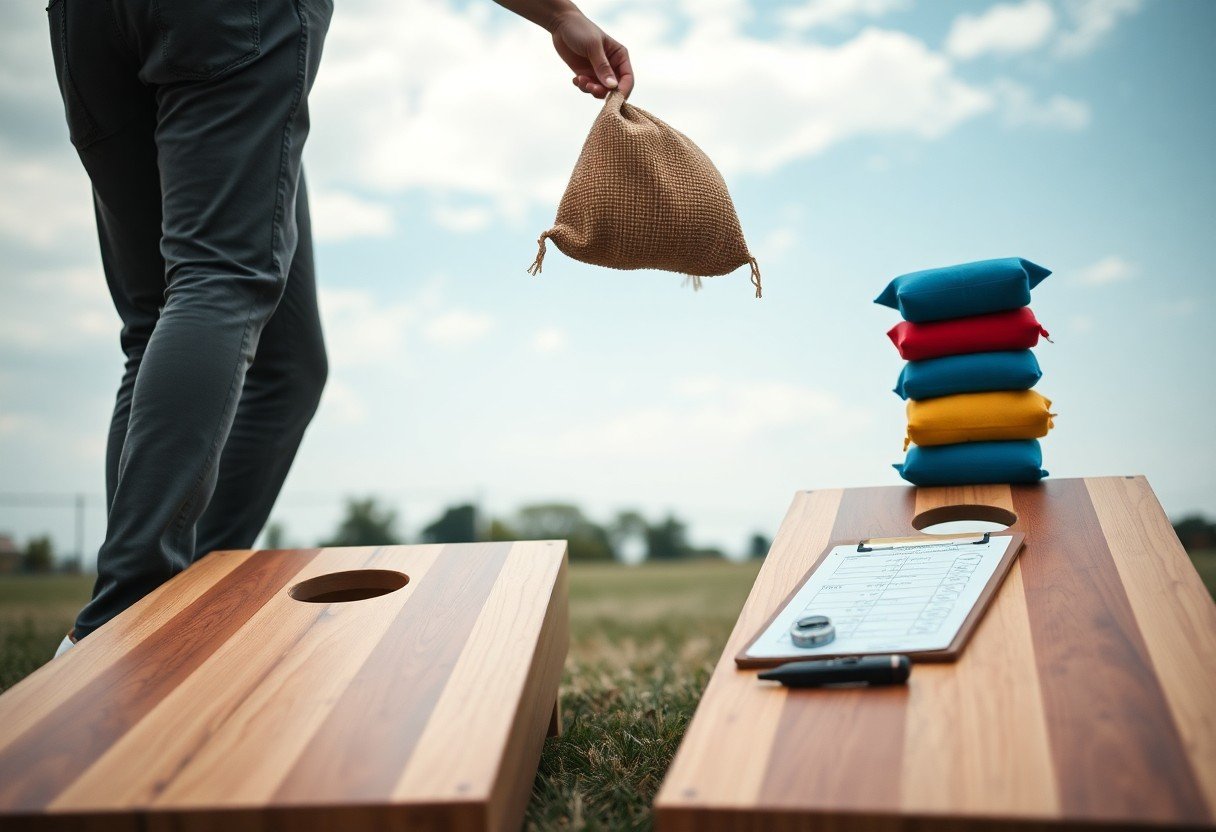
Your goal is to outscore the opponent by landing bags on the board or in the hole: a bag in the hole scores 3 points, on the board scores 1 point, and most play uses cancellation scoring each inning with games typically played to 21 points, making both precision and defensive blocking important tactical choices.
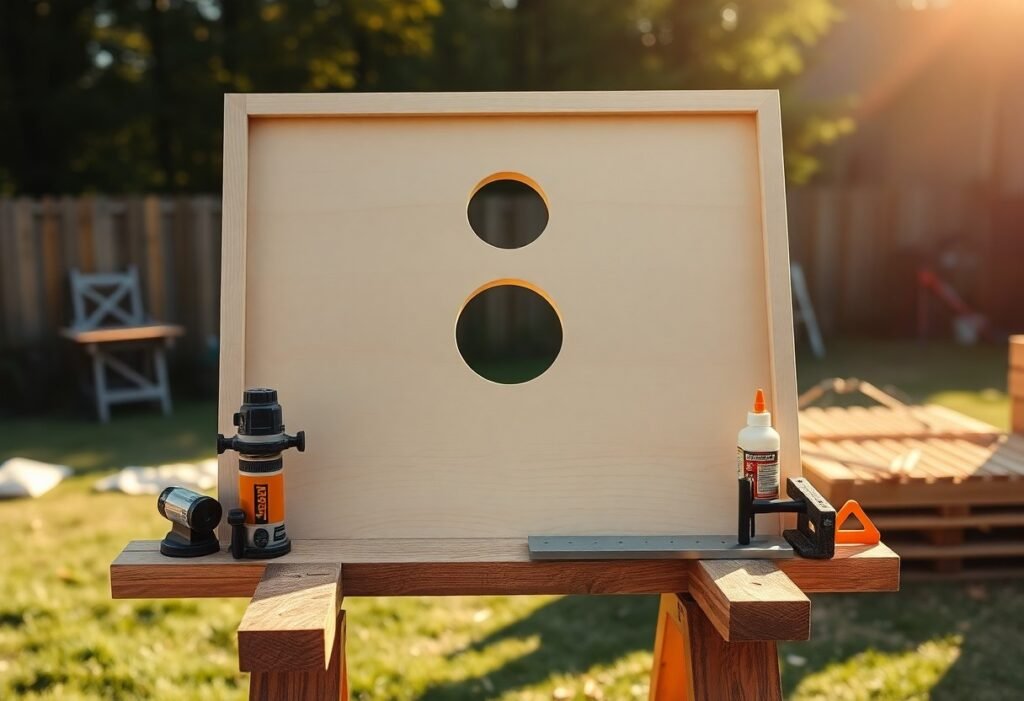
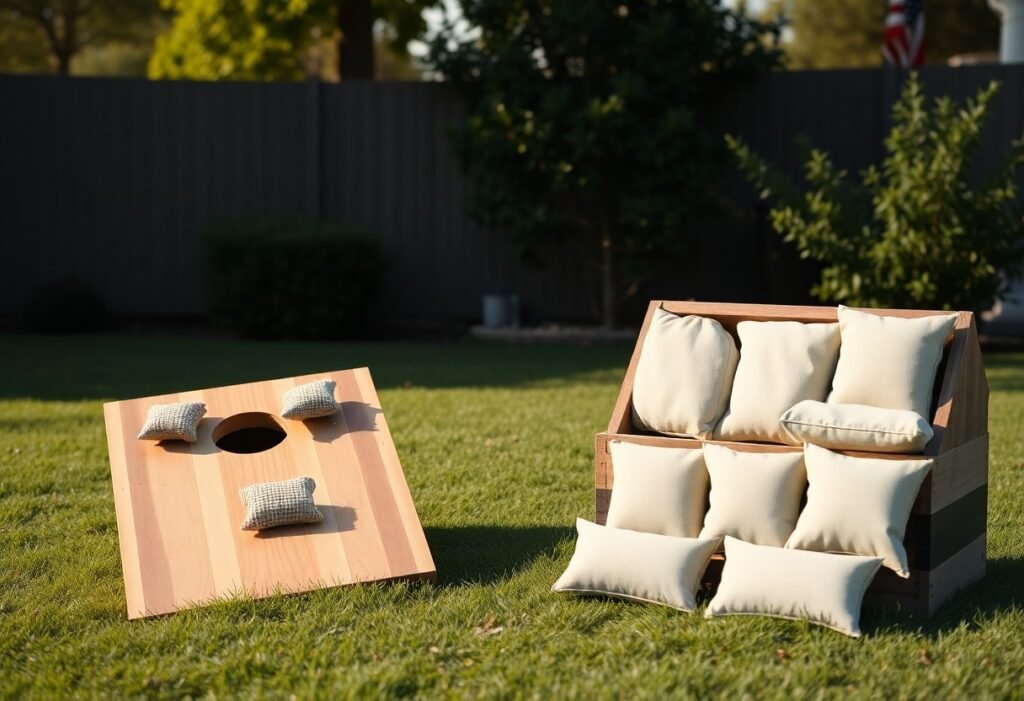
To execute that objective effectively you need to know equipment and rule nuances: regulation boards measure 48″ x 24″ with a 6″ diameter hole and front/back heights of 3″ and 12″. League rules vary-some require you to reach exactly 21, others allow overshooting-so whether you prioritize aggressive hole shots or conservative board placement depends on the event’s scoring format.
Stance and Grip
To lock in repeatable shots, you should set your feet and hand with intention before every toss. Stand with feet shoulder-width (~18-24 in), lead foot 6-12 in ahead, knees bent 10-15°, and shift ~60% of your weight forward to promote a smooth transfer. Align hips and shoulders square to the target; keeping your shoulders square produces the most consistent line, while leaning too far forward risks balance and wild releases.
Proper Stance
Place your lead foot aimed at the hole and your rear foot slightly angled for stability, keeping your torso upright and knees soft. Maintain a consistent heel-to-toe anchor so you can reproduce the same stance across 30-50 throws; this lets you measure improvement by reducing lateral drift. Practice holding the same foot placement for sets of 25 throws-consistency in foot placement noticeably tightens your shot grouping.
Grip Techniques
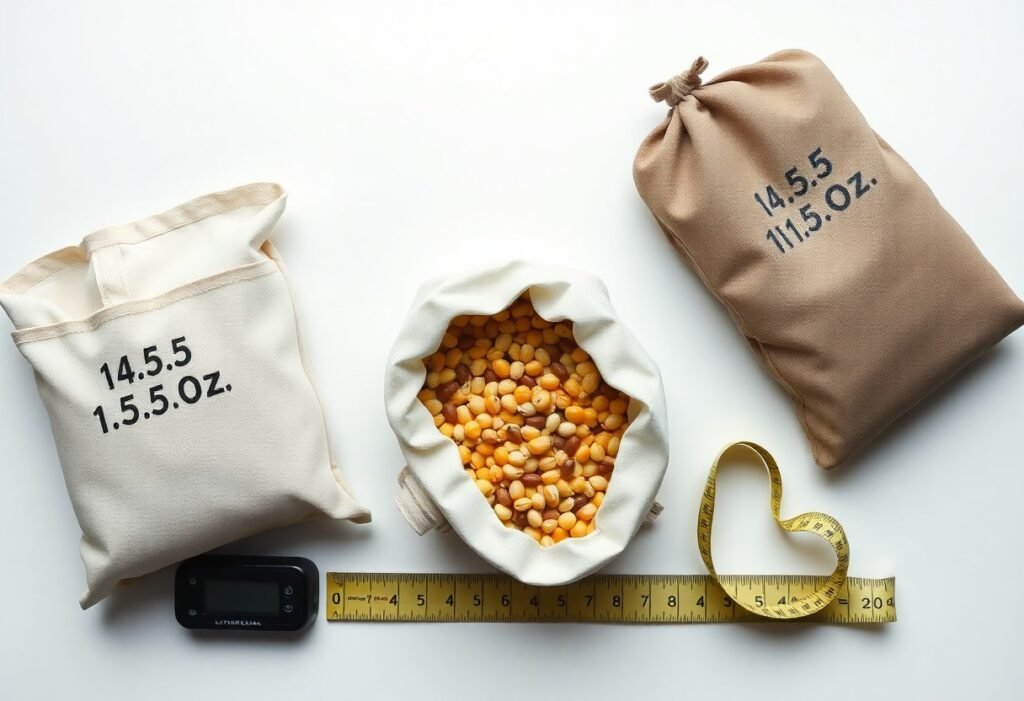
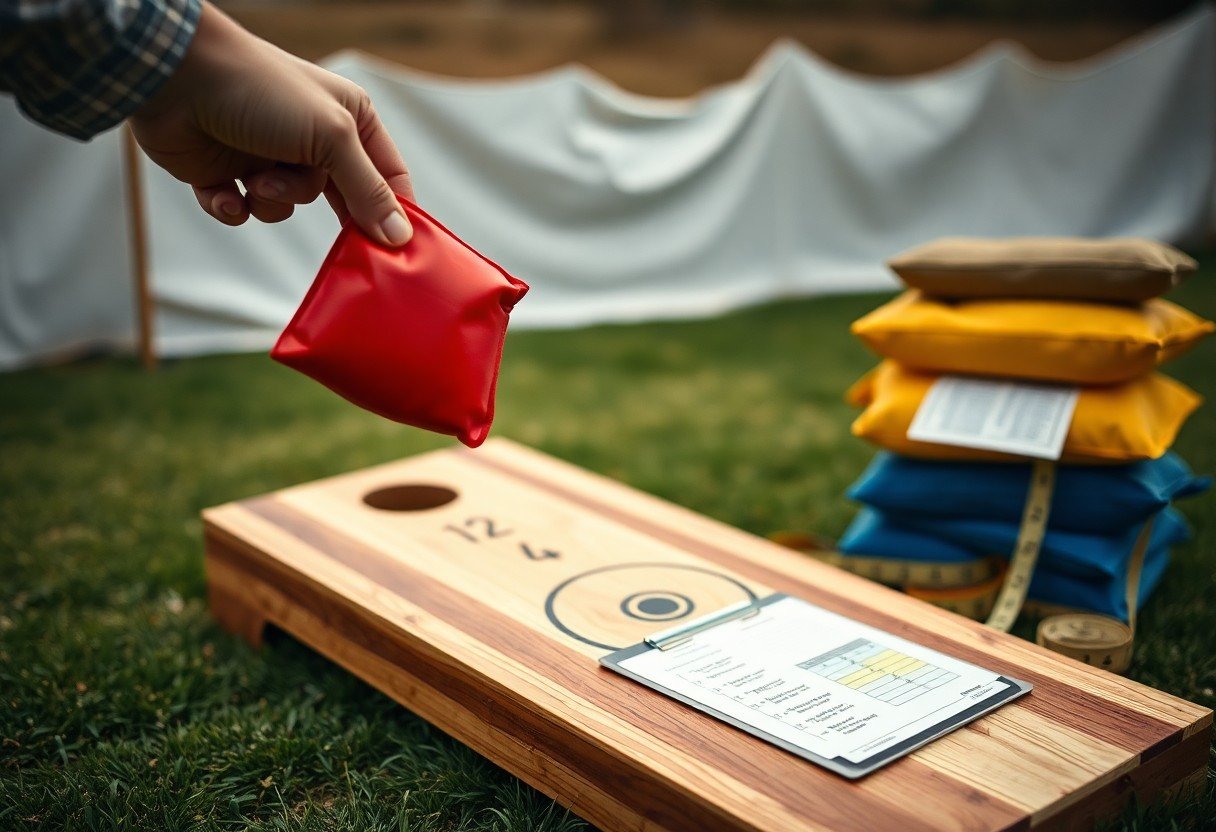
You should pick your grip based on the bag’s 6×6 in, 15-16 oz profile: pinch (thumb and forefinger) produces a tight, low-arc shot; cup (palm under bag) creates a higher arc and softer landings; wrap grips increase stability in wind. Keep pressure even and release from the same seam; thumb placement under the seam often yields better spin control and a firmer grip reduces slip.
When refining grip, you should focus on a repeatable release: let your hand pass roughly hip height and apply a small wrist snap for mild backspin-this helps the bag slow on impact. Try 50 throws per grip and track board hits versus holes to pick the best option. Avoid an exaggerated wrist flick-over-rotation creates erratic arcs and lost points-while controlled backspin helps bags settle on the board.
Throwing Techniques
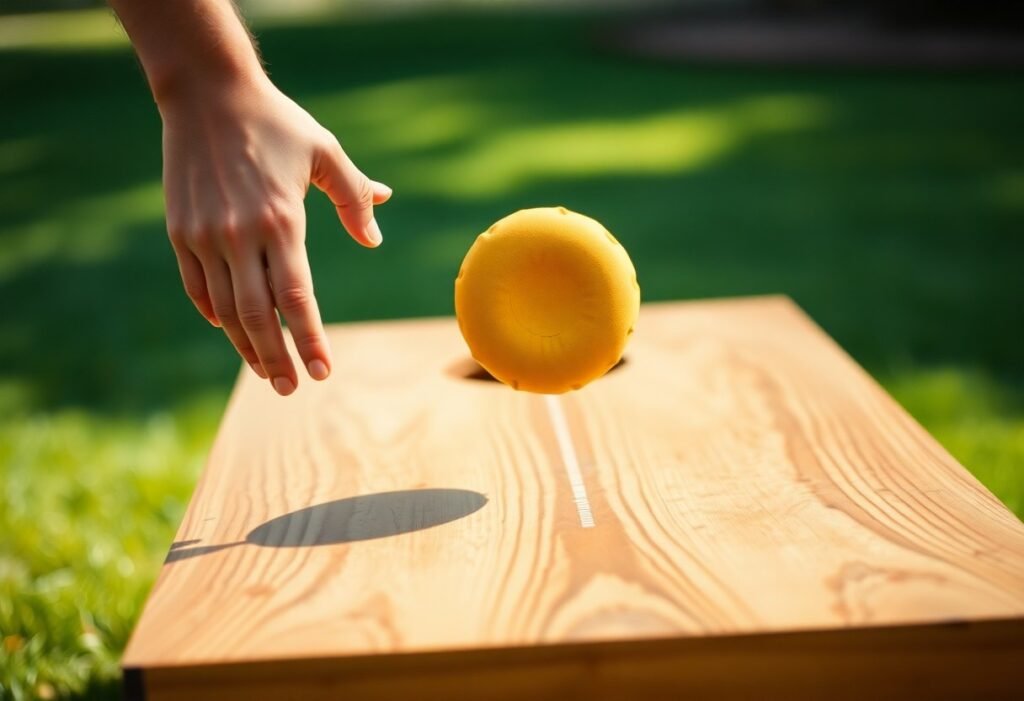
Fine-tune your motion by focusing on a repeatable release, consistent follow-through, and a steady pace; practice sets of 25-50 throws to build muscle memory. Use a simple 3-count rhythm-step, release, follow-through-and concentrate on releasing with the palm facing the target. If you want more drills and community tips, see How to improve throw and consistency in cornhole? Your release point is the single most reliable path to better aim.
Flat Throws
When you perform flat throws, keep the arc low-generally under 1-2 feet-to let the bag slide toward the hole. You should release with minimal wrist rotation and a steady forward arm, aiming at the front of the hole so a sliding bag can carry in. Practice 30-50 flat throws from the regulation 27 ft distance to dial in speed; low-arcing shots give predictable results but can skid on wet boards.
Lofted Throws
Lofted throws use a higher trajectory to drop the bag softly onto the board or into the hole, ideal for clearing blockers. You should drive with a higher elbow and an upward follow-through, releasing slightly earlier so the bag peaks midway; target a consistent peak of about 2-3 feet above the board. Beware that over-lofting often causes bounce-outs and lost accuracy.
To refine your loft, do a focused drill: place a marker 2-3 feet above the board and attempt 30 throws aiming to clip it, then record your make-rate. Shift weight from back to front on release, keep the bag flat in your hand, and avoid excessive wrist flick. With roughly 150 focused reps many players improve their soft-landing success from about 30% to over 60%-measure your progress each session.
Aiming Strategies
When aiming you should treat the board as three scoring zones: the hole (6″ diameter, centered 9″ from the top), the board surfaces for slide-ins, and the front lip for blockers. From regulation distance (27 ft), adjust velocity so the bag lands with enough forward momentum to slide-too steep a trajectory causes bounce-offs. Use consistent foot placement and align your dominant eye over the line between your target and release to reduce variance.
Targeting the Board
You can pick aim points: a direct line to the hole for drop-ins, 2-4 inches to either side of the hole for controlled slide-ins, and 6-12 inches in front when setting blockers. Change your release angle and wrist snap: flatter releases favor slides, higher arcs favor drop-ins. Practice 30-50 throws from regulation distance, tracking how often each aim point yields a 3-point score to quantify which spot works best for your throw.
Using Visual Aids
You should mark consistent visual anchors: a 1″ colored sticker 6″ left or right of the hole to practice slide-ins, a 2″ dot at the center for drop-in reps, and tape on your stance at the 27‑ft mark to lock foot placement. Many experienced players see immediate improvement by limiting decision-making to one of these fixed targets; the best gains come in the first 100 practice throws.
For deeper work, combine visual aids with drills: run a 50‑bag drill hitting the sticker, then a 50‑bag drill hitting the center dot, and record hit rates – aim to raise your dot-hit percentage by 10 percentage points over a week. Adjust markers for wind and lighting: shift the sticker 1-2 inches into the wind and use high‑contrast colors under low light. Video your reps to check alignment and release timing against the visual target.
Practice Drills
To build consistency you should structure practice into focused blocks: warm-up (5 minutes), technique (20 minutes), and pressure simulation (15-30 minutes). Aim for 50-100 throws per session, cycling through three distances-regulation 27 ft, 24 ft, and 21 ft-to hone depth control. Include drills that isolate release timing, follow-through and lateral alignment, and record 10 throws per block with your phone for mechanical feedback.
Solo Practices
Use spot shooting: take 25 throws from left, center, and right positions and track makes to push toward an 80% success goal. Try the clock drill-four stations around the board with 8 throws each-to improve angle consistency. Also include blind-release reps (10 throws) to lock in muscle memory and 20-minute sessions focused solely on one variable, like release height or wrist snap.
Partner Drills
Run pressure sets with a partner: alternate five-throw rounds where the loser does a short penalty (10 bodyweight squats) to simulate fatigue. Use cancellation scoring for head-to-head practice and have your partner vary tempo or call distractions so you learn to adjust under match-like stress. Emphasize communication about blockers and line choices between rounds.
For structured improvement, alternate roles as shooter, spotter, and stat-keeper: execute alternate 10-shot sets, swap roles, and log make percentage plus average distance error; aim to reduce that error by about 20% over four sessions. Practice tactical drills where one partner must place three blockers before attempting the hole to train precision and strategic placement under pressure.
Common Mistakes to Avoid
You often lose points not from bad aim but from avoidable errors: overthinking your mechanics mid-round, flattening the arc, or dropping follow-through. At the regulation distance of 27 ft, small faults-like inconsistent release timing or a wrist flip-can shift the bag 4-6 inches off target. Focus on eliminating one mistake per practice block (50-100 throws) to convert minor leaks into measurable gains.
Overthinking the Throw
When you dissect every micro-motion between points, your body reverts to habit and performance drops. Instead, isolate one variable-grip pressure, release point, or arc-and run 50 focused reps before changing anything. Professional players often use a simple pre-shot routine (3 seconds max) to prevent analysis paralysis and keep mechanics automatic under pressure.
Poor Follow-Through
Stopping your arm at release or failing to point toward the hole introduces lateral error and shortens distance. Maintain a smooth extension toward the target and hold the finish for about 1 second; that consistency stabilizes trajectory and reduces side spin. Treat the follow-through as part of the shot, not an afterthought.
To fix poor follow-through, run a drill: take 30 throws from regulation distance, forcing a full arm extension and a 1-second hold after release, then compare landing spots. Record video from the side to check elbow height and wrist alignment-aim for a straight elbow-line toward the board. Repeat twice weekly until your bags cluster within a 6-8 inch radius of your target.
To wrap up
On the whole, you solidify aim by refining stance, grip, and smooth release, practicing consistent reps and targeted drills to dial in trajectory and speed. Use visual references on the board, make small adjustments between throws, and focus on routine under pressure to transfer skills to games. With deliberate, measured practice your accuracy and confidence will steadily improve.
FAQ
Q: What stance and grip produce the most consistent aim?
A: Adopt a balanced, slightly staggered stance with your lead foot pointed toward the board, weight on the balls of your feet and a slight knee bend. Hold the bag flat with two or three fingers under the seam and a relaxed thumb on top so the bag can slide off cleanly; avoid a death grip. Keep your elbow close to your body and use a pendulum-like forearm swing from the shoulder, maintaining the same pre-throw position every time.
Q: How do I pick and use an aiming point for repeatable throws?
A: Select a small, repeatable target such as a board corner, a seam, or a spot just in front of the hole and align your shoulders and hips to that point. Bring the bag to a consistent anchor position and release when your arm line points through the target; use the same eye-arm alignment each throw. Make incremental corrections based on where bags land-if they miss left, shift the aim slightly right; if they’re short, increase follow-through or power a little.
Q: What release timing and follow-through give the best accuracy?
A: Release when your throwing arm is slightly forward of your hip with a neutral wrist or a subtle snap to generate controlled backspin. Follow through by pointing your fingers at the target and extending your arm in a smooth arc; this locks in line and speed. A consistent release point and committed follow-through reduce wobble and unpredictable bag behavior on the board.
Q: How should I adjust throws for distance, speed, and wind conditions?
A: For close range use softer throws with higher arc so the bag lands gently; for longer range increase arm speed and flatten the arc for distance. Control speed primarily by changing backswing length and arm tempo, not grip pressure. In breezy conditions aim slightly into the wind and reduce loft to keep the bag on line; practice in varied conditions to learn how many inches or degrees of aim adjustment each condition requires.
Q: Which practice drills improve aim fastest and how often should I practice?
A: Use focused, repeatable drills: spot drill – place several small targets on the board and throw 20 bags at each; ladder drill – throw from multiple distances to train distance control; release drill – film or feel your release and repeat the exact position 50 times; pressure drill – play short scored games to simulate match pressure. Keep sessions short (20-45 minutes), practice multiple times per week, and track outcomes to make one small adjustment at a time.