Most lacrosse injuries involve the neck, shoulder, or knee, but you can reduce risk by prioritizing proper technique, strength and mobility training, and sport-specific conditioning. You should address neck stability, scapular control, and hip-knee alignment to prevent dangerous issues like knee ligament tears and chronic shoulder instability, and use appropriate protective gear while maintaining rest and progressive overload to keep your body resilient.
Key Takeaways:
- Build neck strength and mobility, use proper helmet fit and head-positioning to reduce strain and collision impact.
- Protect shoulders with rotator-cuff and scapular-stabilizer exercises, reinforce proper throwing/checking mechanics and use support for instability.
- Prevent knee injuries with hip and hamstring/quadriceps strengthening, neuromuscular training (balance/agility), proper cutting technique and appropriate footwear or bracing when needed.

Understanding Common Lacrosse Injuries
Neck, shoulder, and knee problems dominate lacrosse injury panels, driven by high-speed collisions, cutting, and repetitive shooting. You’ll see everything from transient brachial plexus “stingers” to shoulder dislocations and ACL tears; ACL reconstruction typically requires 6-9 months before return to play. Games carry higher injury rates than practices, so targeted prevention and timely evaluation after any neurologic or joint instability symptom are crucial.
Neck Injuries
You can get neck strains, stingers, or, rarely, cervical spine fractures from direct hits or awkward head positions; persistent numbness, weakness, or severe pain after an impact demands immediate sideline removal and medical imaging. Stingers often resolve in minutes to days, but any symptom lasting over 24 hours should trigger MRI/CT and specialist referral to rule out structural injury.
Shoulder Injuries
Shoulder problems include AC separations, anterior dislocations, and rotator cuff strains from checks, falls, or repetitive overhand shooting; surgical stabilization is considered when instability recurs or when high-grade labral tears appear on MRI. You’ll commonly see return-to-play timelines of 4-6 months after stabilization procedures, while conservative rehab for strains often focuses on rotator cuff and scapular control.
For deeper management, start progressive strengthening with external rotation, prone T/Y/I, and resisted rows 2-3 times weekly, advancing load by ~10% every 1-2 weeks as pain permits. If you experience persistent subluxation, catching, or weakness despite 6-8 weeks of rehab, obtain an MRI and discuss arthroscopic repair; early surgical consultation reduces time lost when structural damage is present.
Knee Injuries
Knee issues range from MCL sprains and meniscal tears to ACL ruptures, often occurring on cutting or a valgus collapse with or without contact. You should assess swelling, joint line pain, and instability promptly; ACL reconstruction usually mandates 6-9 months rehabilitation, and meniscal tears may need arthroscopy depending on location and locking symptoms.
To reduce risk, implement neuromuscular training-plyometrics, single-leg balance, and proper landing mechanics-2-3 times weekly; meta-analyses show such programs can lower ACL risk substantially. Return-to-play decisions should be based on objective criteria: ≥90% limb symmetry on strength and hop tests, no effusion, and sport-specific movement quality before full clearance.
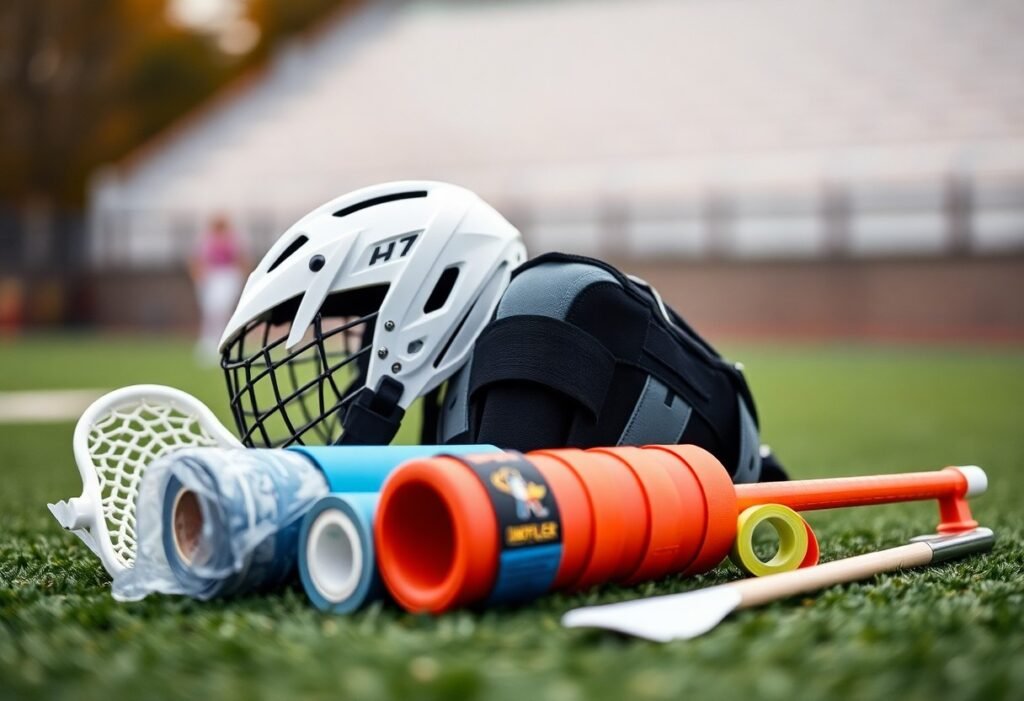
Equipment and Gear Recommendations
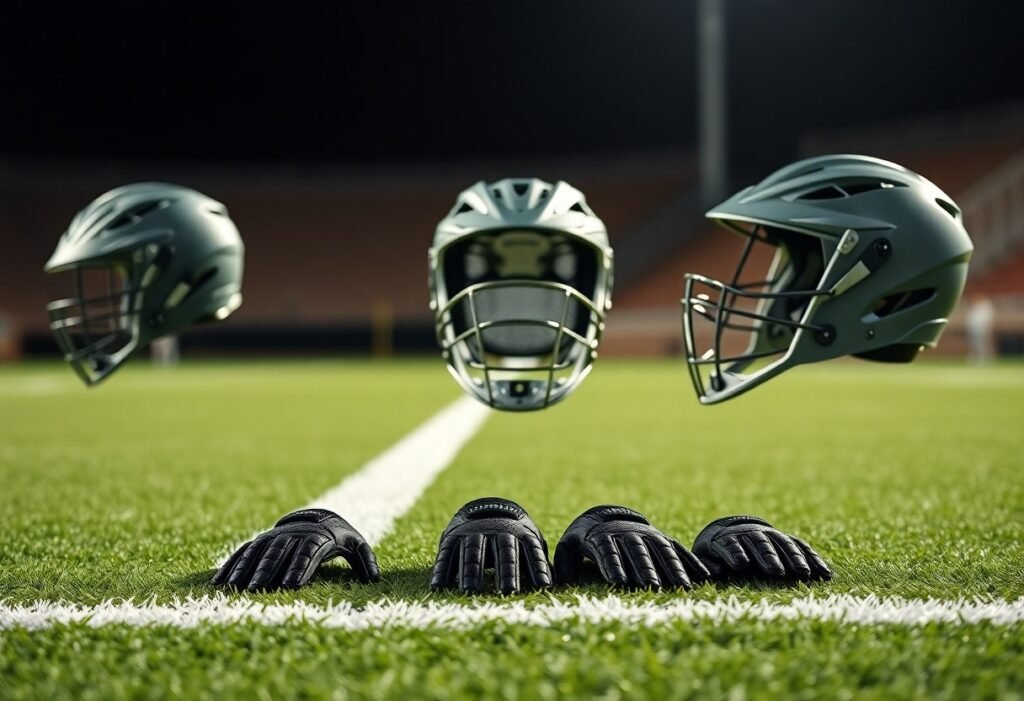
Prioritize a NOCSAE-certified helmet with a snug chinstrap and 2-finger clearance above the brow, shoulder pads that fully cover the clavicle without limiting >20% of overhead range, properly sized elbow pads and gloves, and supportive cleats with ankle stability; for knees use neoprene sleeves or hinged braces when indicated by prior injury. You should replace damaged gear immediately-helmets older than 10 years or with visible cracks must be retired to lower concussion and fracture risk.
Protective Gear Essentials
You need a helmet that fits to the skull shape, a firm chinstrap, and a high-quality mouthguard-studies show mouthguards reduce dental injuries substantially. Shoulder pads should cover the deltoid and sternum while allowing full mobility; elbow pads must protect the olecranon without impeding stick checks. For knees, choose sleeves for mild support and hinged braces after surgery only with medical clearance; gloves should balance protection and tactile feel for stick control.
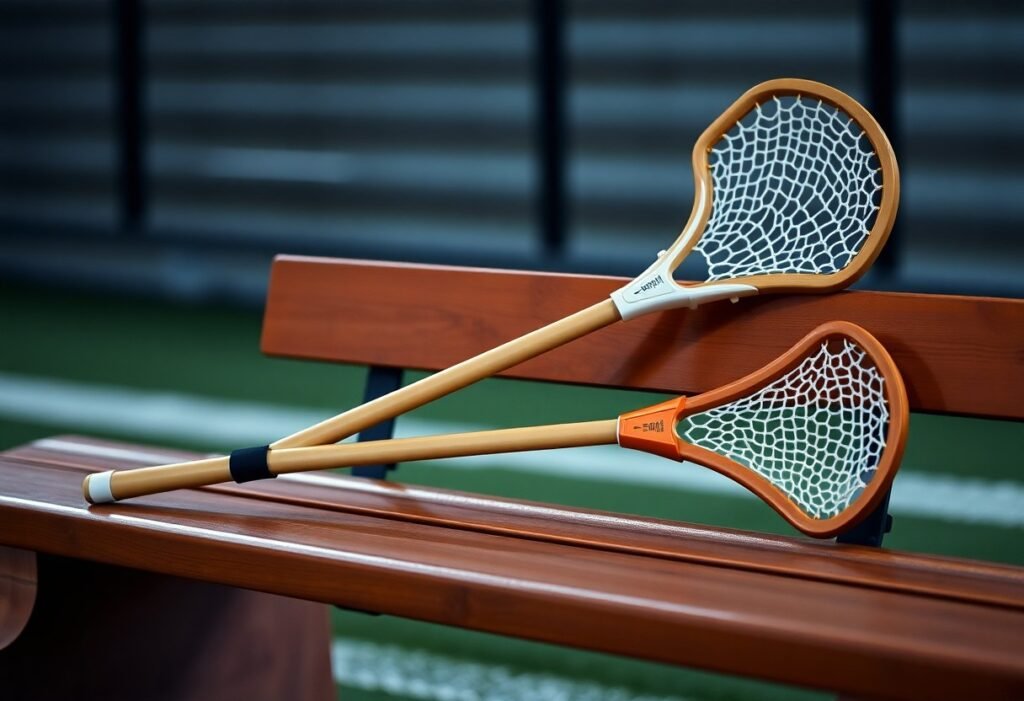
Choosing the Right Lacrosse Stick
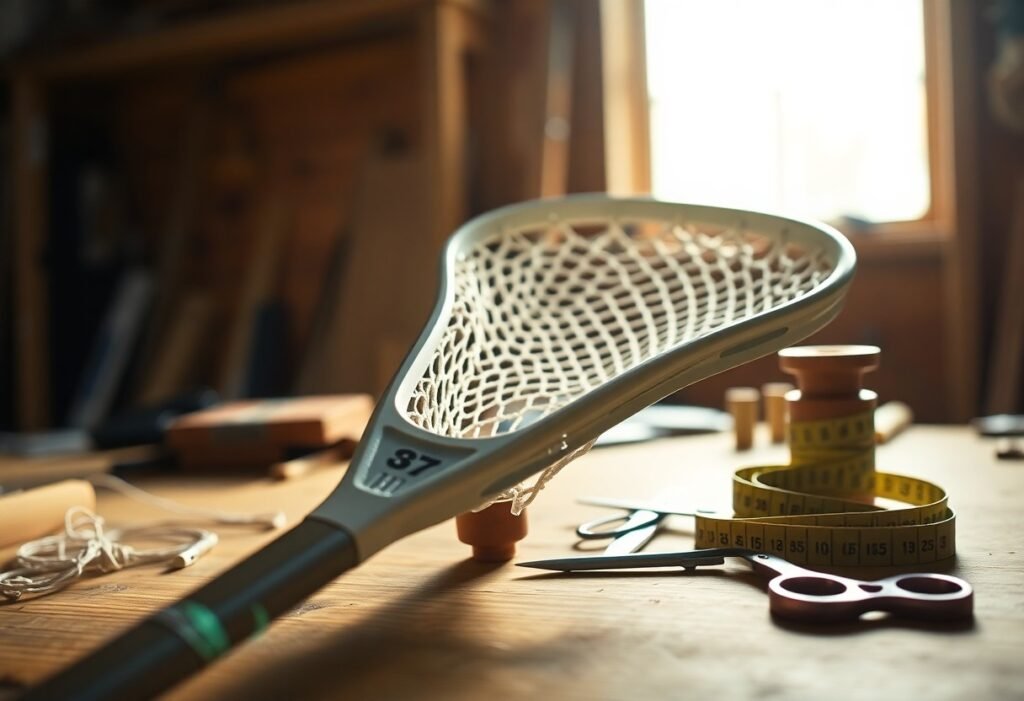
Match shaft length to position: attackers/mids typically use 40-42 inches, while defenders use long sticks around 60-72 inches; goalies use wider heads for saves. Head stiffness and pocket depth affect release and ball control, and must meet your league’s legality standards (NFHS/NCAA rules). You should demo sticks to evaluate grip, balance, and how quickly you can catch, cradle, and shoot under pressure.
When refining choice, test head types-stiffer composite heads resist checking and favor accuracy, while more flexible heads and softer mesh provide better ball feel for cradle-heavy play. Opt for mid to mid-low pockets if you want improved control and quicker ground-ball pickups, but verify pocket legality for your age group. Replace stretched mesh annually or after heavy play to maintain consistent release and minimize turnovers.
Warm-Up and Stretching Techniques
Start with an 8-12 minute dynamic warm-up to raise your core temperature and prime nervous system firing; include light jogging, high knees, butt kicks, lateral shuffles and band-resisted walks. Progressive intensity and sport-specific drills sharpen reaction times for dodging and checking, and research-based programs can reduce injury risk by up to 50% when consistently applied before practices and games.
Importance of Warm-Ups
When you progress from general to specific drills, your joints gain lubrication and muscles activate in the patterns used for lacrosse-accelerating, decelerating and cutting. Do activation sets like 2-3 rounds of 30 seconds monster walks, 12 band external rotations and 10 single-leg hops per side; skipping this step raises your likelihood of soft-tissue strains and ACL tears during high-speed play.
Stretching Routines for Lacrosse Players
Use dynamic mobility pre-play and static stretching post-play: pre-game perform 10-15 leg swings, 12 arm circles, 12 band pull-aparts and 8-10 walking lunges per leg; after practice hold hamstring, quad, hip-flexor and pec stretches for 30-60 seconds each to restore length and reduce soreness. These choices directly target shoulder stability and knee mechanics.
Daily mobility sessions of 10-15 minutes amplify benefits: include 3×10 monster walks, 3×8 single-leg RDLs, 2×30s cervical isometrics and a 5-minute foam-roll flow. Improving hip external rotation and glute control prevents excessive knee valgus, a common mechanism for ACL injury, while consistent progression in load and range protects your neck and shoulder under contact.
Strengthening Exercises
Integrate targeted strength work 2-3 times per week, using 3 sets of 8-15 reps for key lifts and 10-30s holds for isometrics; for program ideas see Stay in the game: Tips for avoiding lacrosse injuries. Prioritize progressive overload, rest 48 hours between intense sessions, and focus on movement quality to lower acute overload and overuse risks.
Targeting the Neck
You should perform cervical isometrics and band-resisted flexion/extension for 3 sets of 10-15s holds, plus graded side-bending and rotation drills; these strengthen deep neck flexors and extensors that absorb contact forces. Add controlled head tolerance drills after 2-3 weeks of baseline strengthening to reduce risk of cervical strain and secondary headaches.
Shoulder Strengthening
Start with rotator cuff external/internal rotations, prone Y/T/I raises, and scapular rows: 3 sets of 12-15 with light resistance, 2-3×/week. Emphasize eccentric control and scapular upward rotation to improve shot power and reduce risk of AC joint and labral injuries.
Progress by adding weighted carries (farmer’s walks), single-arm rows, and plyometric throws-aim for 2-4 weeks per progression phase. Use load increments of 5-10% once you can complete target sets with perfect form; if you experience persistent sharp pain or >7/10 pain during drills, stop and consult a clinician to rule out instability or rotator cuff tear.
Knee Stability Exercises
Implement single-leg squats, lateral bounds, hip-abductor strengthening (clamshells, band walks) and Nordic-style hamstring work: 2-3 sessions weekly with 3 sets of 8-15 reps. Focus on trunk control and avoiding valgus collapse to lower ACL and MCL injury risk.
Advance by adding drop-jump technique work, reactive neuromuscular drills, and progressive plyometrics while monitoring knee valgus on video; structured neuromuscular programs have shown injury reductions of up to 50% in high-risk groups. Prioritize hip/glute strength and eccentric hamstring capacity to balance quad dominance during cutting and deceleration.
Injury Prevention Strategies
Combine preseason screening with targeted strength, mobility, and load management. Perform 2-3 strength sessions weekly emphasizing single-leg work, hip bridges, and rotator cuff exercises; warm up dynamically for 10-15 minutes before practice. Include neuromuscular training-programs can reduce ACL risk by up to 50% in youth athletes. Inspect gear every week for fit and wear, and limit training-load increases to about 10% per week to lower overload injuries.
Safe Playing Techniques
Adopt body-first contact: lead with the shoulder and keep your head out of hits, use the stick to shield space, and avoid reaching or lunging across the opponent which raises shoulder-dislocation and ACL risk. Practice defensive footwork and drop-step drills 2-3 times per week, and run coach-led video reviews to correct high-risk patterns; teams using structured technique programs often report notable injury reductions within 8-12 weeks.
Recognizing Symptoms Early
Watch for immediate swelling, an audible pop, inability to continue, inability to bear weight, locking, numbness, or neck pain radiating into the arms; any dizziness, confusion, or loss of consciousness signals possible concussion and needs immediate removal from play. If symptoms persist beyond 48 hours or you notice instability, seek clinical evaluation promptly.
After an incident, document mechanism, rate pain 0-10, and compare range of motion side-to-side. Use a sideline tool like SCAT5 within 10 minutes for suspected concussion and re-assess at 24-48 hours. Photograph visible swelling and note time course. If the joint repeatedly gives way, locks, or you experience persistent neurological signs, get imaging (x-ray or MRI) and an orthopedic consult within 72 hours to guide early rehab and limit long-term damage.
Recovery and Rehabilitation
You should prioritize staged recovery to reduce re-injury and regain performance. In the first 48-72 hours focus on reducing inflammation with ice for 20 minutes every 2 hours, elevation, and protected weightbearing. Use gradual mobility by day 3-7 and introduce isometrics within pain-free limits. Track progress with objective measures-pain scores, ROM degrees, and strength percentages-so you can move from protection to load without setbacks.
Initial Care for Injuries
If you suspect a neck, shoulder, or knee injury, immediately assess for deformity, loss of distal pulse, numbness, or spine tenderness and seek emergency care. For minor sprains apply ice 20 minutes every 2 hours, compression, and elevation for 48-72 hours while limiting activity. Start gentle pain-free ROM within 48-72 hours to prevent stiffness, and contact your team physician within 72 hours if pain, swelling, or function worsens.
Rehabilitation Techniques for Athletes
Progressive programs focus on strength, neuromuscular control, and sport-specific loading. Phases should include (1) pain-controlled mobility, (2) strength and proprioception with single-leg squats and banded external rotations 3×8-15, and (3) plyometrics and on-field drills. You should meet return-to-play criteria: pain-free sport tasks, ≥90% strength symmetry, and successful single-leg hop or sport-specific tests. Typical timelines range 4-12+ weeks depending on severity.
For neck rehab perform deep neck flexor isometrics (10-second holds, 3×10 daily) and scapular stabilization drills. Shoulder work should include rotator cuff external rotations and Y‑T‑W sets with a band 3×12-15 plus scapular retractions and eccentric control. Knee protocols use eccentric quadriceps work, Nordic curls, progressive single-leg hops and balance drills over 4-8 weeks. After ACL reconstruction expect a 6-9 month progression; using blood flow restriction (BFR) during low-load strength phases can help preserve muscle when heavy loading isn’t possible.
Summing up
On the whole you protect your neck, shoulder and knees by prioritizing proper warm-ups, sport-specific strength and mobility work, technique refinement, protective equipment and load management; maintain balanced strength, scapular and core control, hip-knee alignment, and progress drills gradually; use taping or braces when indicated, address pain early with a clinician, and schedule rest and targeted rehab to reduce recurrence, so you stay on the field and perform at your best.
FAQ
Q: What dynamic warm-up and mobility work best to prevent neck, shoulder and knee injuries before lacrosse practice or games?
A: Start with 8-12 minutes of full-body movement to raise heart rate (light jog, skips, lateral shuffles), then perform sport-specific dynamic mobility: controlled neck rotations and chin tucks, band-resisted shoulder circles and arm swings, thoracic rotations, hip CARs (controlled articular rotations), walking lunges with trunk rotation, and single-leg balance reaches. Finish with 3-4 progressive sprint and cutting drills at 50-90% speed to prime neuromuscular control. Do the sequence 3-5 times per week or before every session.
Q: Which strengthening exercises reduce risk to the neck, shoulder and knee, and what frequency and loading work best?
A: Neck: 2-3 sets of 8-12 controlled isometrics (flexion, extension, lateral flexion) and resisted chin tucks using a band. Shoulder: rotator cuff work (external/internal rotation 2-4 sets of 10-15), scapular stabilizers (prone Y/T/I, rows, band pull-aparts) 2-3 times weekly. Knee: hip-abductor and glute-max strength (side-lying clams, monster walks, single-leg Romanian deadlifts), eccentric quadriceps (controlled decline squats) and Nordic hamstring progressions, 2-4 sets of 6-15 reps depending on load. Progress load gradually, include single-leg balance and plyometric exercises once basic strength is established, and prioritize quality movement over heavier loads.
Q: How can players reduce neck and shoulder injuries during contact, checks and shooting/clearing mechanics?
A: Teach and practice proper contact technique: keep the head up and spine aligned, avoid leading with the head, use the shoulder and torso to absorb force, and maintain a stable base with bent knees. For checking, use controlled, legal body position and stick placement rather than striking with the helmet or upper shoulder. For shooting and clearing, optimize trunk rotation and scapular control to distribute force through the core and pelvis rather than overloading the shoulder. Use a well-fitted helmet with correct chin strap tension and properly sized shoulder pads to ensure protection without restricting mobility.
Q: What neuromuscular and movement training prevents knee injuries like ACL tears during cutting, landing and change-of-direction?
A: Implement a structured program emphasizing landing and cutting mechanics: teach soft, hip-dominant landings with knees aligned over toes, deceleration drills, unplanned cutting at sport pace, and reactive decision-making. Pair these with strength work for glute med/max and hamstrings, single-leg stability drills, and progressive plyometrics focusing on symmetrical landings. Perform these drills 2-4 times weekly in preseason and 1-2 times weekly in-season. Monitor fatigue-technique degrades when tired, increasing injury risk.
Q: When should tape or a brace be used for neck, shoulder or knee issues, and what are safe return-to-play criteria after an injury?
A: Use prophylactic taping or a functional brace for knees when there is prior instability or following clinician guidance; shoulder taping can help with proprioception during early return but does not replace rehabilitation. For the neck, supportive measures and activity modification are appropriate after medical assessment. Return-to-play criteria should include pain-free sport-specific movement, full or near-full range of motion, strength ≥90% of the uninjured side, successful completion of progressive on-field drills and cutting/speed tests, and clinician clearance. If swelling, giving way, sharp pain, new numbness/tingling, or persistent instability occur, stop activity and seek medical evaluation.