
There’s vital gear that will get you on the ice safely and confidently: proper curling shoes or grippers for traction and slide, a sturdy broom for shot control and sweeping, and a well-maintained stone for consistent delivery; be aware of sharp steel edges on shoes and stones that can cause injury. This guide helps you choose, fit, and maintain your equipment so you can develop technique and enjoy the sport.
Key Takeaways:
- Buy proper footwear: one sliding shoe (replaceable slider) and one gripper; fit and sole condition directly affect balance and delivery.
- Pick the right broom and practice sweeping: head material and pad change ice response, while handle comfort and correct pressure/angle control stone speed and curl.
- Dress and equip for safety and comfort: layered, flexible clothing, non-slip gloves and knee protection; use practice throws to learn stone weight and read ice conditions.
Types of Curling Equipment
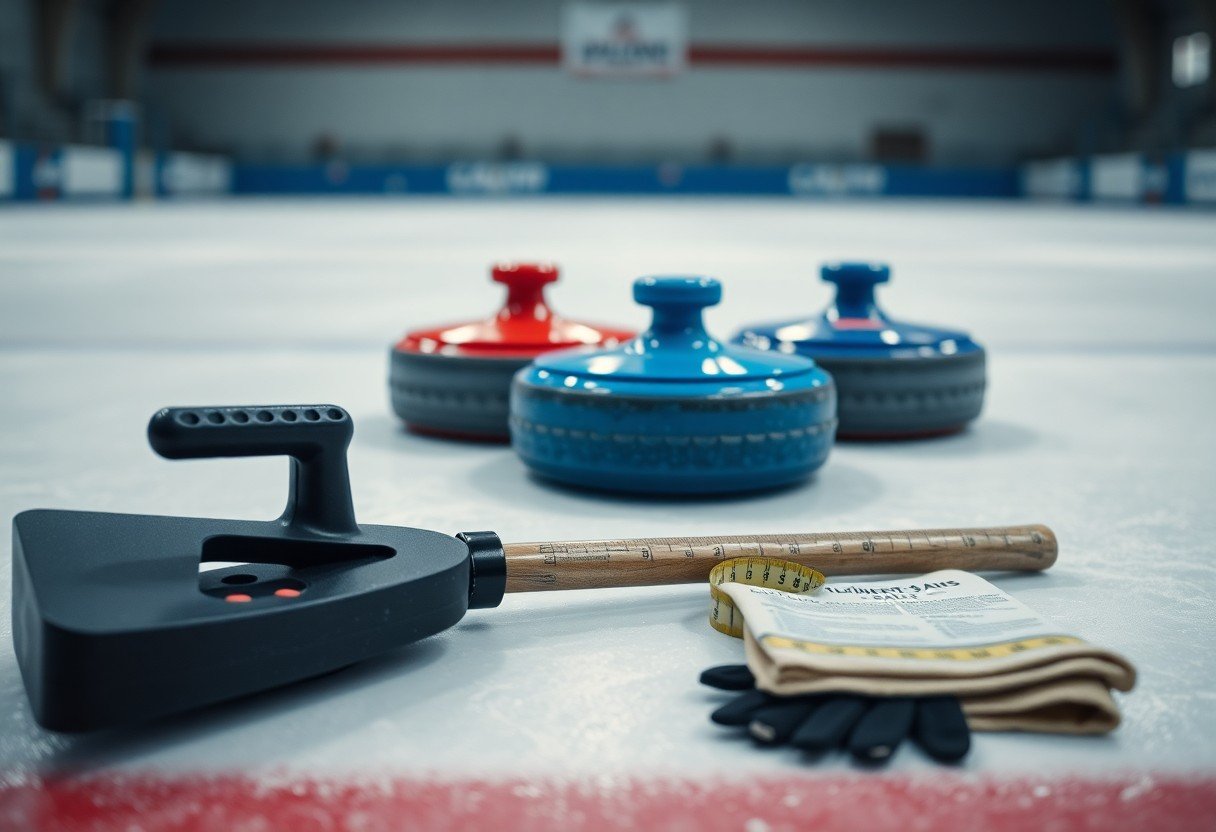
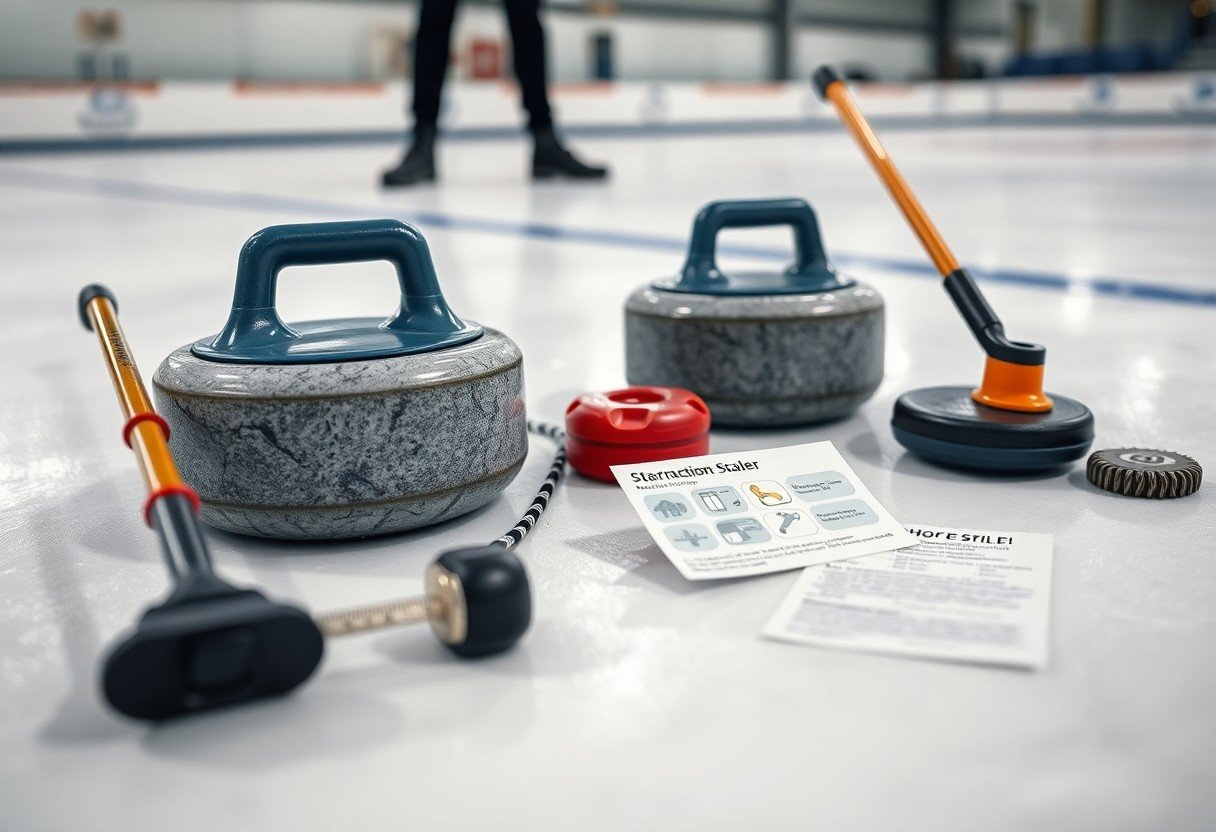
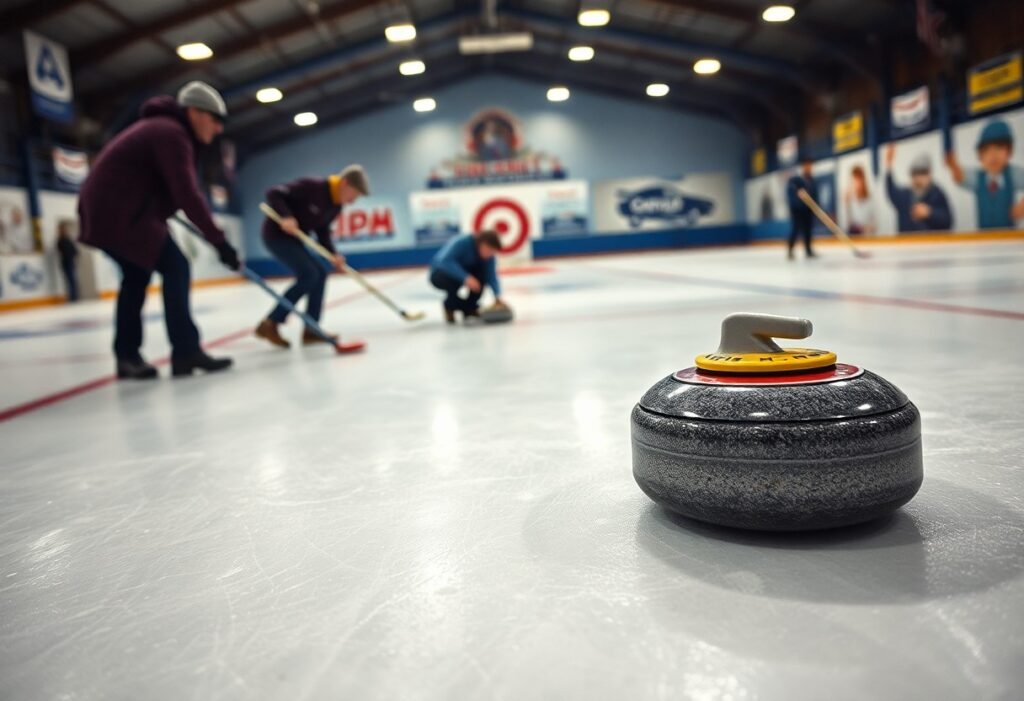
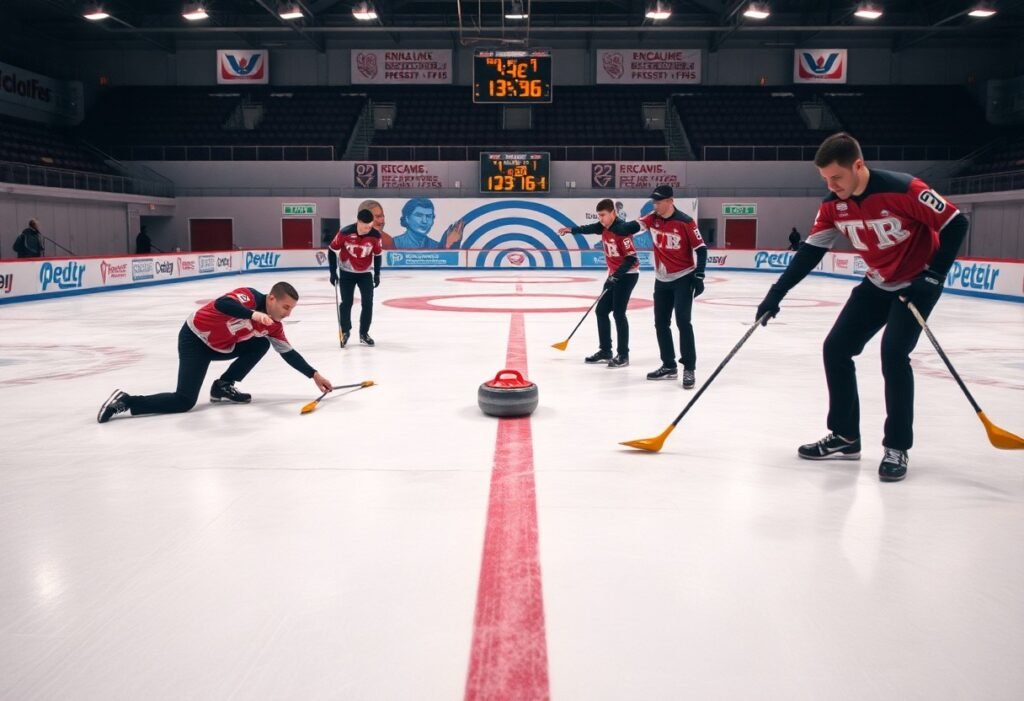
You’ll encounter four primary items on the ice: curling stones, brooms, shoes, and clothing, each affecting line, weight, and safety. Inspect stones for chips and handles for tightness because a loose handle or cracked band can cause serious injury. Choose brooms and shoes that match your role-skippers need different control than sweepers. This quick reference helps you select gear that improves performance and reduces risk.
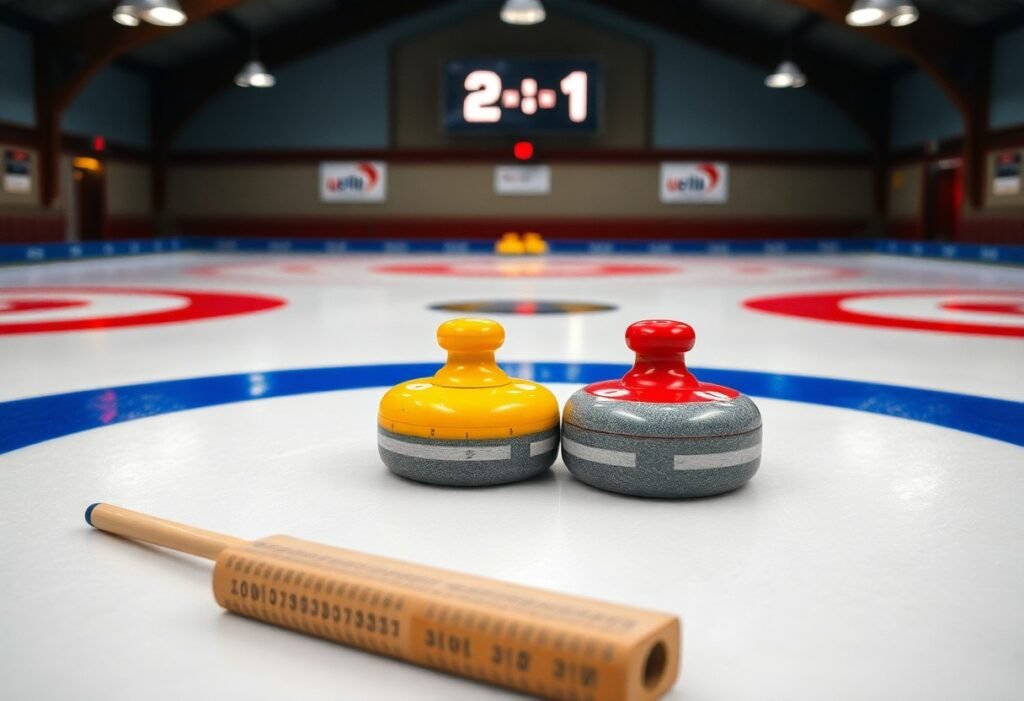
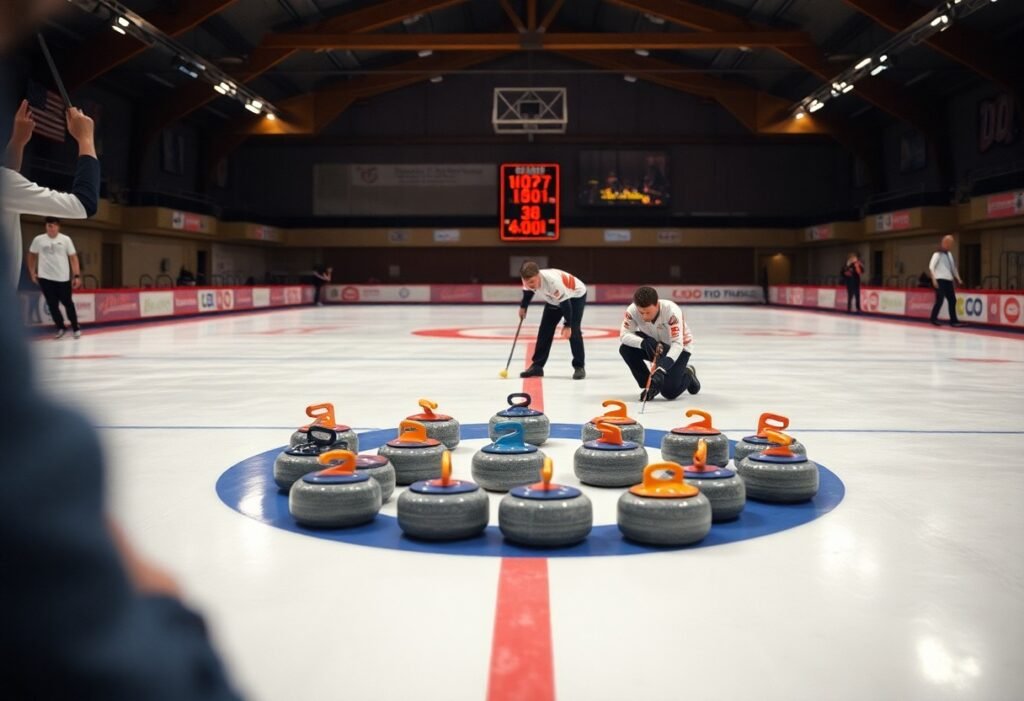
| Curling Stones | 38-44 lb granite, colored handles, running band condition controls curl and speed. |
| Brooms | Brush, push, and directional heads; synthetic fabrics dominate; length ~90-125 cm for leverage. |
| Shoes | One slider sole (Teflon/plastic) and one gripper; interchangeable soles common for maintenance. |
| Clothing | Stretch, breathable layers; avoid heavy denim; water-resistant outer layer helps on cold ice. |
| Accessories | Sliders, gripper pads, stabilizers, and brush heads; keep spares-wear on ice is frequent. |
- Curling Stones
- Brooms
- Shoes
- Clothing
- Accessories
Curling Stones
You handle stones that weigh 38-44 lb (17-20 kg) and are made from Ailsa Craig or Trefor granite; chips in the running band alter curl and can cause unpredictable ricochets. When you deliver, check handle alignment and band smoothness-a rough band increases friction and steals distance. If a stone shows cracking or a loose handle, mark it out of play because the risk to you and teammates is high.
Brooms
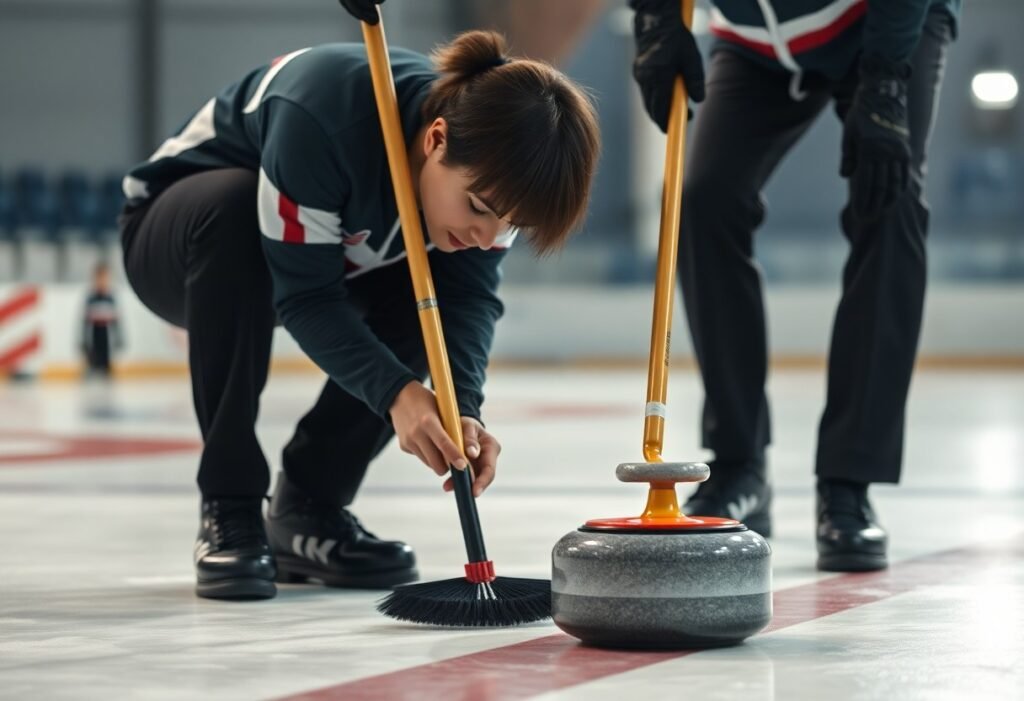
You’ll pick between brush-head, push-broom, or directional designs; modern heads use synthetic fabrics that heat the ice and reduce friction, often shifting a stone’s path by about 1-3 meters depending on speed and ice. Shaft materials like carbon fiber cut weight and increase responsiveness, and adjustable lengths (roughly 90-125 cm) let you optimize posture for powerful strokes.
In practice you should combine technique and gear: use fast, low-angle strokes and maintain broom contact for immediate effect, typically 10-20 strokes on a single delivery. Choose a head material that matches your ice-coarser fabrics on pebbled surfaces, softer microfibers on freshly pebble-scraped sheets-and swap heads mid-game if you notice reduced effectiveness.
Shoes
You wear one slider and one gripper shoe; sliders use Teflon or smooth plastic to glide while grippers prevent slips. Interchangeable soles let you convert shoes for practice or competition, and common slider materials include PTFE or gliding plastics. If your slider is worn, your delivery becomes unstable and accuracy drops.
For maintenance, you should check slider wear each session and carry a spare sole or slider sheet; many players swap to a fresh slider between games. Fit matters-your shoe should allow a stable lunge without excess toe lift-and using toe picks or rubber protectors off-ice preserves the slider surface for longer.
Clothing
You want layered, stretchy clothing that wicks moisture and lets you lunge: synthetic jerseys, softshell jackets, and flexible pants are common. Avoid heavy jeans that limit motion; polyester blends and merino wool balance warmth and breathability. Gloves improve grip on the stone and protect hands when you sweep, and layered sleeves prevent ice contact burns.
For specific picks, you should choose pants with a polyester-spandex blend and knee reinforcements if you frequently slide; jackets with a water-resistant outer and breathable membrane work in rink conditions of 4-7°C. Also keep a lightweight cap and thin gloves to manage sweat without losing tactile control.
Factors to Consider When Choosing Equipment
Balance function, fit and ice conditions when choosing gear: a granite stone runs 38-44 lb and responds to subtle release changes, shoes with the right sole affect stability and slide, and broom head stiffness alters sweep effectiveness; many beginners spend $150-$400 to outfit basics. Thou should prioritize items that protect your balance and consistency on the ice.
- Stones – weight 38-44 lb; surface finish affects curl.
- Shoes – slider vs gripper; $60-$250 ranges reflect materials and fit.
- Brooms – head stiffness and material change sweep power and control.
- Delivery sticks – useful for limited mobility; verify club rules.
- Protective clothing – breathable layers and non-slip socks improve safety.
Skill Level
If you’re a beginner, choose forgiving equipment: a removable slider, a medium-stiff broom head for consistent sweeping, and shoes with good ankle support; many novices improve markedly after 6-12 months with 2-3 practice sessions per week. As you advance, swap to precision sliders and stiffer brooms to shave off small release errors and control curl more reliably.
Budget
You can assemble functional starter gear for about $150-$400: basic shoes ($60-$100), an entry broom ($50-$100) and club rentals for stones; mid-range setups cost $300-$700, while top-tier kit exceeds $1,000. Prioritize a well-fitting shoe and a reliable slider over cheaper, ill-fitting options for safety and performance.
To stretch funds, buy used shoes or brooms from local clubs, test rental gear before buying, and replace wear items sensibly-brush heads often last ~1-2 seasons, while shoes and sliders may serve 2-5 seasons depending on use. Clubs often offer loaner gear under $10 per session, letting you trial upgrades before committing to higher-priced components.
Performance Preferences
Your sweeping style and ice types should guide choices: aggressive sweepers tend to prefer stiffer carbon-handled brooms and dense heads for more force, while finesse players choose lighter, directional heads and low-friction sliders for precise delivery; test options on your club ice to see which yields repeatable lines.
Experiment systematically: try different broom-head stiffnesses and slider materials (felt vs Teflon-style pads) and track how often your practice shots land within 0.5-1 m of the target. Focus spend on the components that consistently improve your repeatability and control, and keep notes on ice conditions so you can match gear to typical rink surfaces.

Tips for Beginners
- Stone: practice feeling the 38-44 lb rock-release timing matters more than brute force.
- Delivery: build a 5-7 step routine; consistent setup reduces errors under pressure.
- Broom: choose a 30-35 cm head and learn pressure variation-sweeping can add 2-3 m of travel.
- Slider: test Teflon for speed, nylon for control; swap pads if you catch or spin.
- Footwear: use a snug shoe with a reliable gripper on your non-sliding foot for balance.
Split practice into timed blocks-15-20 minutes on draws, 10 minutes on takeouts, and 10 on sweeping technique with a partner. Perceiving how much sweep changes a stone’s path helps you make better in-game calls.
Selecting Equipment
You should prioritize fit and function: pick a 38-44 lb stone, test brooms with 30-35 cm heads, and try slider materials on ice-Teflon for glide, nylon for control. Expect entry-level shoes at $60-$120 and brooms $40-$150; clubs often supply stones, so buy shoes and a broom first to get on-ice practice quickly.
Maintenance and Care
After each session wipe your stone’s running band and handle, dry shoes and store sliders separately, and brush broom heads to remove grit; chips, rust, or persistent dirt shorten gear life and can alter ice behavior.
If you play twice weekly inspect gear monthly: replace broom fabric after ~30-50 games, swap slider discs when you notice inconsistent slides (often every 6-12 months), and repair any stone chips promptly-clubs often refinish running bands professionally. Clean broom heads with lukewarm water and mild soap, avoid solvents on sliders, and keep shoes ventilated to prevent mold buildup; these steps preserve performance and safety.
Step-by-Step Guide to Starting Curling
Quick Start Steps
| Step | Action |
| 1. Gear | Get grippers, slider, and a brush; see the Nanaimo Curling Club – Equipment Guide for New Members for specs. |
| 2. Warm-up | Spend 10-15 minutes dynamic stretching and 5 practice slides to protect knees and hips. |
| 3. Delivery drills | Do 6-10 throws focusing on targeting the 4-foot or button; track makes per set. |
| 4. Sweeping | Practice 20-30 seconds continuous sweeping; sweeping can add 1-3 m to stone distance and reduce curl. |
Getting Familiar with the Basics
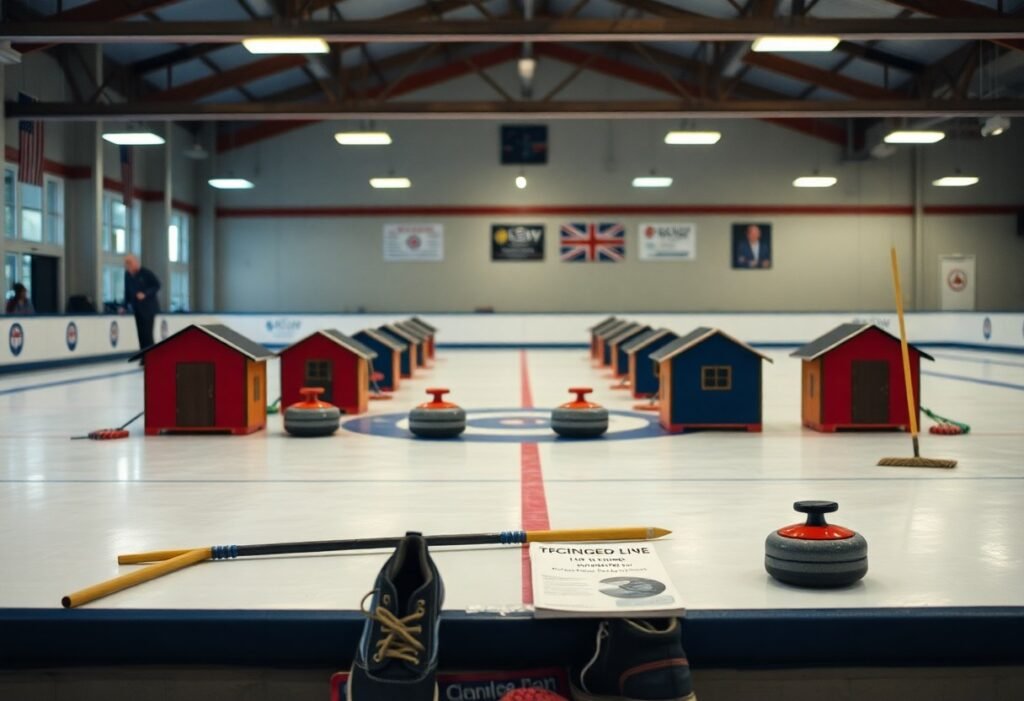
You should learn the playing surface and equipment: the sheet runs about 146-150 ft (45 m), the house is 12 ft (3.66 m) across, and a stone weighs ~19.1 kg (42 lb); practice safe lifting with your legs and always wear grippers to avoid slipping when you step onto the ice.
Practicing Techniques
You can build consistency by breaking practice into focused blocks: spend 20-30 minutes on delivery (6-10 reps per drill), 15 minutes on line and broom placement, and 10-15 minutes on sweeping mechanics, aiming to hit the button or the 4‑foot circle at least 60% of attempts during drills.
Practice drills that simulate game conditions: for delivery, set a hog-to-hog target and throw 10 stones per set, logging hits to measure progress; for sweeping, pair with a partner and alternate 30-second high-intensity sweeps to improve endurance and communication; for weight control, perform draws to the button and takeout reps with measured speed (use stopwatch or club feedback), and schedule 1-2 focused sessions per week or join a 6‑week Learn-to-Curl program to accelerate skill gains.
Pros and Cons of Different Equipment
Equipment choices force trade-offs between control, durability and cost; when you pick a broom, shoe, or stone you balance those factors against the ice and your role. For example, granite stones weigh 38-44 lb, giving predictable momentum but requiring safe lifts, while synthetic sliders reduce friction and make deliveries smoother. You should match gear to ice conditions and team strategy to get the best performance from each item.
| Pros | Cons |
|---|---|
| Granite stones: consistent curl and long lifespan | Granite stones: heavy to handle (38-44 lb) and expensive |
| Hair brooms: strong sweeping feedback and water retention | Hair brooms: wear faster and require frequent head replacement |
| Synthetic brushes: durable and low maintenance | Synthetic brushes: can over-sweep on soft ice, altering tactics |
| Sliding shoe: improved glide and repeatable delivery | Sliding shoe: worn sliders cause slips and inconsistent slides |
| Gripper shoe: secure traction for pushes and pivots | Gripper shoe: reduces slide options if both shoes grip |
| Carbon or composite handles: lighter and responsive | Carbon handles: higher cost and can be brittle on hard impacts |
| Protective clothing: layered warmth without restricting movement | Bulky layers: can limit delivery range of motion if oversized |
| Delivery aids (sliders, slidersheets): consistent slide for training | Delivery aids: may mask balance issues and hinder skill development |
Advantages
You gain measurable benefits from matching equipment: a proper sliding shoe plus one gripper gives stable delivery, synthetic brushes extend head life by months, and granite stones deliver consistent weight and curl across ends. For instance, teams using tailored broom heads and calibrated sliders often see tighter shot grouping and fewer missed draws, letting you focus on line and weight instead of compensating for gear variability.
Disadvantages
Your equipment choices also introduce risks: heavy stones create lifting hazards, worn sliders increase slip chances, and high-end handles can fail on impact. In practice, improper shoes or neglected slider maintenance elevate fall and injury risk, so you must monitor wear and handle stones with safe technique to avoid harm.
More specifically, worn slider pads often need replacement every 3-12 months depending on frequency; if you ignore that, your delivery inconsistency rises and so does the chance of a hard fall. Likewise, choosing an aggressive synthetic broom on fresh pebble can alter ice early in a match, forcing you to adjust strategy; you should inspect heads, replace pads, and train with the gear you’ll use in games.
Frequently Asked Questions
Quick Answers
When you ask about injuries, note that slipping is the main hazard on ice, so wear grippers and use a balanced delivery; curling stones weigh 38-44 lb (17-20 kg). Many clubs run beginner clinics of 1-2 hours for $20-$40, and sweeping can legitimately add 2-3 meters to a stone’s travel or alter curl, so learn technique early; if you need advice on brush types or shoe fit, bring measurements and ask a coach for a demo.
Summing up
Hence you now know the important curling gear: well-fitting grippy shoes with a removable slider, a sturdy brush suited to your delivery style, a rink-approved stone, and layered, flexible clothing. Prioritize fit, ice-specific footwear, and basic maintenance for longevity. With proper equipment and simple care, you’ll perform more consistently, stay safer on the ice, and progress faster as a new player.
FAQ
Q: What basic equipment does a new curling player need?
A: A beginner needs five core items: stones (each ≈19.96 kg / 44 lb), a broom or brush for sweeping, a pair of curling shoes (one slider, one gripper or convertible soles), a slider pad for delivery if not built into the shoe, and appropriate clothing (stretchy pants and layered, breathable tops). Optional but common additions are a delivery stick, knee protection, and gloves for warmth and grip. Clubs usually supply stones and hacks; new players often buy shoes and a personal broom for consistent feel.
Q: How do I choose curling shoes and what’s the difference between slider and gripper?
A: Curling shoes come in slider and gripper variants. The slider shoe has a low-friction sole (Teflon, PTFE, or a replaceable plastic pad) on the delivery foot to glide on ice; the gripper shoe has rubber tread for traction on the push foot. Many modern shoes have interchangeable soles so you can swap slider and gripper. Fit should be snug with good ankle support; opt for a size that allows wearing thin socks. If renting, test balance and slide before buying. Avoid using slider soles off-ice to prevent wear and unsafe walking.
Q: Which broom or brush should I buy and how do different types affect play?
A: Brooms vary by head type and material. Traditional straw/horsehair brooms provide a different feel but most players choose modern fabric or synthetic directional brushes with replaceable pads. Pads differ in stiffness and heat generation: harder pads make a stronger, longer-lasting effect on the ice while softer pads give more delicate control. Consider head shape (flat vs rounded) and weight-heavier heads can apply more force but tire the arm faster. For beginners, a mid-weight brush with a replaceable synthetic pad gives versatility and lower maintenance. Learn basic sweeping technique and how pad pressure, angle, and placement affect stone speed and curl.
Q: What accessories and protective gear are recommended for new players?
A: Useful accessories include grippers for walking off-ice, replacement slider pads, a personal towel, a brush head cover, and a sturdy bag. Protective gear: knee pads or a sliding pad for on-ice falls, helmets for juniors or novices, and gloves for warmth and better grip on the broom/stone. Delivery sticks are helpful for players who cannot or prefer not to slide; many recreational leagues allow them but competitive events may restrict their use-check league rules before relying on one.
Q: How should I care for and store my curling equipment to extend its life?
A: Keep shoes and slider pads dry and clean after each session; wipe off ice and mud before going off-ice. Store brooms upright with heads covered; replace brush pads when worn or contaminated. Avoid walking on abrasive surfaces with slider soles to prevent rapid wear. Clean and dry gloves and clothing between uses. Stones are usually maintained by the club’s ice techs, but avoid dropping or striking handles; report loose handles. Label and organize gear in a bag to reduce lost items and inspect equipment periodically for damage.

Hi there to all, the contents existing at this site are in fact remarkable for people knowledge, well, keep up the good work fellows.