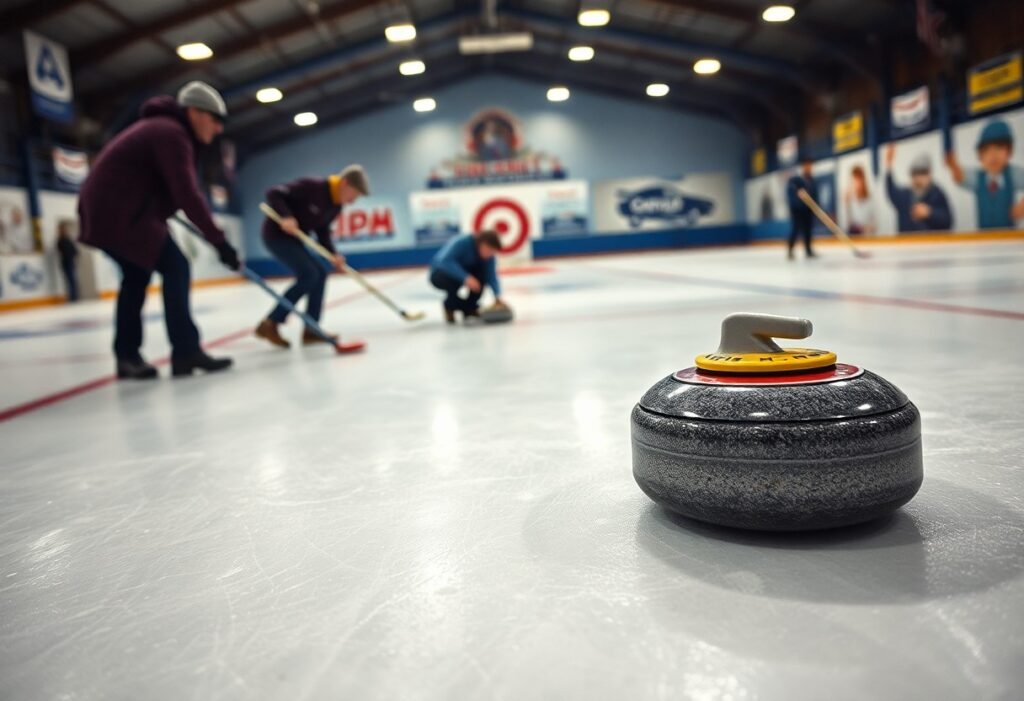
Just as you ready your rink, you control precise temperature and humidity, then pebble, freeze and scrape to build the textured surface that guides stones. You inspect for thin spots or flooding hazards and correct defects with refrigeration or careful resurfacing; proper pebbling and scraping produce predictable, fast ice that enhances shot accuracy and reduces player risk.
Key Takeaways:
- Establish a flat, level base by flooding and scraping the sheet, and hold steady ice temperature and rink humidity to ensure consistent stone speed.
- Apply a fine, uniform pebble in controlled layers, allowing proper freezing between passes so the pebble governs curl and pace.
- Perform daily maintenance-scraping, spot-pebbling, and monitoring conditions-plus routine sweeping/brush work to preserve consistent playing surface.
Importance of Proper Ice Preparation
Consistency from hog line to hack determines how well you can read the ice; technicians aim for -3°C to -5°C surface temperature and 40-50% relative humidity on a standard 45.72 m (150 ft) sheet to keep pebble and speed predictable, with top venues holding stability to within ±0.1°C during play.
Impact on Game Performance
When ice is uniform, you trust line and weight: a 19-20 kg stone (38-44 lb) will travel and curl consistently, letting you plan shots and sweeping tactics; inconsistent pebble or temperature shifts make curl vary shot-to-shot, forcing last-minute strategy changes and increasing missed draws and takeouts.
Benefits of Quality Curling Ice
Quality ice gives you steady curl and pace, fewer mid-game resurfacing delays, and fairer competition-factors that reduce disputes and let teams focus on execution; high-level events often see maintenance windows cut by half when ice is prepped to professional standards.
Specifically, precise pebble application and temperature control let you predict how much sweeping will alter distance and curl, so your leads and skips can call shots with measurable confidence; in practice, keeping surface temp near -4°C and limiting humidity swings prevents rapid pebble degradation and keeps play continuous through a full eight- or ten-end game.
Ice Preparation Equipment
Essential Tools and Machines
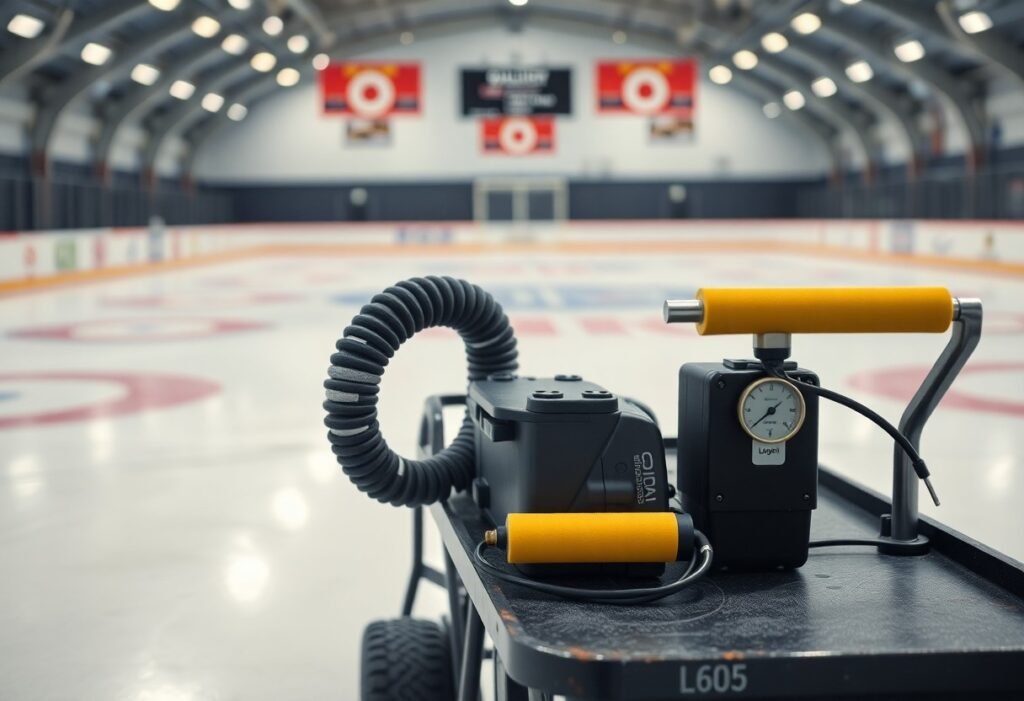
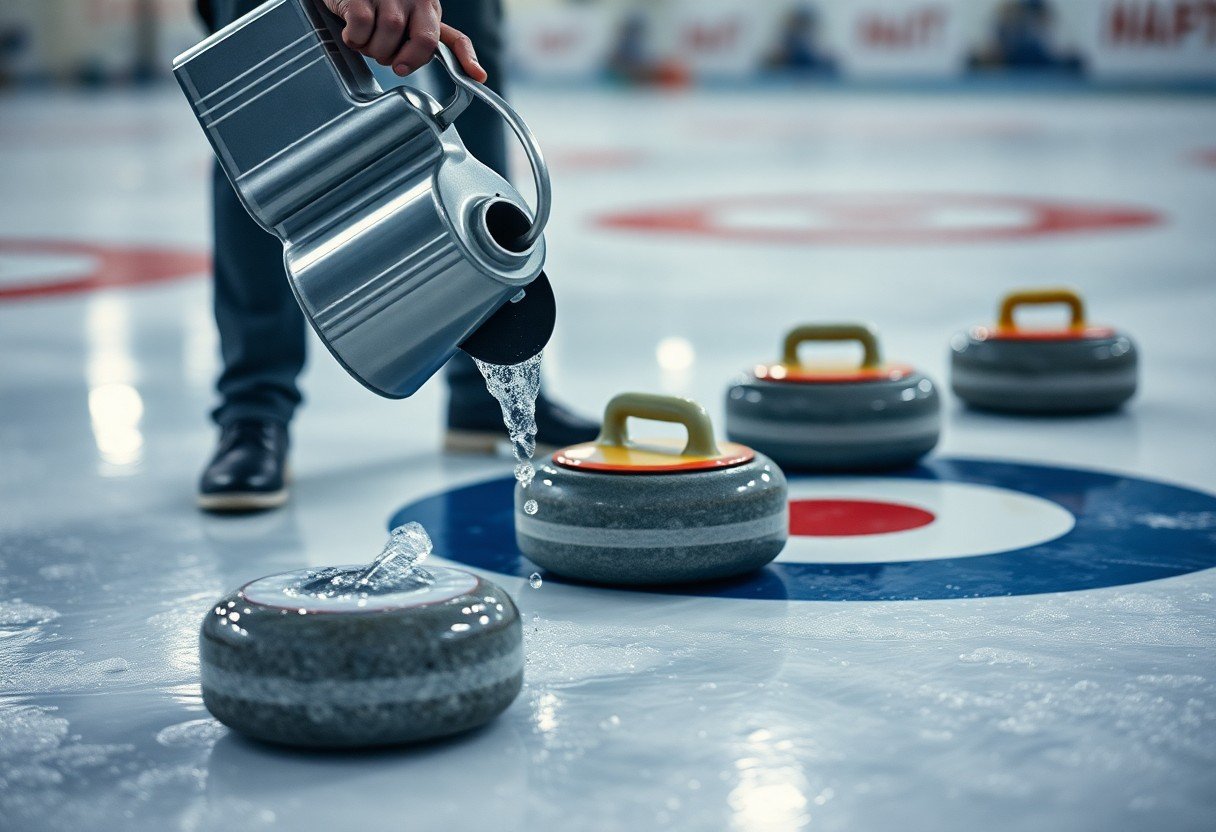
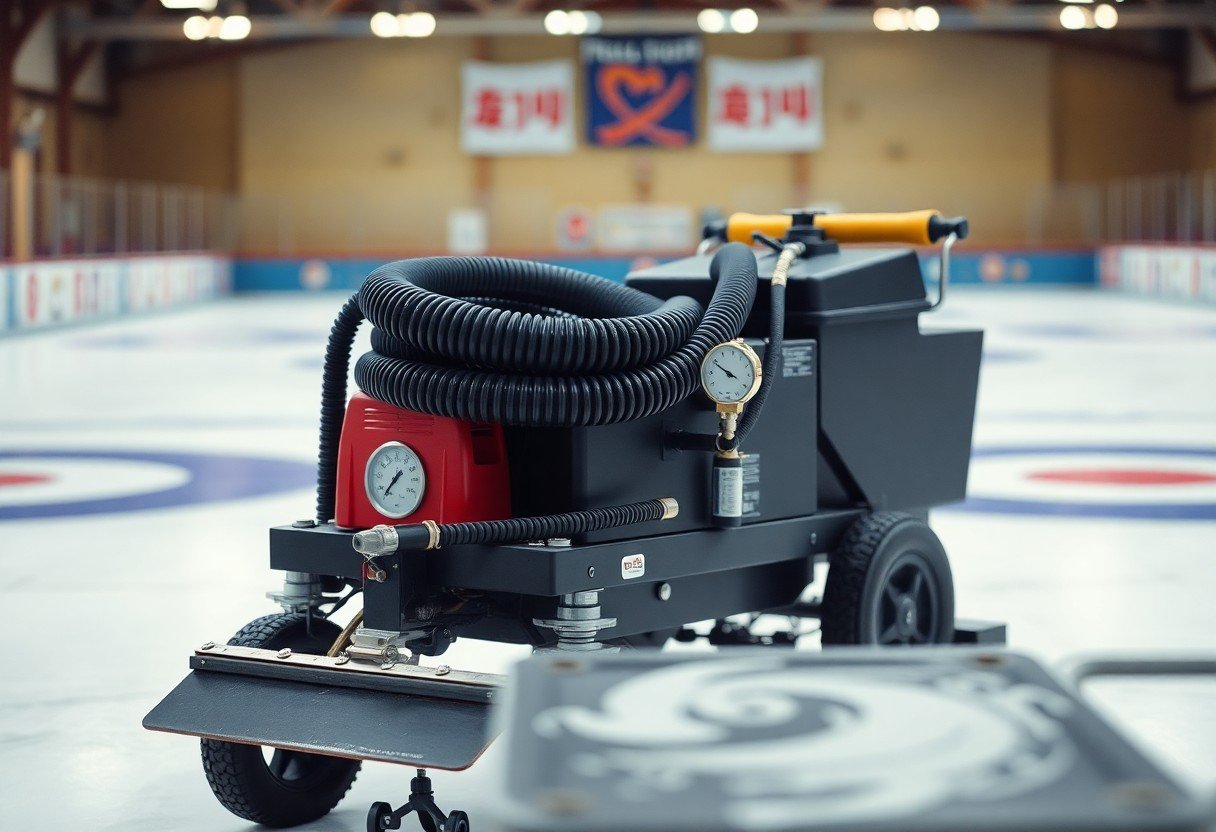
You use an ice resurfacer (often a Zamboni) to shave and flood a 150 ft by 15 ft sheet, while a pebble gun or 10-20 L watering can applies the pebble that creates stone movement. An edger and shaver handle rinkside boards and frost, and infrared thermometers plus humidity sensors keep surface temps in the typical -5°C to -3°C range. Be mindful of hot-water and high-voltage hazards, and note that consistent pebble dramatically improves shot predictability.
Maintenance of Ice Preparation Equipment
Daily inspections of blades, pumps and nozzle alignment prevent surprises; you log compressor pressures and water temperature before each session. Replace pebbler nozzles after a few hundred operating hours and sharpen resurfacer blades every 20-40 ice hours depending on wear. Always lock out power when servicing electrical components because electrical and hot-water systems present the most immediate risks to staff and equipment.
For deeper upkeep, you maintain a written log with monthly calibration checks for thermometers and humidity sensors, and schedule professional refrigeration/compressor service every 6-12 months. Change hydraulic or coolant fluids per manufacturer guidance and keep spare blades, nozzler parts and seals on hand to minimize downtime. Training your crew in lockout/tagout and basic troubleshooting yields longer equipment life and fewer mid-season shutdowns.
Surface Preparation Techniques
You concentrate on three core methods: leveling the base, applying smooth layered freezes, and creating the pebble texture that produces curl. Typical targets are a surface temperature of -3°C to -5°C and an ice thickness of roughly 20-30 mm. In practice you alternate thin water floods (2-4 passes) with sanding and testing to achieve uniformity across the sheet.
Initial Ice Creation
Begin by laying a sealed base: you flood the rink in two to three thin coats, each about 3-5 mm, allowing full freeze between passes. Use deionized water when possible to reduce impurities, and confirm the base is flat with a straightedge; any ridge larger than 1-2 mm will affect stone travel. After base set, stabilize temperature to -3°C to -5°C before pebbling.
Finishing Techniques for Optimal Curling Ice
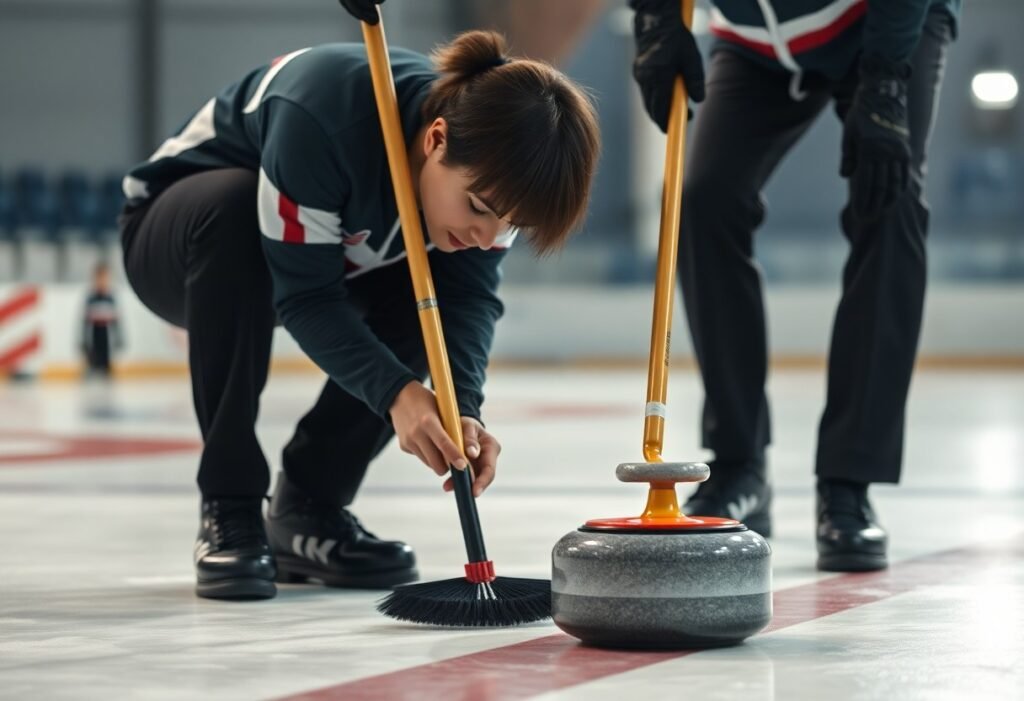
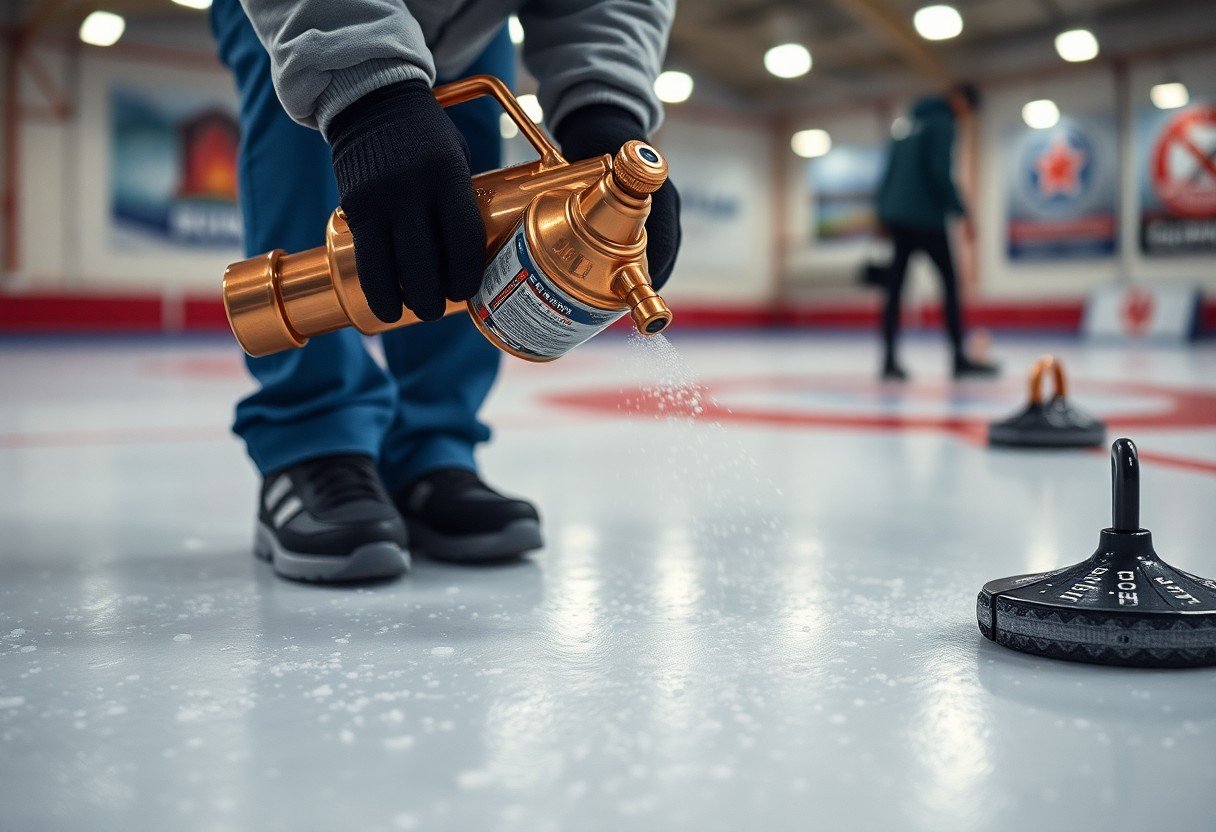
For finishing you apply pebble with a calibrated dropper to create droplets roughly 1-2 mm in diameter, then shave or scrape high spots with a planer to keep the playing surface even. Use a hot-water dab to smooth localized frost, and test by sliding practice stones-if a stone deviates more than a stone-width over 6 m, adjust pebble density or scrape again.
To refine further you quantify pebble uniformity with a straightedge and by measuring stone behavior: perform at least 10 trial draws from hack to button and log deviations. When scraping, proceed in short, controlled passes to avoid gouging; using water above 40°C risks melting cups and creating inconsistent curl, so you limit dab temperature. Teams often allow a 24-48 hour curing window after final pebble to stabilize play characteristics.
Temperature and Humidity Control
When you tune arena climate, aim for an ice surface of about -3°C to -4°C, air temperature near 6°C, and relative humidity around 35-45% to avoid frost and inconsistent curl. Use continuous monitoring and the control strategies discussed in Quest for the Perfect Ice: Strategic Ice Making for Curling. Condensation and surface frost are the most dangerous risks, so keep dew point at least 3°C below the ice surface to prevent fog and wet spots.
Environmental setpoints and actions
| Parameter | Target / Notes |
|---|---|
| Ice surface temperature | -3°C to -4°C-steady surface promotes consistent curl |
| Air temperature | 5-7°C in the playing zone; slightly warmer in aisles |
| Relative humidity (RH) | 35-45%; tighten to 38-42% for elite events |
| Dew point control | Maintain ≥3°C margin below surface temp to avoid condensation |
| Airflow | Keep low, laminar flow over ice; avoid drafts >0.2 m/s that disturb pebble |
| Monitoring | Multiple sensors, 1-5 min logging, alarms for RH/dew-point excursions |
Ideal Conditions for Curling
You should hold arena air at 5-7°C and ice surface at roughly -3 to -4°C; that range preserves pebble texture while allowing consistent stone glide. For major competitions tighten RH to 38-42% and limit air movement to prevent pebble wear. Consistent setpoints improve shot predictability and reduce mid-game adjustments by the ice tech.
Monitoring and Adjusting Environment
Install calibrated sensors at the surface, 1.5 m above ice, and in spectator zones, logging every 1-5 minutes; tie those inputs to HVAC and dehumidification controls so setpoints change automatically. If RH spikes above 50% or dew point approaches the surface, the system should increase dehumidification and slightly lower air temperature. Immediate action prevents fog and pitting.
When you dig deeper, deploy redundant sensors and use PID-based control loops with small hysteresis (±0.5°C / ±3% RH) to avoid oscillation. Program event modes-pebbling, flooding, play-so setpoints shift predictably (for example, raise air temp 1°C and boost dehumidification during flood cycles). Handle external loads by staging dehumidifiers and using glycol chiller adjustments; if door openings or warm spectator influx push RH up 10-15%, increase mechanical dehumidification and reduce supply-air temperature until dew-point margin is restored. Log events and correlate ice-trace anomalies with environmental excursions to refine thresholds over time.
Regular Maintenance Practices
After initial preparation you maintain ice by combining routine checks with targeted repairs: monitor ice temperature (-3°C to -4°C) and relative humidity (aim 40-60%), inspect for frost, chips and hairline cracks after each draw, and schedule pebble touch-ups every 1-3 games. Use an ice resurfacer for light shaves and thin floods, and log anomalies so you can trace issues to compressors, water quality or foot traffic patterns.
Daily Maintenance Routine
Each day start with a full resurfacer pass and a fresh pebble in high-traffic zones, then inspect surface every 1-2 hours during play. You should run dehumidifiers to hold RH near 40-60%, check rink air at about 6°C, and perform edge brushing and ice-scraping as needed. Keep fluids, pads and pebbling equipment stocked and note any recurring rough spots for targeted repairs between sessions.
Long-term Care for Curling Rinks
For season-long reliability you schedule annual refrigeration system service, perform slab-level checks yearly, and flush or test glycol loops every 3-5 years. Replace worn pebbling hoses and resurfacer blades on a 2-3 year cycle, inspect dasher boards and seals before the season, and document chiller runtime so you can spot efficiency losses early-failing refrigeration raises ice temperature and degrades playability.
Additionally, plan a pre-season full flood and qualification skate, mid-season corrective resurfaces monthly for high-use clubs, and an off-season deep drain and freeze cycle to reset slab geometry. Invest in water filtration to reduce mineral spots, schedule compressor oil and belt checks biannually, and store a maintenance log so you can correlate interventions with improvements in pebble consistency and game outcomes.
Common Challenges in Ice Preparation
Persistent fog, frost, and uneven pebble are the issues that most often degrade play quality; you see performance drop when relative humidity exceeds 60% or air temps swing more than 1°C. Layer separation and delamination create unpredictable curl and can lead to cracking, while high TDS in water (>200 ppm) produces cloudy, brittle ice. Rapid, data-driven responses beat ad hoc fixes for keeping sheets consistent through tournaments.
Addressing Common Issues
When you inspect a sheet, rely on a calibrated hygrometer, infrared surface thermometer, and conductivity meter to find the root cause; for example, humidity above 60% signals frost risk and surface temps warmer than -2°C show soft ice. Measure pebble droplets-aim for roughly 2-3 mm-and flag ruts deeper than 2 mm. Keeping an hourly log during events helps you detect trends before they affect play.
Solutions and Best Practices
You reduce problems by stabilizing arena climate (target ice ~-3°C, air ~6°C, humidity 40-50%), applying thin flood layers of ~0.2-0.5 mm, and setting your resurfacer to shave evenly and produce consistent pebble droplets of 2-3 mm. Train staff to follow checklists, record conditions, and perform targeted touch-ups after extended sessions to prevent cumulative drift in ice behavior.
You should also implement water treatment-use deionized or well-filtered water to lower TDS and improve pebble adhesion-and add dehumidification sized for the rink; arenas that adopted filtration and proper dehumidifiers saw markedly fewer frost events. Operationally, run a morning shave/flood, pre-event pebble, and 5-10 minute between-session touch-ups, and for elite play assign 2-3 trained technicians per sheet to monitor and react within minutes.
Summing up
Now you understand that preparing curling ice demands precise pebbling, careful scraping and flooding, tight temperature and humidity control, and attentive leveling to produce consistent stone behavior; by following a routine schedule, monitoring conditions during play, and making incremental adjustments to pebble size and ice texture, you maintain predictable curl and pace so your rink performs reliably for every game.
FAQ
Q: What are the main steps in preparing curling ice before a competition?
A: Ice preparation typically begins days in advance with multiple thin floods to build a smooth base, followed by careful leveling and temperature stabilization. Once the base is frozen solid, technicians scrape the surface to remove any high spots, then apply the pebble (small water droplets) to create the textured playing surface. Final steps include testing and tuning surface temperature and humidity, spot-flooding or patching any defects, and a last pebbled refresh a few hours before play to ensure consistent stone movement.
Q: How is the pebble created and why does pebbling matter?
A: Pebbling is applied by sprinkling near-freezing water in a controlled pattern so droplets freeze into rounded bumps a few millimeters across. This micro-texture reduces friction, lets stones glide with a predictable curl and speed, and minimizes full-surface contact. Pebble size, droplet distribution and freezing rate all influence how much a stone curls and how quickly it slows, so technicians adjust technique to match ice temperature, water quality and event conditions.
Q: What temperature and humidity ranges are targeted and how do they affect play?
A: Technicians aim to keep the ice surface colder than the arena air – commonly the slab is maintained around -3°C to -5°C while ambient air is kept a few degrees above freezing. Relative humidity is usually controlled in the 40-60% range to avoid frost forming on the pebble or excessive drying that changes speed. Warmer air or higher humidity can produce frost and slow play; colder, very dry air can make the surface faster and more skid-prone, so adjustments are made to maintain consistent behavior.
Q: What water and equipment are used for high-quality curling ice?
A: Clean, filtered or deionized water is preferred because dissolved minerals alter freezing behavior and pebble hardness. Key equipment includes a flood hose or resurfacer for base layers, hand-held pebbling cans or mechanical pebblers for consistent droplets, scrapers/planers and straightedges for leveling, thermometers and humidity sensors, and tools for spot-flooding and patching. Skilled ice technicians combine these tools with visual and tactile inspection to fine-tune the surface.
Q: How is the ice maintained during a tournament to keep consistency across games?
A: Maintenance includes regular monitoring of temperature and humidity, spot repairs between draws, and scheduled scraping and re-pebbling (often nightly and as needed midday) to restore worn pebble. Technicians remove debris and manage visible wear patterns; if speed drifts, they may perform thin flood layers or targeted pebble adjustments. Communication with teams about ice behavior also guides incremental changes so conditions stay predictable throughout the event.