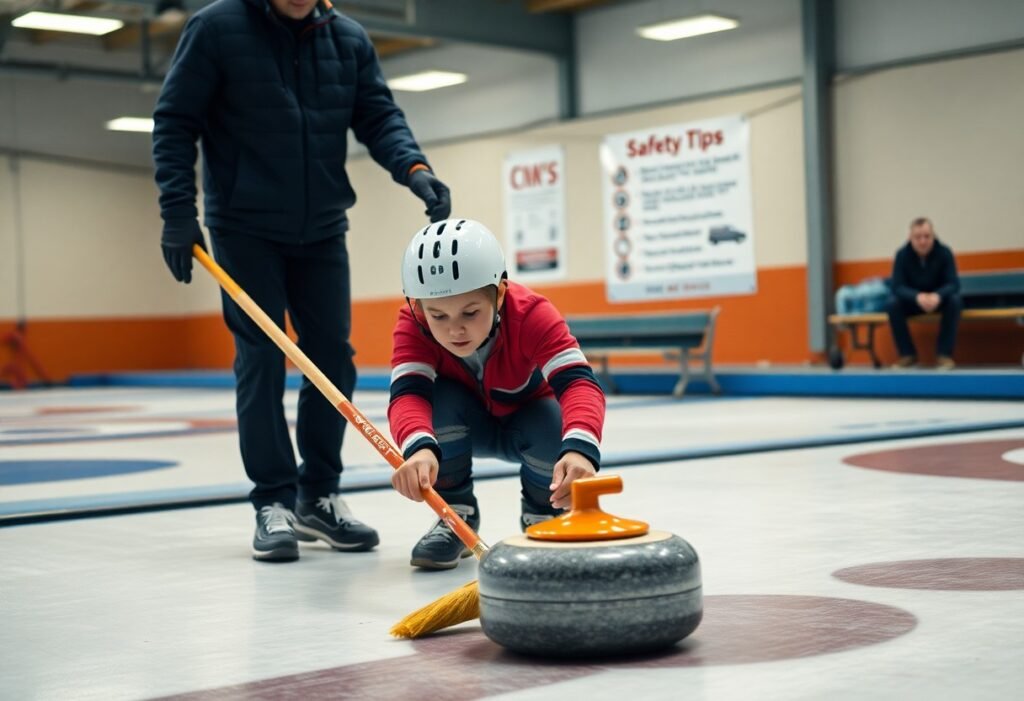
You should prioritize safety on the ice by warming up, learning proper sliding technique, and staying aware of moving stones and teammates. Ice is extremely slippery, so wear proper footwear with grippers or a slider and use balance aids. Communicate clearly with teammates and keep a safe distance from stones to avoid collisions. Good warm-ups and controlled sweeping reduce injury risk and improve performance, while correct posture and equipment care protect your knees and hands.
Key Takeaways:
- Wear proper curling shoes or grippers/sliders to maintain traction and control on the ice.
- Use your broom for balance, practice safe delivery and falling techniques, and avoid risky moves that compromise stability.
- Warm up, keep the ice clear of equipment and debris, and stay aware of other players and moving stones.
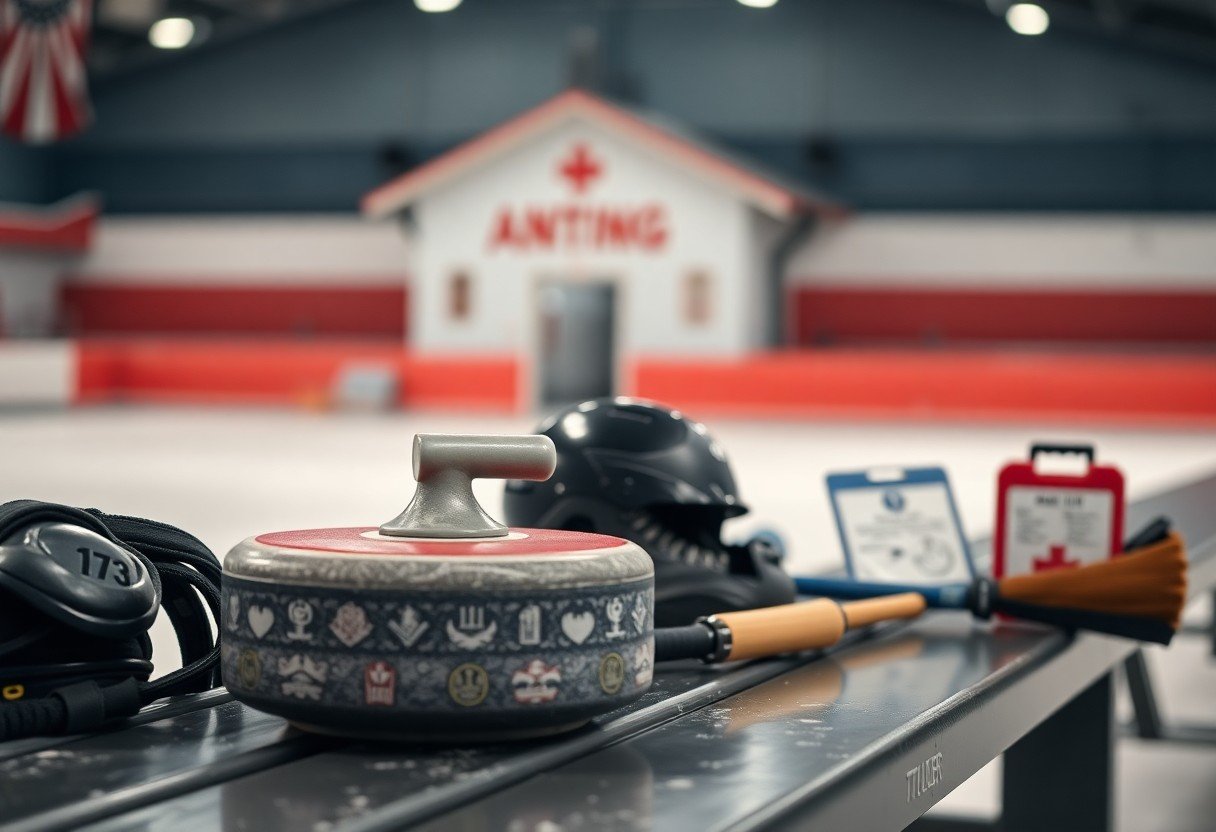
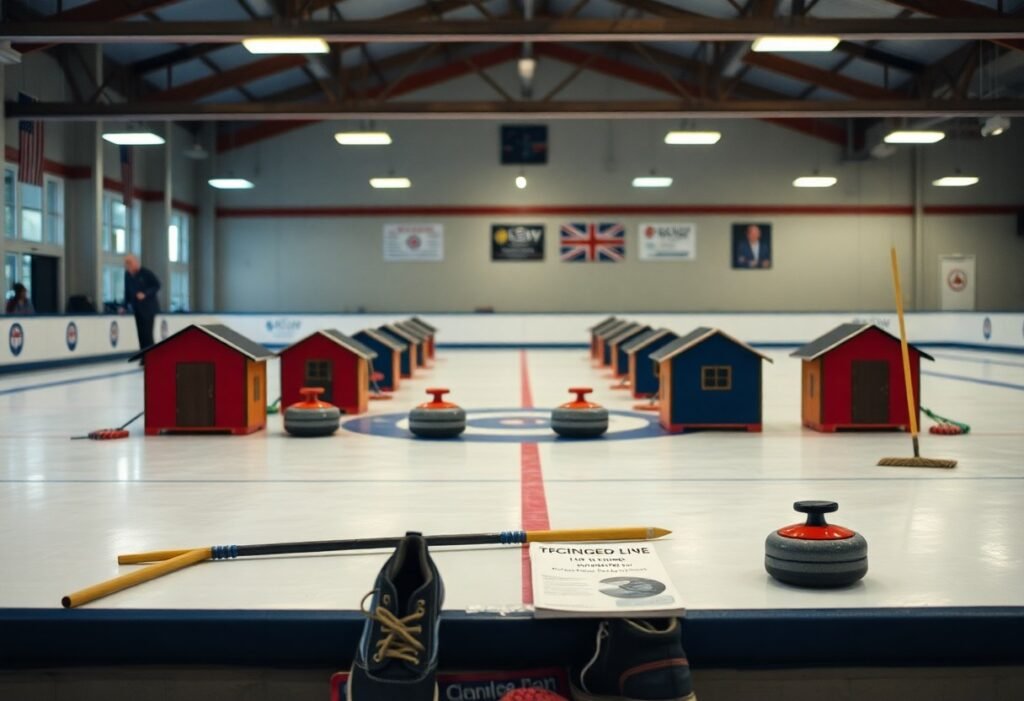
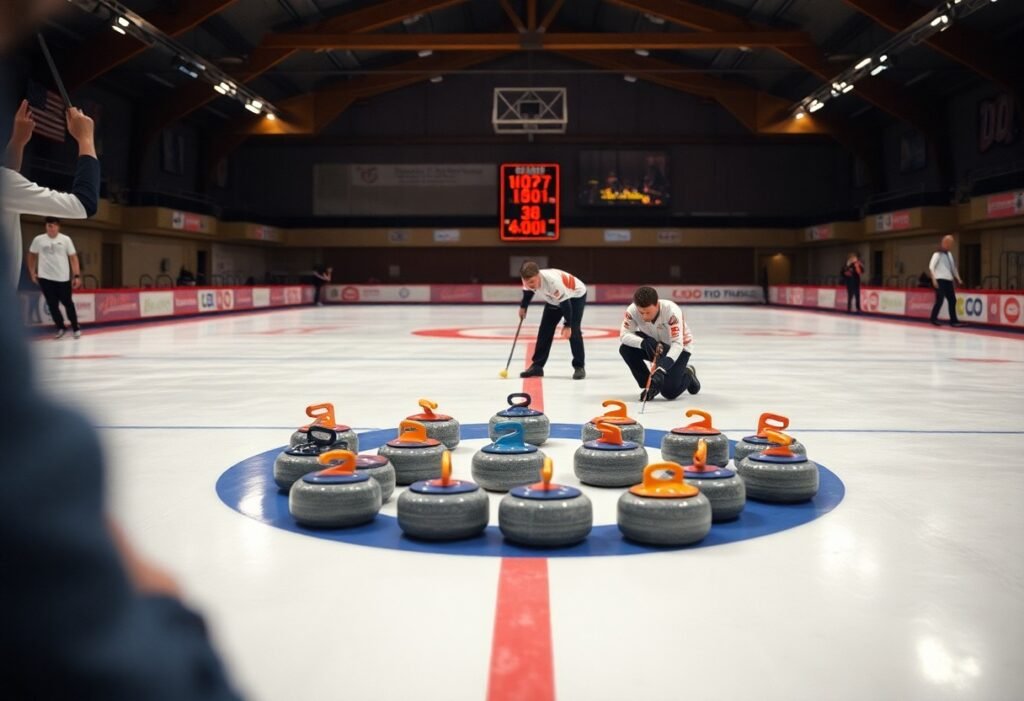
Understanding Curling Equipment
You should inspect three main pieces: the stone, shoes, and broom. Stones weigh between 38-44 pounds (17.2-19.96 kg) and are made from Ailsa Craig granite, so mishandling them risks injury and ice damage. Shoes determine your slide and traction, while the broom affects balance and the stone’s path. Check sliders for wear, test broom heads for consistent loft, and swap or replace parts after heavy use to avoid slips and unpredictable shots.
Choosing the Right Shoes
Select shoes with a slider on your sliding foot and a gripper on the other; this gives predictable traction during delivery. Slider materials (Teflon/microsuede) wear at different rates: if you play weekly, expect replacement every 6-12 months. Try shoes with adjustable sliders so you can change thickness and recover balance, and always test them on warm-up ice to avoid a slip hazard during a match.
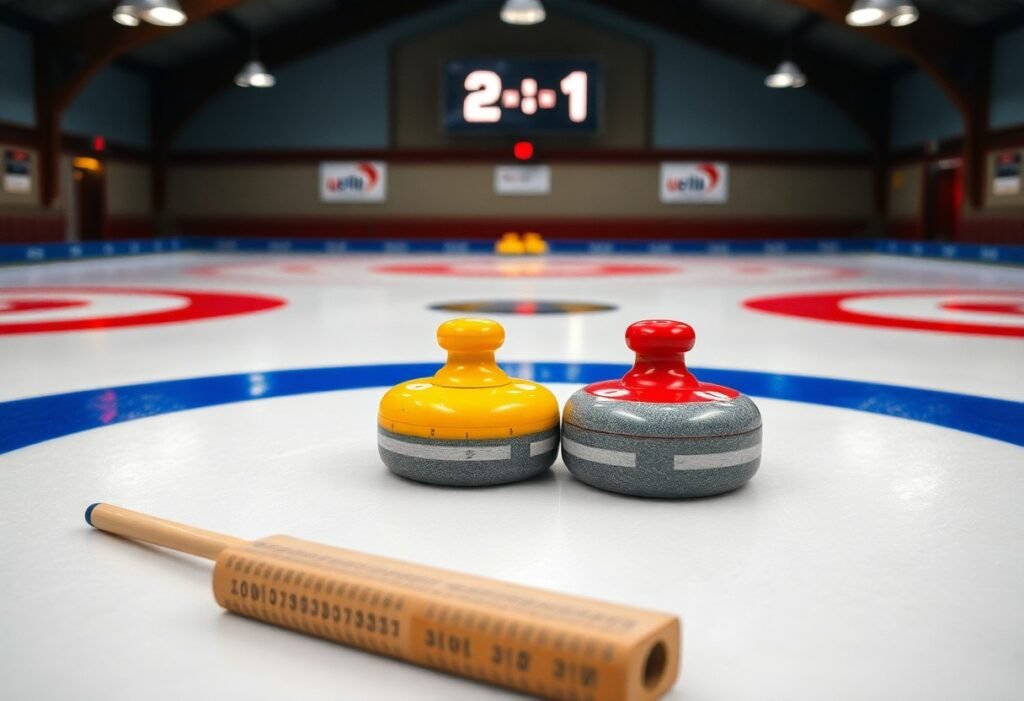
Importance of a Good Broom
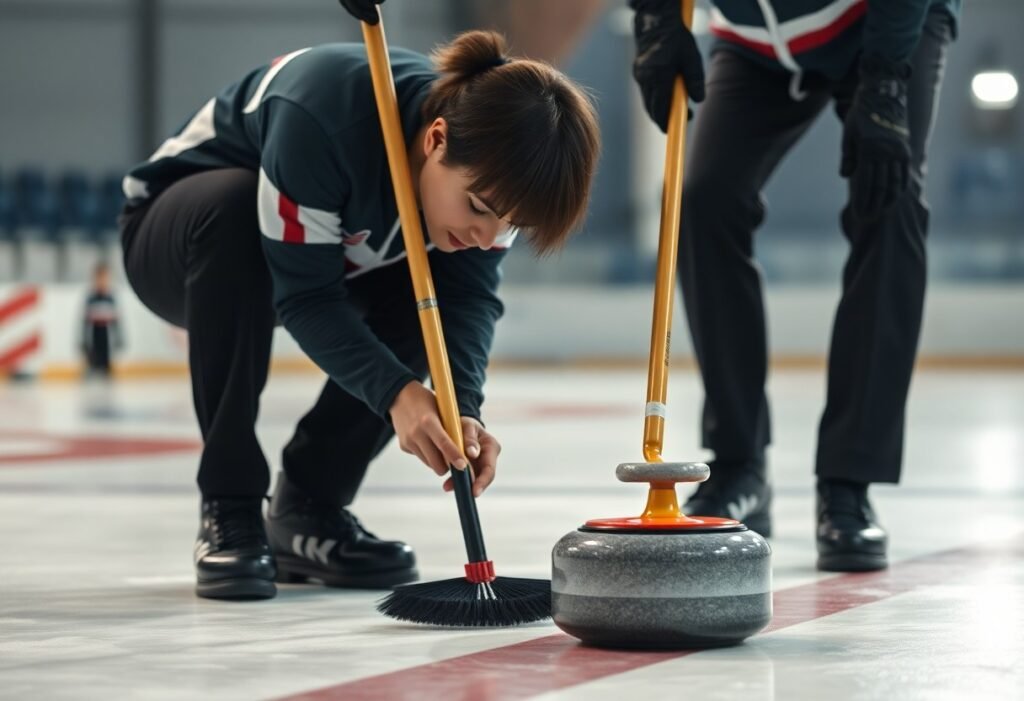
A quality broom improves balance and sweeping efficiency: effective sweeping can extend a stone’s travel by about 2-4 feet (0.6-1.2 m) and reduce curl. Choose a head material that suits your ice-microfiber for aggressive sweeping, synthetic for durability-and a shaft that feels stable in your hands. Using the right broom reduces fatigue and helps you control weight more consistently, lowering the chance of missed shots.
Delve into specifics: carbon-fiber shafts cut weight and reduce shoulder strain, while replaceable pads let you tune aggressiveness. Aim for a length that allows a slightly bent elbow while sweeping-typically 110-125 cm depending on your height. Clean pads after each session, and retire cracked handles or frayed heads immediately since a broken broom can cause falls or hand injuries during a fast sweep.
Ice Safety Practices
Assess the ice before play: check pebble quality, look for cracks or frost buildup and note the typical ice temp around -4°C (25°F). You should wear proper shoes and use your broom for balance, and follow rink etiquette such as Bowling Green Curling Club – Curling Etiquette. If you spot surface damage, stop play and notify ice staff to prevent serious falls.
Walking on the Ice
When moving between ends, take short, flat-footed steps with knees bent and keep one hand on your broom for balance; avoid large strides or crossing your feet. You should place weight evenly, shuffle rather than stride, and remove slippery gloves only when stationary. Practicing a 3-5 minute shuffle during warm-up builds the specific balance you need to reduce slips.
Avoiding Slips and Falls
Use approved grippers on the hack side and switch to sliders only when delivering; keep hands free and limit carried gear to avoid imbalance. You should bend your knees, keep weight centered, and avoid sudden turns-most slip incidents occur during quick pivots. If ice is wet or frosty, pause play and ask staff to squeegee or clear the surface.
Train balance off-ice with single-leg stands (30 seconds × 3 per leg) and a 5-minute wobble-board routine to reduce falls. During a slip, tuck your chin, turn and roll to your side to avoid landing on an outstretched arm-this reduces wrist and head injuries. After any fall, you must check for bleeding or dizziness and signal teammates; call ice staff immediately for medical aid if you suspect a concussion.
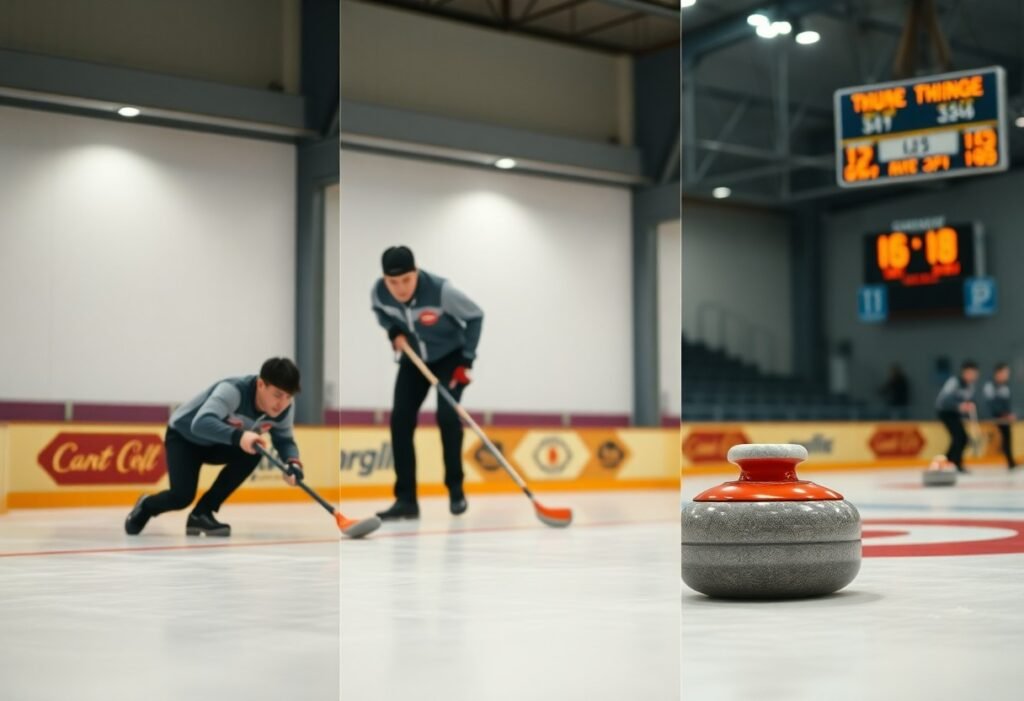
Throwing Techniques
You should focus on a controlled 4-step delivery, matching your tempo to the skip’s sweep calls and aiming for consistent release timing. Use a smooth push from the hack, keep your hips square to the target, and apply a gentle quarter to half turn on the handle for curl; doing so reduces errant pathing and gives you predictable guard and draw distances. Be mindful that sudden shifts or over-rotation increase the risk of a slip or fall and compromise accuracy.
Proper Stance and Grip
Start with your hack foot planted, sliding foot perpendicular to the line, and knees bent to lower your center of gravity; many coaches recommend a low stance about a 90° front-knee bend for stability. Grip the handle with fingers under the lip and a neutral wrist so your release is clean, and keep your shoulders aligned with the rock to prevent torque that causes injury or inconsistent weight.
Maintaining Balance
You should use the broom or a stabilizer every time during practice to train balance and avoid relying on it less in games; keeping the broom lightly in contact helps you maintain a stable spine and prevent forward tipping. Shift weight smoothly through the delivery, keep eyes on the target, and control your slide length-short, sudden strides increase the chance of a slip.
Practice drills transfer to on-ice stability: do sets of 10 dry-land single-leg balances, 10 controlled slides without a stone, and 10 releases focusing on a steady head and even hips. Repeating these 3-4 times per session builds proprioception; for example, a 4-week novice program with 3 sessions weekly typically shows faster correction of wobble and fewer near-misses during delivery.
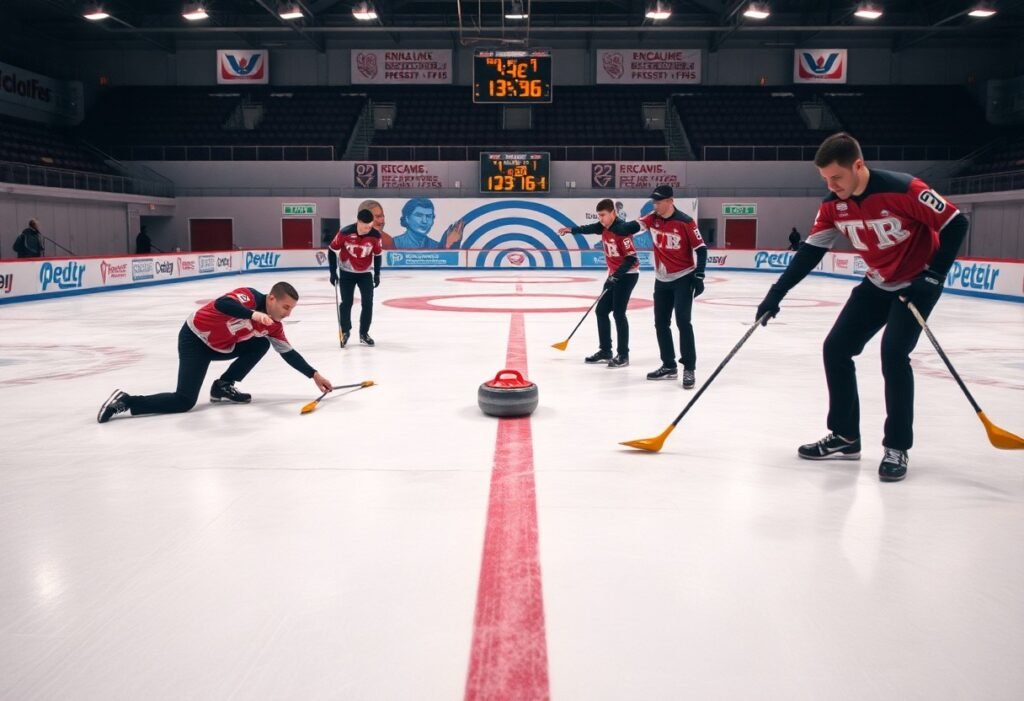
Team Dynamics and Communication
On a four-player team-lead, second, vice (third), and skip-you must assign clear responsibilities and a communication hierarchy so decisions are fast under pressure. Use concise calls and a pre-agreed vocabulary for weight, line, and sweeping: for example, call “target” or “tight” within 1-2 seconds after the stone crosses the hog line. Practice two-minute scenarios to reduce hesitation and keep everyone aware of positioning to avoid collisions; maintain eye contact and steady signals when stones and sweepers converge.
Calling Shots Effectively
When you call shots, keep phrases short and specific-“draw to button,” “raise guard,” “hit at 90%”-so sweepers and the thrower react instantly. Quantify intent: state the desired finish (e.g., “stop 6-12 inches behind guard”) and the weight (draw vs 80-100% hit). Use the vice as the primary communicator to sweepers if the skip is occupied, and log missed calls during practice to refine estimates by measurable margins.
Signals and Alerts
Use consistent hand and broom signals to supplement verbal calls, especially in noisy rinks; for instance, one tap for light sweep, two taps for hard sweep, and an open palm to halt sweeping. Make vocal alerts like “whoa” or “stop” loud and sharp-shouting “stop” immediately halts play and prevents collisions. Rehearse signals so every player responds within about 1-2 seconds.
For more precision, agree on a compact signal chart before games: one tap = light sweep, two taps = full sweep, raised broom = guard the line, thumb up = clear. Run a five-minute pre-game drill to cement responses and record reaction times; teams that standardize this often cut miscommunication errors by a noticeable margin. Emphasize immediate, unmistakable alerts when a stone becomes a safety risk.
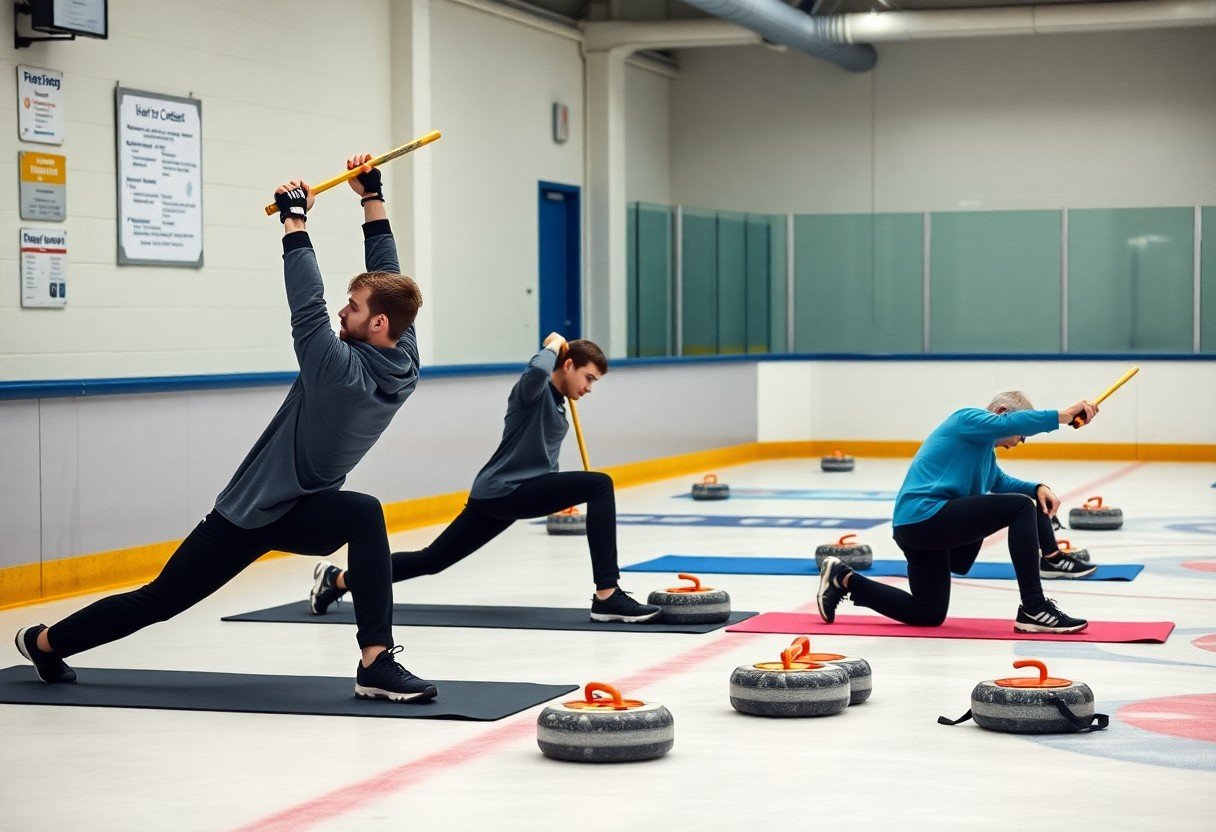
Warm-up and Stretching Routines
Start with a 5-10 minute dynamic warm-up to raise your heart rate and prime stabilizers before stepping on the ice; include brisk walking or light cycling, then move to dynamic leg swings, hip openers, and shoulder circles to target the joints used in delivery and sweeping, which helps reduce the risk of muscle strains and slips during play.
Importance of Preparation
You should focus on hip, ankle and shoulder mobility because these areas control balance and power in the 4-step delivery; spending at least 5-10 minutes warming them up improves consistency and lowers injury likelihood, since inadequate prep increases your chance of falls or pulled muscles and degrades delivery timing.
Recommended Exercises
You should perform 2 sets of 8-12 reps of walking lunges, single-leg Romanian deadlifts, and ankle circles, plus 10-15 shoulder rotations and band pull-aparts for upper-body stability; include 30-60 seconds of single-leg balance work while holding your broom to replicate on-ice posture and reinforce the exact muscles used in sliding and sweeping.
As you progress, start with bodyweight moves, then add light resistance bands or a 5-10 kg kettlebell for deadlifts; perform balance drills on a foam pad after you master floor stability, emphasize a slow 3-4 second eccentric phase to build durability, and avoid deep static stretches immediately before sliding, saving 20-30 second static holds for after play to aid recovery.
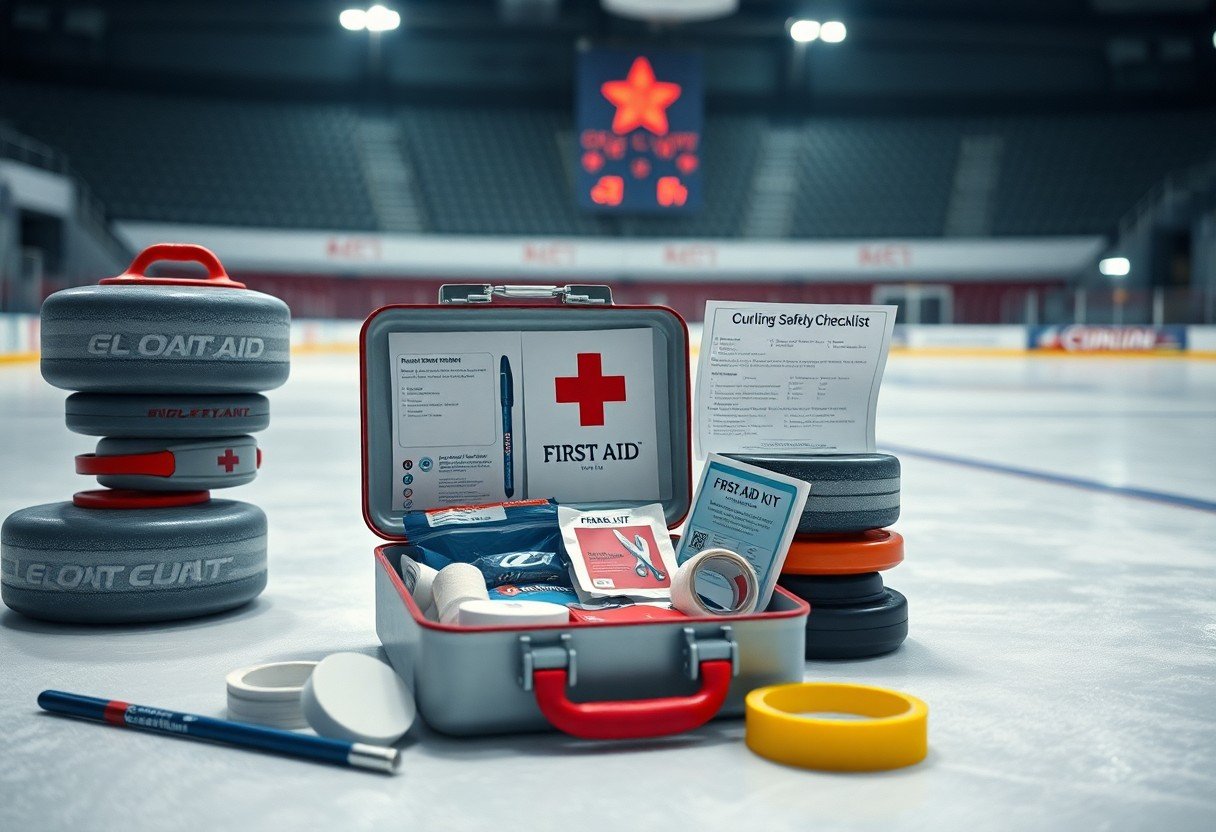
First-Aid Essentials for Curling
Pack supplies within reach during sessions: a compact first-aid kit kept in the rink bench or your bag lets you treat sprains, cuts, and cold exposure quickly. Include items for bleeding control, wound care, and acute pain, and make sure at least one teammate knows basic first aid and CPR. Because a curling stone weighs about 20 kg (44 lb) and ice is slippery, rapid on-ice response reduces complications and missed game time.
Common Injuries and Prevention
You’ll most often see ankle sprains, wrist fractures from forward falls, groin and lower-back strains from poor sliding posture, and finger jams when stones collide; concussions and deep lacerations, while less common, are the most dangerous. Prevent injuries by warming up 10-15 minutes, doing hip and core activation drills, practicing a controlled 4-step delivery, wearing grippers or sliders properly, using your broom for balance, and enforcing clear calling to avoid collisions.
Basic First-Aid Kits for Players
You should keep a compact kit containing: 20 adhesive bandages, 4 sterile gauze pads, adhesive tape, 6 antiseptic wipes, 2 instant cold packs, 1 elastic (ACE) bandage, 2 finger splints, blister plasters, tweezers, small scissors, 2 pairs of disposable gloves, and a pocket CPR mask, plus a basic pain reliever like ibuprofen. Store the kit in a waterproof case and check expirations before each season.
Assign one teammate to check the kit monthly: log expiration dates, replace used items, and restock cold packs. Keep a personal kit on your bag and a larger, clearly labeled club kit with a AED and extra sterile supplies near the ice. Practice applying elastic bandages, splints, and controlling bleeding during at least one preseason drill so you’re competent under pressure; if you suspect a concussion or uncontrolled bleeding, stop play and seek emergency care immediately.
To wrap up
Taking this into account, you should focus on proper footwear, balanced stance, effective communication, safe delivery techniques, and a thorough warm-up to reduce injury risk. Monitor ice conditions, use sliders and grippers correctly, maintain your equipment, and signal teammates clearly. If you’re unsure, ask coaches for guidance and practice controlled falls. With consistent attention to safety, you will play more confidently and help keep yourself and others safe on the ice.
FAQ
Q: What should I wear and what footwear is best for curling?
A: Dress in layers that allow free movement and wick moisture; avoid bulky coats that restrict your delivery. Use curling shoes with a slider on one foot and a gripper on the other. If using rental shoes, confirm the slider is clean and the gripper provides traction. Bring rubber shoe covers or change into street shoes off the ice to avoid tracking water. Thin gloves or mitts with a good grip help when delivering and sweeping. For juniors or anyone nervous about falls, a helmet designed for ice sports is recommended.
Q: How can I reduce the risk of slipping, tripping, or falling on the ice?
A: Walk deliberately and shuffle when crossing the ice; avoid running. Keep pathways clear of brooms, stones, and bags; place gear in designated racks. Step on and off the ice using the walkway or mats provided, and use the rail or boards for balance if available. Inspect the ice surface for wet patches or debris before stepping on, and report hazards to ice staff so they can address them quickly.
Q: What delivery technique helps prevent strains and injuries?
A: Use your legs and core to generate the push rather than forcing movement with your lower back or shoulders. Start with a stable stance, slide forward with a low, controlled lunge, keep your back neutral and head up, and release the stone smoothly. Keep knees aligned and avoid twisting the torso under load. Practice dry-land balance drills and progress slowly under coach supervision; consider using a balance aid or stick until you build stable technique.
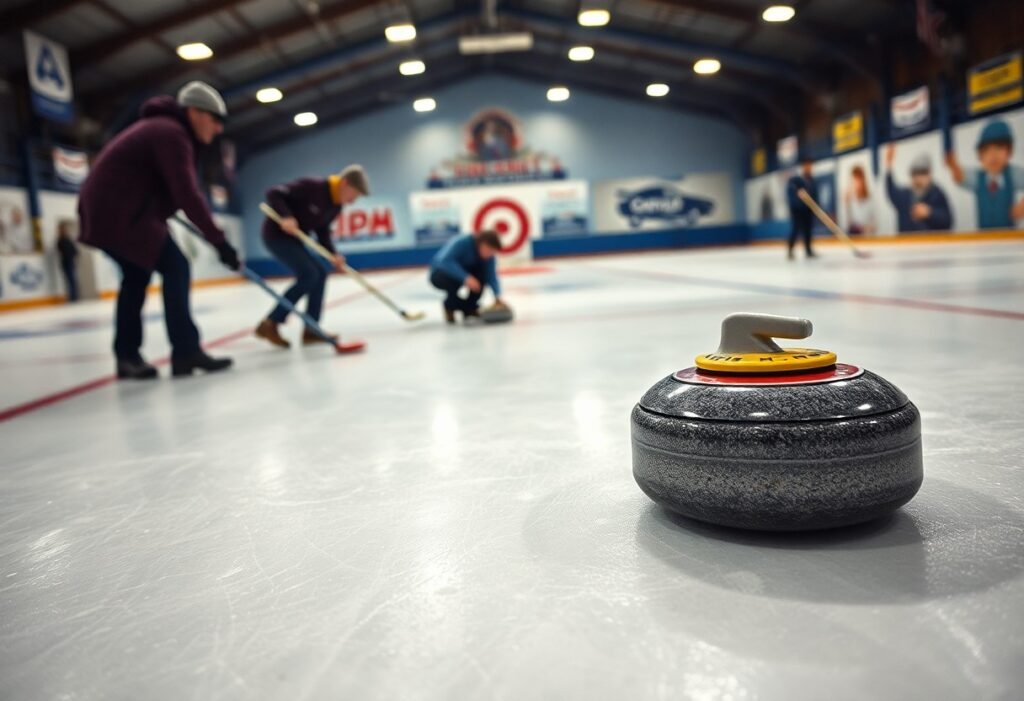
Q: What are safe sweeping practices to protect my shoulders, back, and teammates?
A: Use a long, relaxed stroke driven by the legs and hips with a stable forward lean, keeping the core engaged rather than relying solely on the arms. Communicate clearly with your partner and the skip so sweepers know when to start, stop, or change intensity. Never cross in front of a moving stone; move around the stone path. Rotate sweeping duties to avoid overuse injuries and pause if you feel sharp pain or dizziness.
Q: What should I do if someone is injured or there is an emergency on the ice?
A: Stop play and secure the area so no one else is at risk from moving stones. Call for the team captain or ice marshal immediately and follow the rink’s emergency protocol. Provide basic first aid if trained, keep the injured person warm and still, and do not move them if a spinal injury is suspected. Have the rink’s emergency phone numbers and the location of first-aid supplies readily available; seek professional medical care for suspected fractures, head injuries, or persistent pain. Report any ice hazards that contributed to the incident so they can be fixed.