Curling training at home lets you build sport-specific strength, flexibility and balance with targeted drills and simple equipment; include a warm-up, core and leg strength work, balance drills and delivery simulations to improve balance and delivery accuracy, while managing the slip risk by practicing on safe surfaces and using proper sliders; progress with measured loads, watch your form, and avoid overuse to keep gains steady and injuries minimal.

Key Takeaways:
- Prioritize balance, leg strength, and core stability with at-home exercises (lunges, squats, single-leg drills, planks, resistance bands) to improve delivery and sweeping power.
- Simulate deliveries and slides using sliders, towels, or a marked floor to rehearse footwork, timing, and broom placement; record video for self-feedback.
- Blend interval cardio, mobility, and targeted flexibility work in short daily sessions to build endurance, maintain range of motion, and reduce injury risk.
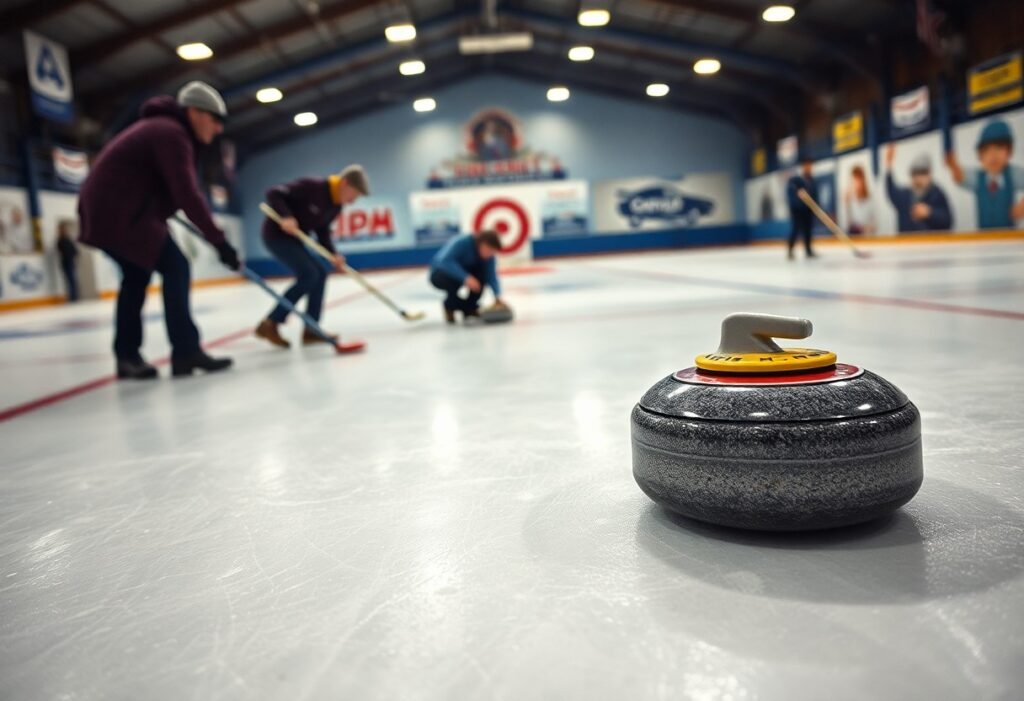
Understanding Curling Techniques
Fundamentals of Curling Stance
When you set up in the hack, position your slider foot straight and your plant foot slightly angled, keeping hips square to the target; a knee bend of about 30-40° gives power without overstraining your joints. Begin balanced, roughly 50/50 weight, then drive into the slide and shift toward the front foot. Maintain a steady head-over-front-knee line and keep your broom at chin height for alignment. Avoid letting the front knee collapse inward-this risk can cause knee injury and inconsistent release.
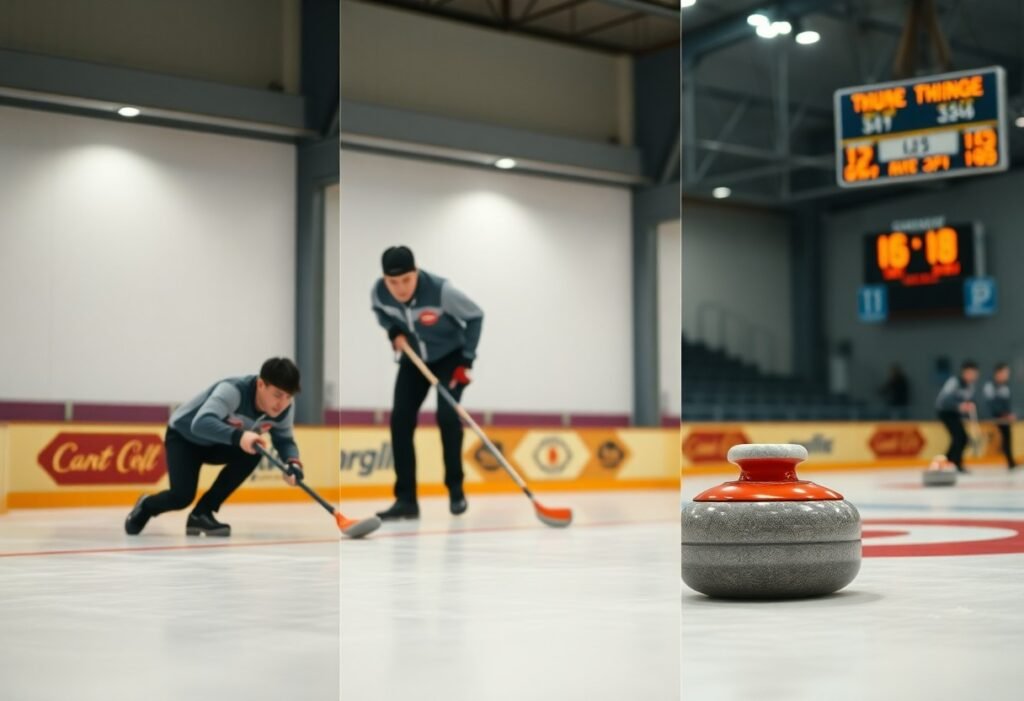
Importance of Delivery Mechanics
Delivery timing and release consistency determine whether a stone hugs the line or misses by inches; on a standard 45.72 m (150 ft) sheet you must calibrate weight and rotation precisely. Use 1-3 turns of rotation depending on ice speed, and lock your release point so every throw exits your hand at the same orientation. Small variations in wrist angle or follow-through produce large deviations at the house, so train for repeatability.
Drill specifics help: perform sets of 50 identical releases from the hack to a fixed target 4-6 m away, varying only rotation (0, 1, 2 turns) to feel how spin affects curl. Emphasize a stable elbow and minimal wrist flick; coaches often cue a smooth shoulder-driven rotation to keep the stone’s axis steady. On faster ice you’ll reduce turns or take less weight; on slower ice add a half-turn or increase push length. Track outcomes-hit percentage or distance from the button over 100 repetitions-to quantify improvement and spot inconsistent release patterns.
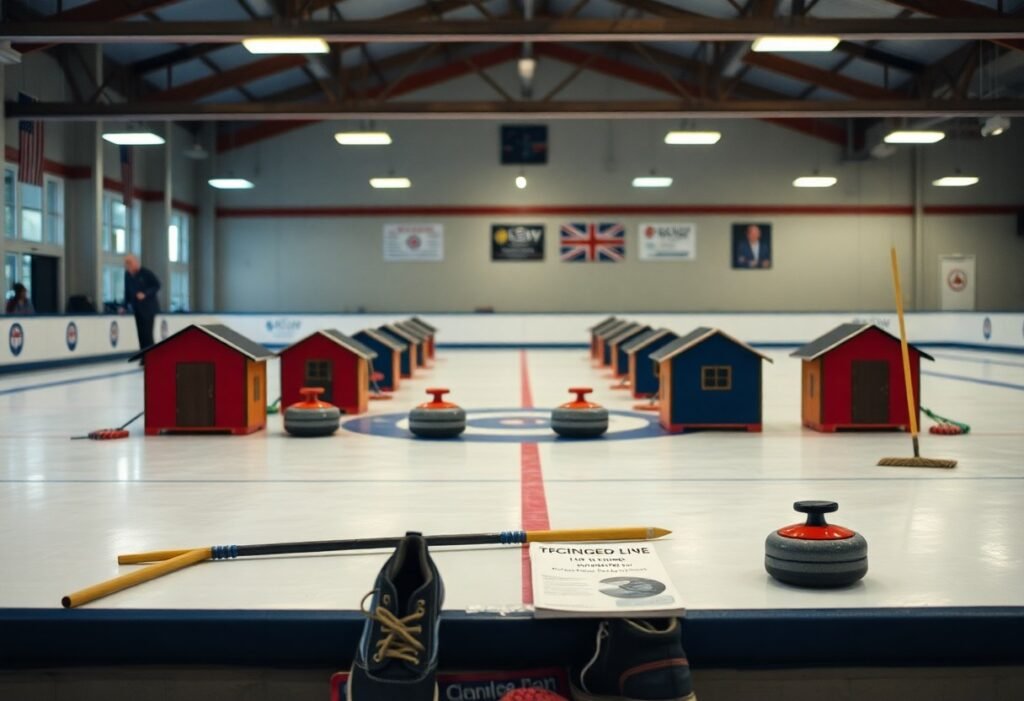
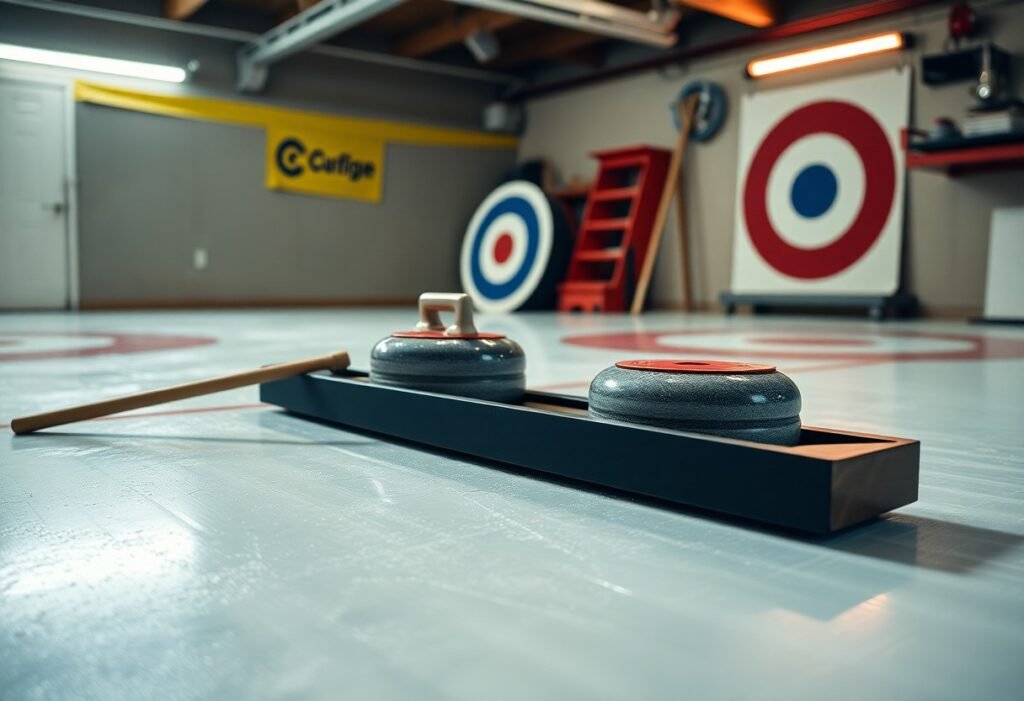
Essential Equipment for Home Workouts
You’ll need specific items to progress: a training stone or slider, a broom, balance aids, and protective gear. Official stones weigh 38-44 lb (17-20 kg), so use foam or lighter 10-20 lb replicas for off-ice drills to lower injury risk. Add a slider disc, knee pads, and a stable mat. Clear a minimum of 10×12 ft and wear non-slip shoes to prevent dangerous slips during delivery practice.
Suggested Gear for Practice
Start with a slider disc ($10-$30), a synthetic training stone or lightweight weighted slider (10-20 lb) for deliveries, and a broom or push-broom for sweeping technique. Include a balance board ($25-$60) to build core stability, a slider glove or hack shoe for release work, and a tape measure plus cones for marked drills. For safety use knee pads and anti-slip tape on hard floors to reduce fall risk.
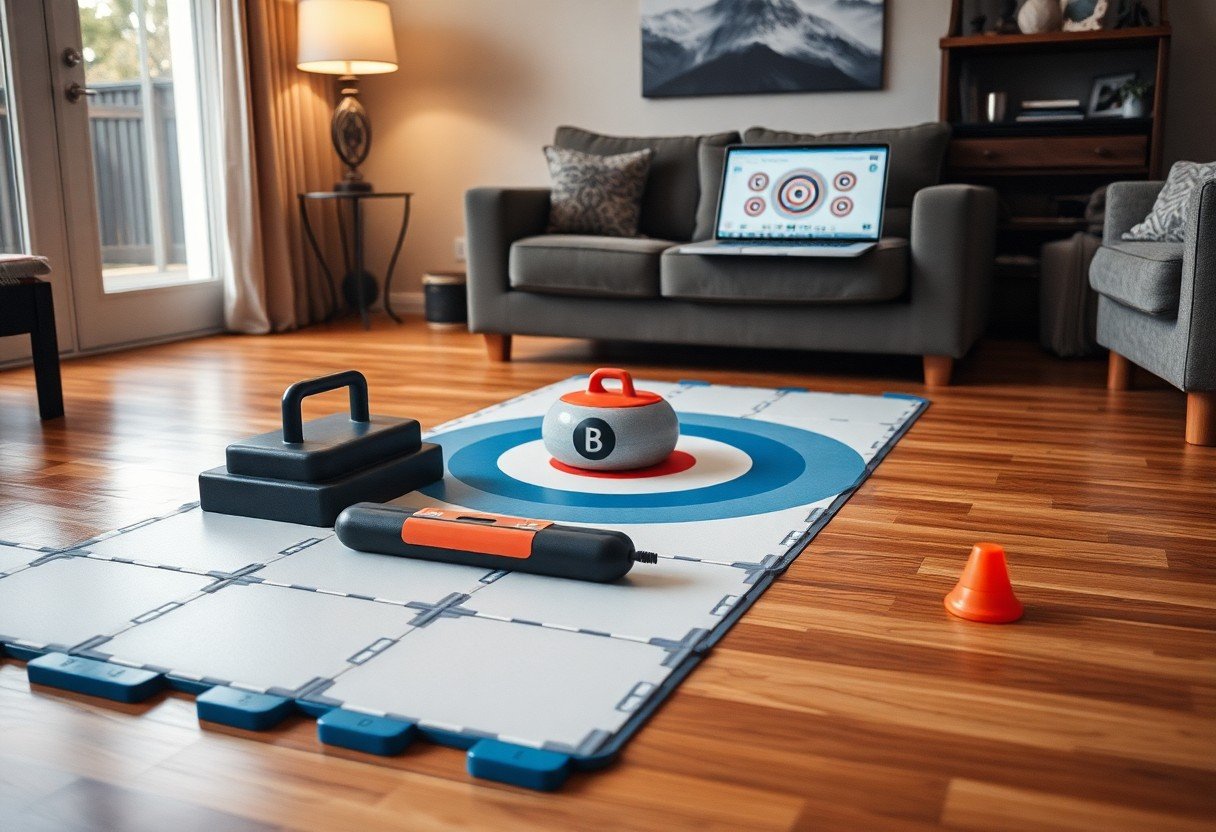
Creating a Practice Space
Many players convert a 10×15 ft garage or spare bedroom into a drill area; you should clear at least 10×12 ft for realistic slides. Lay a low-friction mat or training sheet over concrete or laminate, secure loose items, and ensure bright lighting. A wall mirror or phone tripod helps you analyze form, while good ventilation and a nearby first-aid kit mitigate common training hazards.
Mark foot positions and targets with tape-place markers at 3, 6, and 9 ft to rehearse release length and landing. Film deliveries at 60 fps to review rotation and knee bend against pro clips. Anchor mats with gaffer tape to prevent slips and test sliding distance without weight before adding a heavier training stone. When using heavier gear, have a partner nearby and wear protective footwear to avoid impact injuries.
Fitness Components for Curling
You need a blend of power, endurance, mobility and proprioception; target strength sessions 2-3 times weekly and cardio 1-2 sessions of 20-40 minutes. Implement on-ice technique with off-ice work, and use Curling Drills to transfer training to delivery. Improving single-leg strength and core endurance by 20-30% reduces wobble in the slide and lowers injury risk.
Strength Training Exercises
You should prioritize unilateral leg moves: split squats, single-leg Romanian deadlifts and step-ups for 3 sets of 6-10 reps, plus hip thrusts for posterior chain power. Add anti-rotation core work like Pallof presses (2-3 sets of 12-15) and sled pushes or kettlebell swings for hip drive; overload progressively but avoid heavy spinal flexion to prevent low-back strain.
Flexibility and Balance Routines
You must include dynamic hip openers, thoracic rotations and hamstring mobility before practice, then single-leg balance holds (30-60s) and unstable-surface progressions 2-3 times per week; improving ankle and hip mobility reduces slide compensations.
Start with a 10-minute dynamic warm-up, then spend 5-10 minutes on mobility drills (hip flexor holds, 90/90 rotations, thoracic foam rolls). Do 3 sets of single-leg holds for 30-60 seconds, progress to eyes-closed or BOSU for proprioception, and finish with 2 minutes of foam rolling per major muscle group; many curlers report measurable slide steadiness gains within 4-6 weeks when following this 15-20 minute daily routine.

Specific Drills for Skill Development
Break sessions into focused blocks: 10-15 minutes on release mechanics, 10-15 minutes targeting, and 10-15 minutes weight control, performing 3 sets of 8-12 repetitions per drill. Use video analysis for 5-10 throws and log outcomes to measure improvement; many curlers target a 15-20% accuracy gain within 6-8 weeks with consistent practice. Prioritize quality over volume and alternate high-intensity skill days with light recovery sessions.
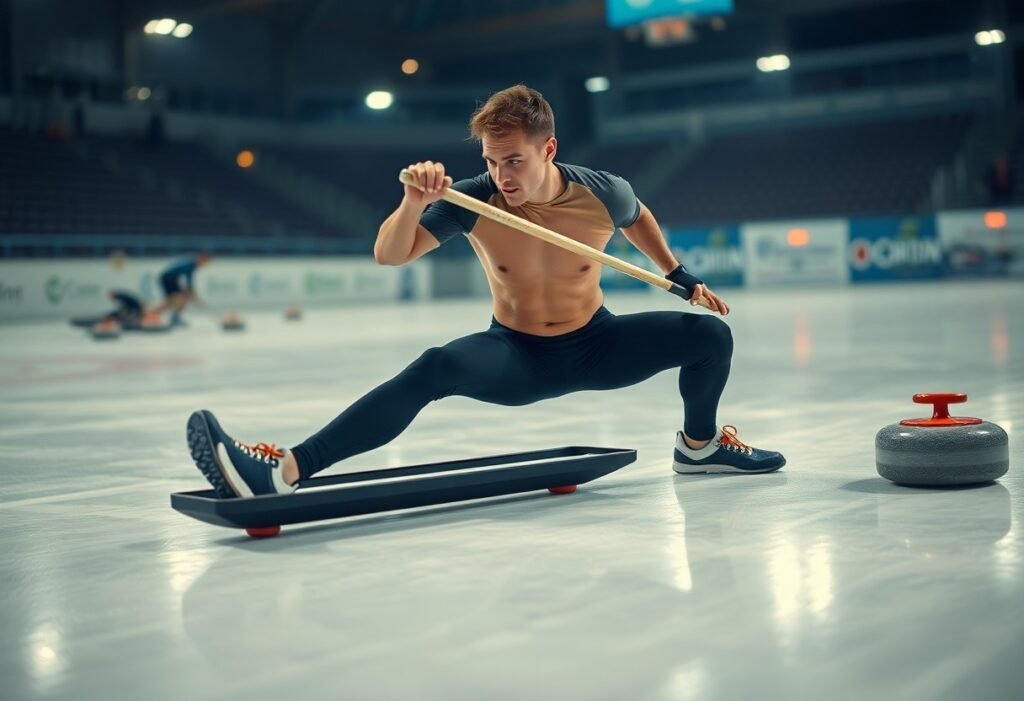
Off-Ice Delivery Drills
Simulate delivery using a towel or slipper on smooth flooring to practice slide and balance, performing 10-15 simulated deliveries per set. Add a balance board for proprioception and a resistance band around the hips to train the push-off sequence. Film at 60 fps for release timing analysis and avoid deep weighted lunges; excess load can increase knee and lumbar stress, so limit added resistance to short, supervised sets.
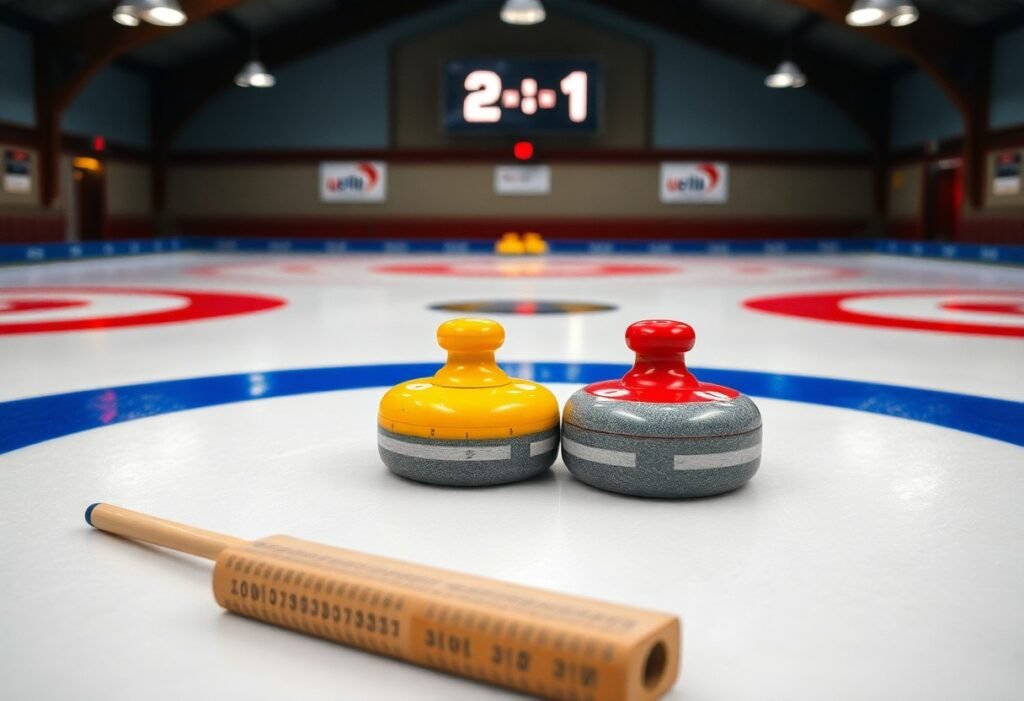
Targeting and Weight Control Exercises
Set markers at 2m, 4m and 8m and practice four weight categories: draw (gentle), guard (medium), hit (firm) and peel (full power). Do 12 throws per weight-48 total-to train feel across distances, aiming to land within 30 cm (12 in) of the target for at least 70% of attempts. Use a tape measure or tape rings to quantify consistency and adjust pacing based on fatigue.
Measure progression with a simple log: record distance, weight type, and whether the stone landed inside 30 cm, then reduce the target radius by 10-20% every 2 weeks as accuracy improves. Use cones at 0.5m intervals to practice incremental weight changes and partner feedback for tactical calling. Be cautious with repetitive high-velocity throws; overuse can provoke lower-back or shoulder injuries, so limit intense weight-control sessions to 2-3 times weekly and include mobility work.
Mental Preparation and Strategy
Mental preparation and clear strategy turn trained skills into match wins. During practice, allocate 10-15 minutes to a preshot routine, four-count breathing, and scenario walkthroughs to calm nerves and sharpen reads. Use a consistent pre-shot routine, log decisions in a notebook, and run quick mental simulations of high-pressure shots to build familiarity with stress. Spending 5-10 minutes daily on these elements improves your decision speed and reduces unforced errors.
Visualization Techniques
Visualize 5-10 minutes daily, running through 6-8 typical shots-draws, hits, freezes-focusing on weight, release, and broom calls. Begin with perfect execution, then rehearse recovery from common misses so you don’t freeze in-game. Add multisensory detail-feel the slider, hear the sweep-and use positive imagery to build confidence and reinforce muscle memory for match situations.
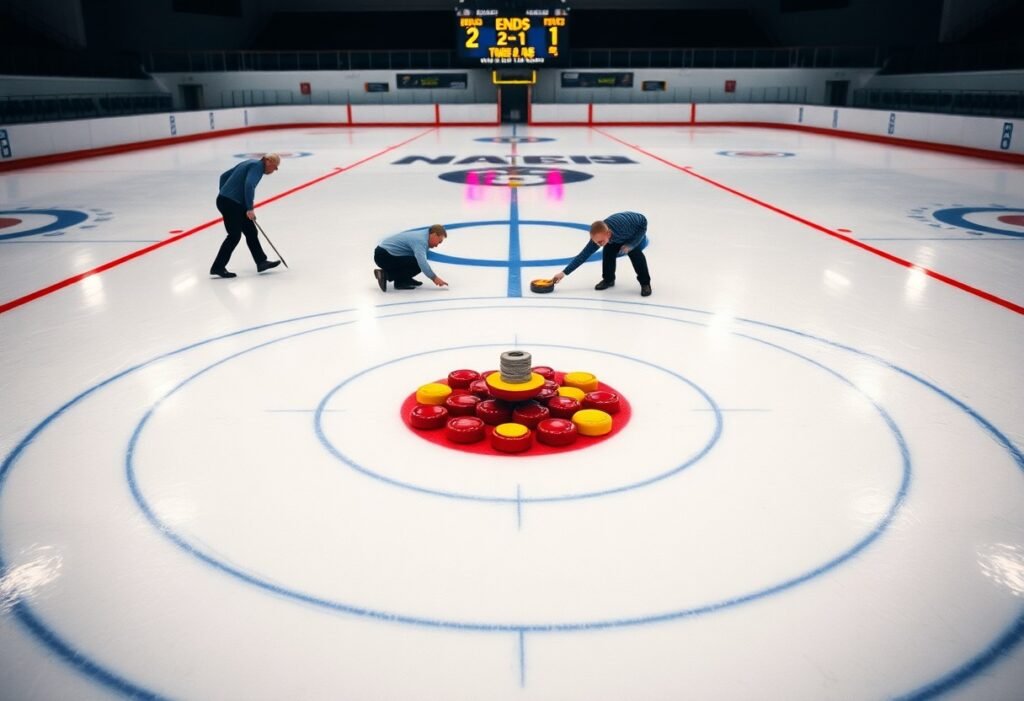
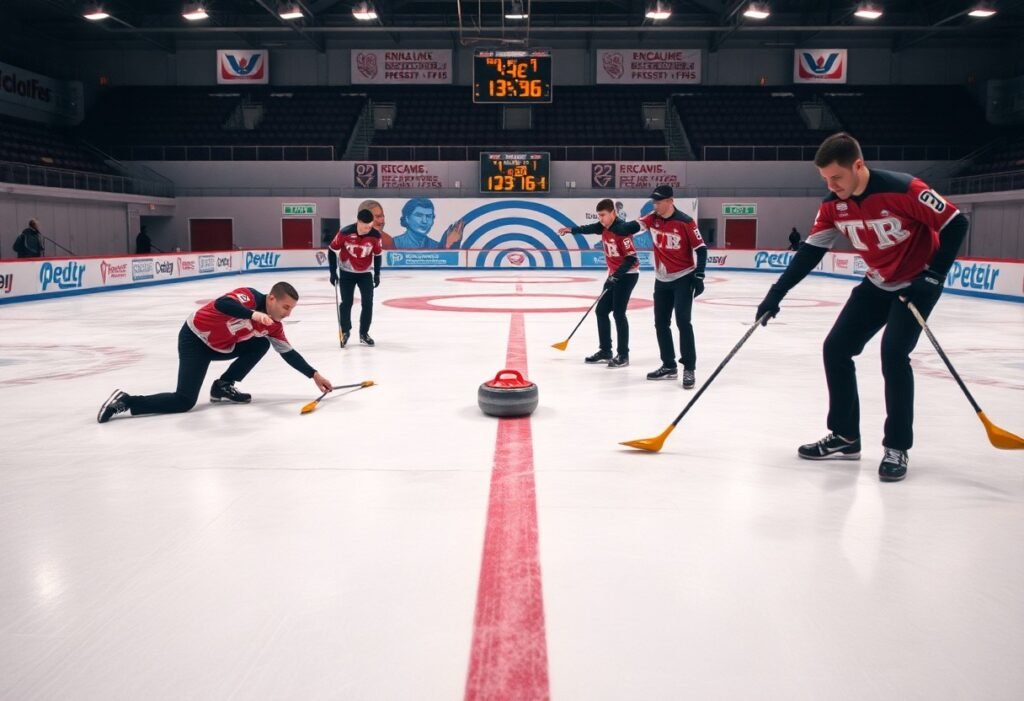
Developing Game Strategy
Plan 10-20 minute strategy sessions after practice to map ends, guard usage, and endgame contingencies. Prioritize shot selection based on your team’s strengths-if your draw accuracy is superior, set up scoring ends; if takeouts are stronger, simplify play. Track opponent tendencies across 3-5 games to spot patterns and assign sweeping and calling roles before a match.
You should adjust tactics to the scoreboard: when you’re trailing late, increase aggression with risky guards and corner freezes; when leading, simplify with blanks or straight takeouts. Use metrics-hit percentage and draw accuracy-and plot them on a one-page chart to decide when to force, blank, or concede. Emphasize scoreboard awareness and risk management in team talks so shot-calling aligns with match objectives.
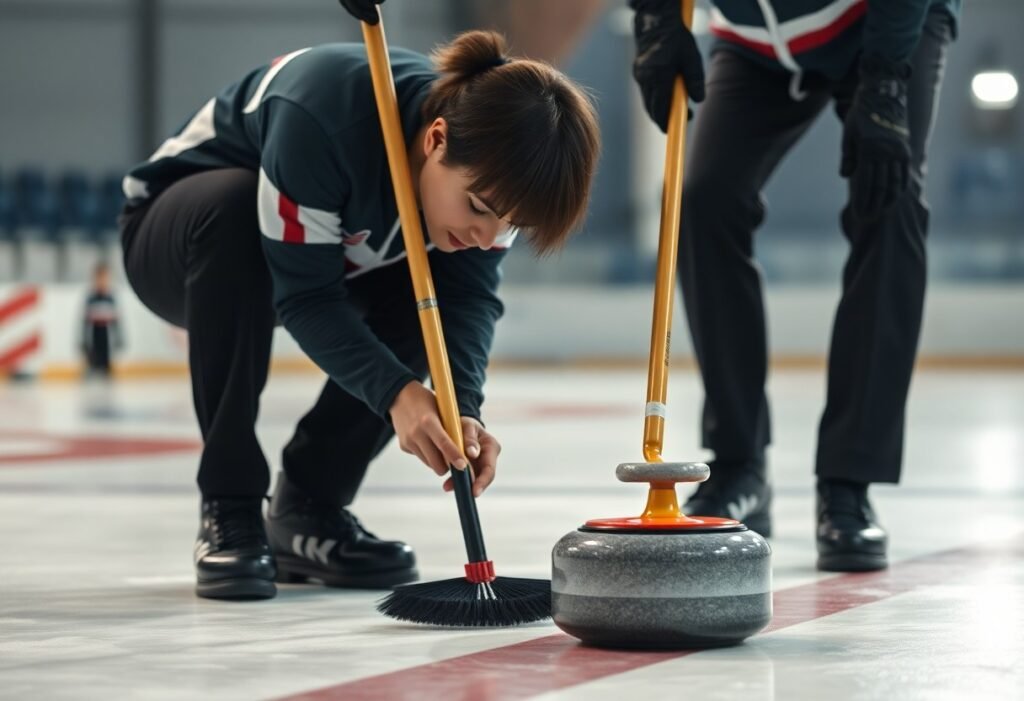
Incorporating Team Drills at Home
You should schedule focused team sessions at home: run 2-3 weekly team blocks of 30 minutes each that mix role rotation, timed shot sequences, and 10-minute video debriefs. Use markers at 4m, 8m and house-equivalent targets to simulate ends, and alternate who leads strategy every two drills to build decision-making. Prioritize clear calls and watch load-overdoing sweep reps can strain shoulders and lower back, while consistent team practice sharply improves timing and trust.
Partner Workouts for Communication
Pair up for 15-20 minute partner drills that isolate communication: one person delivers simulated shots while the partner practices three calls-line, weight and broom placement-followed by 30-60 second feedback loops. Use a stopwatch to time responses; aim for calls within 1-2 seconds and repeat until reaction becomes automatic. Vary distance and role so you both practice calling under fatigue and maintain posture to avoid lower-back strain.
Virtual Team Collaboration Practices
Run weekly 45-minute virtual sessions combining strategy whiteboards, recorded technique review and live role-play: assign an observer to record and tag clips, hold a 10-minute playback to discuss shot decisions, and log action items in a shared sheet. Check audio and camera angles before starting-poor audio or video latency (>200 ms) can destroy timing practice-and set measurable targets like reducing miscommunication on calls by tracked percent points.
For deeper virtual work, structure each meeting: 10 minutes of warm-up drills (shadow slides or balance work on camera), 20 minutes of scenario simulation (one player describes a house layout while others call and vote on the shot), and 15 minutes of video analysis with frame-by-frame review. Keep a shared spreadsheet tracking metrics-shot selection accuracy, call response time, and execution rating 1-5-so you can quantify progress. Use Zoom/Teams with recording enabled, timestamp key clips, and assign a rotating analyst to prepare 3 improvement points for the next session.
Summing up
Upon reflecting, you can build effective curling fitness at home by combining mobility, leg and core strength, balance drills, and sport-specific conditioning like slider practice and broom-simulated sweeping. Prioritize structured progression, technique refinement, and recovery to transfer gains to the ice, and track sessions to maintain consistency and measurable improvement.
FAQ
Q: What fitness areas should I train at home to improve my curling performance?
A: Train leg and hip strength, single-leg balance, core stability, upper-body endurance for sweeping, mobility for hip and ankle range, and aerobic conditioning. Sample exercises: Bulgarian split squats 3×8-12 per leg, single-leg Romanian deadlifts 3×8-12, glute bridges 3×12-15, planks 3×30-60s, band rows 3×10-15, kettlebell swings 3×12-20, calf raises 3×15-20, and 15-30 minutes of moderate cardio (bike, jump rope). Include single-leg balance holds 3x30s and dynamic stability drills twice weekly.
Q: How can I simulate sliding and delivery practice on non-ice floors?
A: Use a small towel, furniture slider, or a purpose-made off-ice slider under the sliding foot on laminate, tile, or smooth concrete; wear a smooth-soled shoe on the slider foot and a grippy shoe on the push foot. Practice the hack start, controlled knee bend, and long gliding stride while keeping hips square and core engaged. Work in short repetitions (5-10 reps per set) focusing on balance and body line; add video feedback or a mirror to correct posture and weight transfer.
Q: What does a practical 30-45 minute at-home curling workout look like?
A: Warm-up 5-8 minutes (leg swings, hip circles, band pull-aparts, bodyweight squats). Strength circuit 20-25 minutes: Bulgarian split squats 3×8-10, single-leg RDLs 3×8 per side, bent-over rows or band rows 3×10-12, planks 3x45s, kettlebell swings 3×12-15. Skill and balance 7-10 minutes: slider delivery practice 5-8 minutes + broom-handling/sweeping technique and tempo drills 2-4 minutes. Cool-down 3-5 minutes of hip and hamstring stretching and foam rolling.
Q: What simple equipment can I use at home if I don’t own curling-specific gear?
A: Use a towel or furniture slider as a foot slider, a glove or cloth for a slider glove, a broom or dowel for delivery and sweeping drills, resistance bands for rows and shoulder work, dumbbells or kettlebell for strength, and a cushion or folded mat for balance work. A smooth surface (laminate, tile) and a stable, clear space are sufficient for most drills.
Q: How do I progress safely and reduce injury risk when training for curling at home?
A: Warm up thoroughly and include mobility work before loaded drills, prioritize single-leg strength to correct imbalances, increase load or volume gradually (about 5-10% per week), and avoid sharp joint pain. Schedule rest or light recovery days, vary intensity across the week, and perform targeted shoulder and thoracic mobility to protect sweeping mechanics. Seek video feedback or occasional coaching to check technique and adjust progressions when movement quality declines.