There’s a rewarding mix of precision and teamwork in curling that makes it ideal for beginners; to get started you should focus on your stance, delivery, and sweeping-learn delivery, sweeping, and communication-and be aware of hazards such as slippery ice and that stones are heavy. With proper shoes, coaching, and practice you’ll quickly enjoy the sport’s strategic teamwork and accessibility.

Key Takeaways:
- Master basic delivery: focus on posture, balance, smooth release, and consistent weight control through repetitive practice.
- Develop effective sweeping and communication: learn proper broom technique, build fitness for sustained sweeping, and coordinate calls with teammates.
- Understand strategy and gear: learn common shot types and on-ice etiquette, and use appropriate shoes, a gripper, and optional protective equipment.
Understanding the Basics
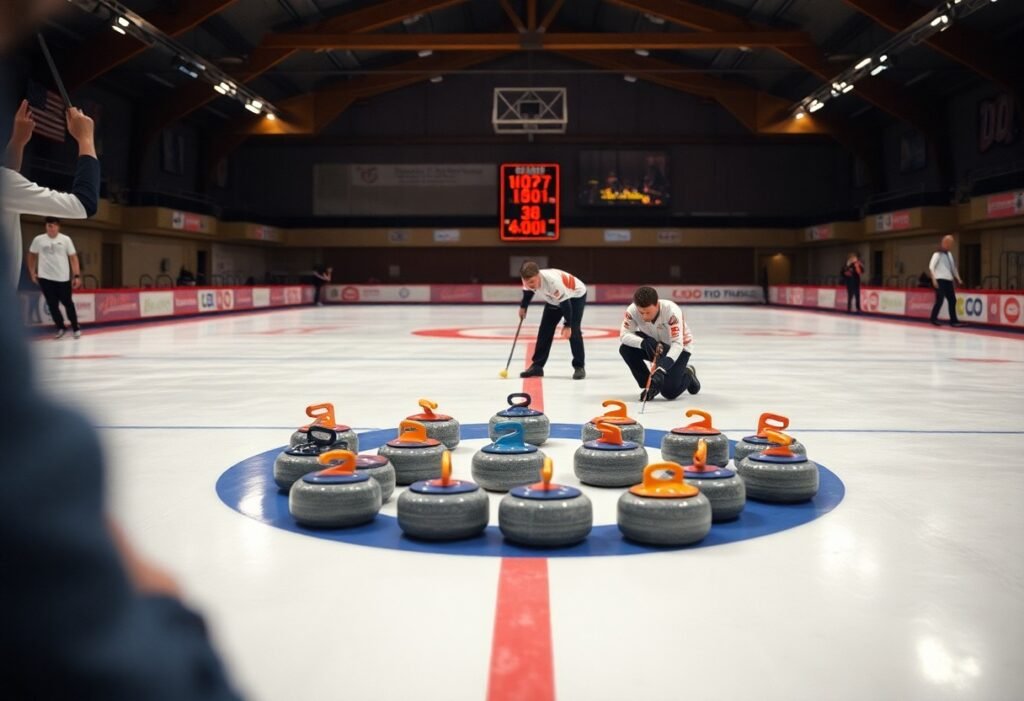
Understanding how the ice, stones, and sweeping interact helps you develop fundamentals quickly: granite stones weigh 38-44 lb (17.24-19.96 kg), the house is a 12‑foot circle, and teams usually field four players over 8 or 10 ends. You’ll focus on delivery timing, weight control, and clear communication-sweeping can add several feet and change curl-while taking safety seriously because the ice is slippery and falls can injure wrists or hips.
What is Curling?
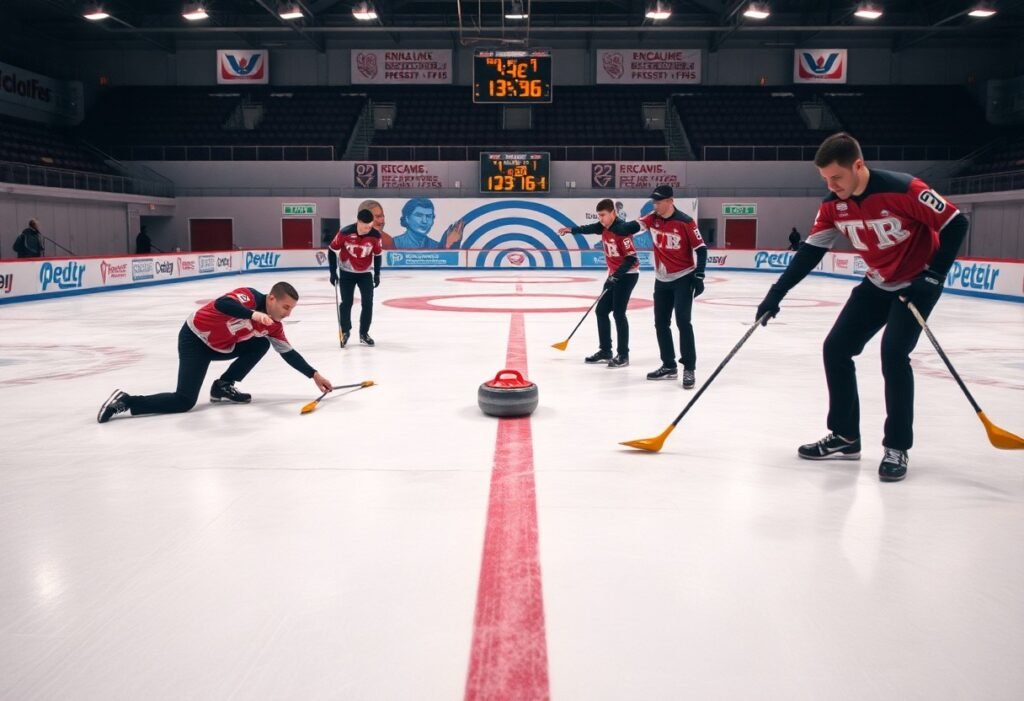
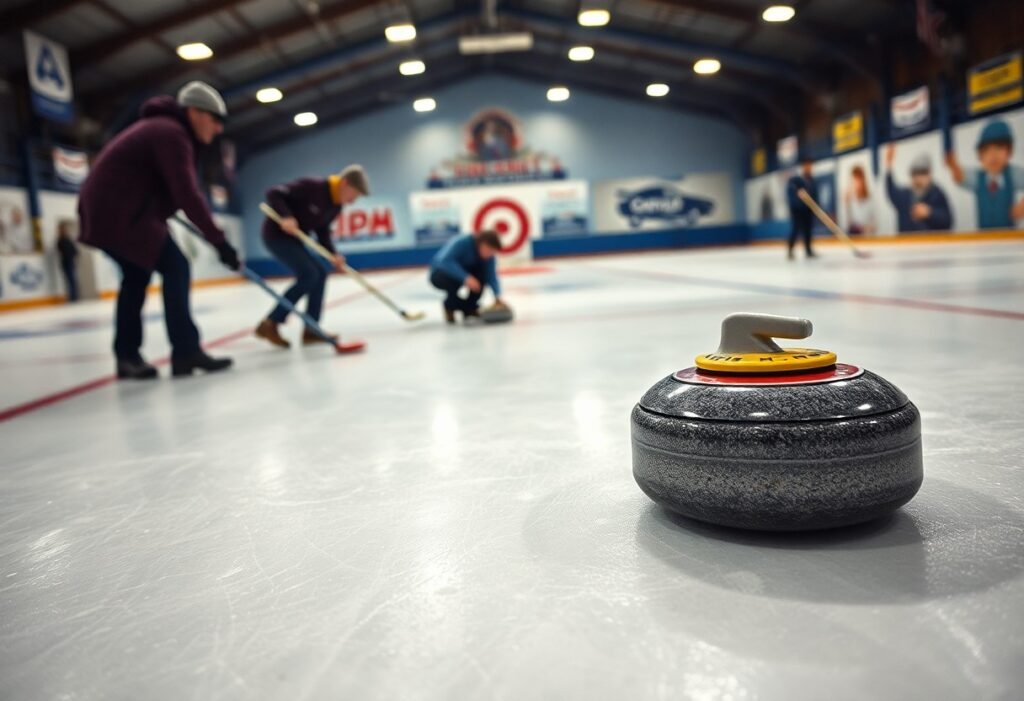
You slide polished granite stones down a pebbled sheet of ice toward the house, aiming to get closer to the button than your opponent. Each player throws two stones per end, imparting rotation so the stone “curls”; teammates sweep ahead to alter distance and curl. The blend of precise weight control, teamwork, and tactical placement is why curling rewards practice and communication.
The Rules of the Game
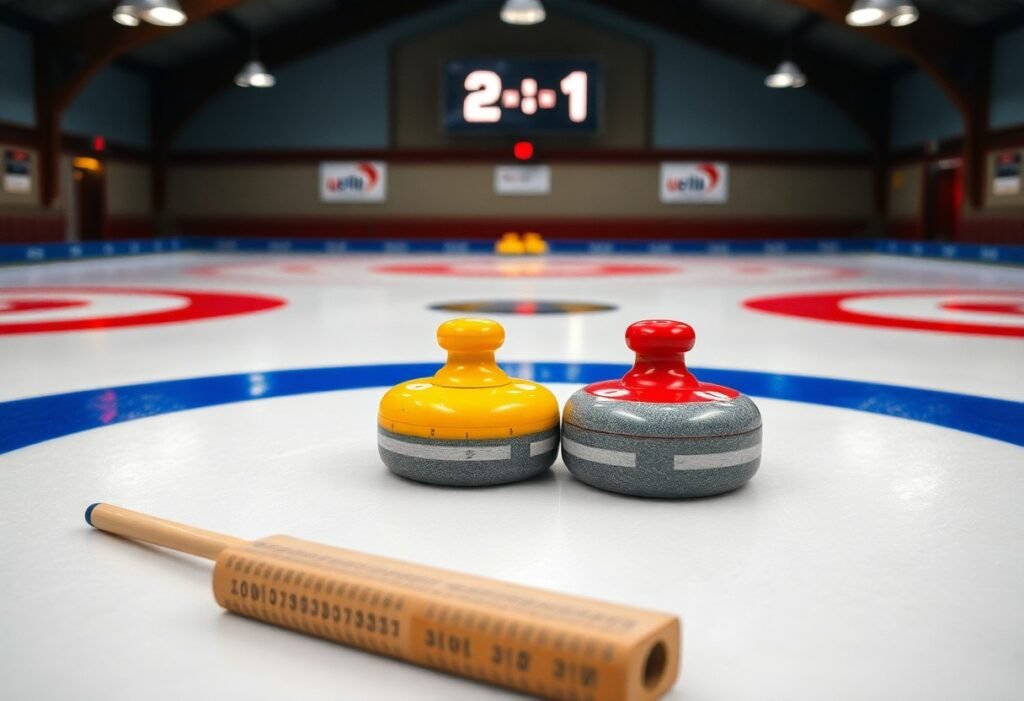
Objective: score points by having your stones closest to the button after each end. You play alternately, and the team with the last-stone advantage-the hammer-often controls strategy. A stone must be released before the near hog line and must cross the far hog line to remain in play. Scoring awards one point per stone closer than the opponent’s nearest.
Strategic rules shape play: the free guard zone prevents removal of guards placed between the hog and tee lines during the first 4-5 stones (varies by competition), leading to more layered offense. Teams also use blank ends to retain the hammer, and tied games go to extra ends with measurements used to settle very close shots.
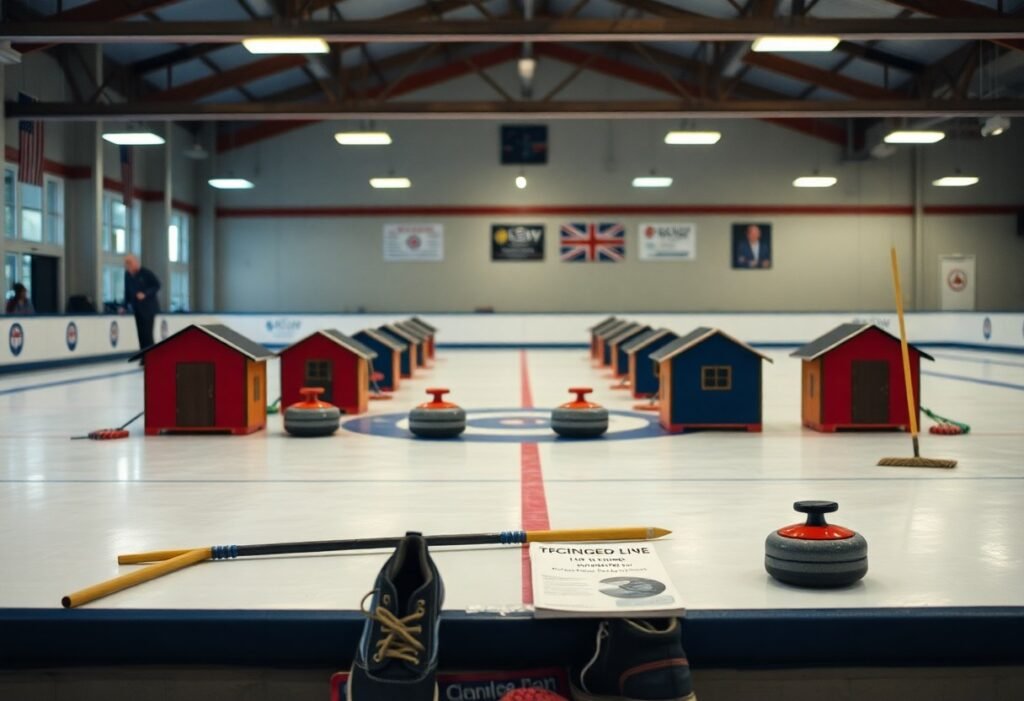
Equipment You Need
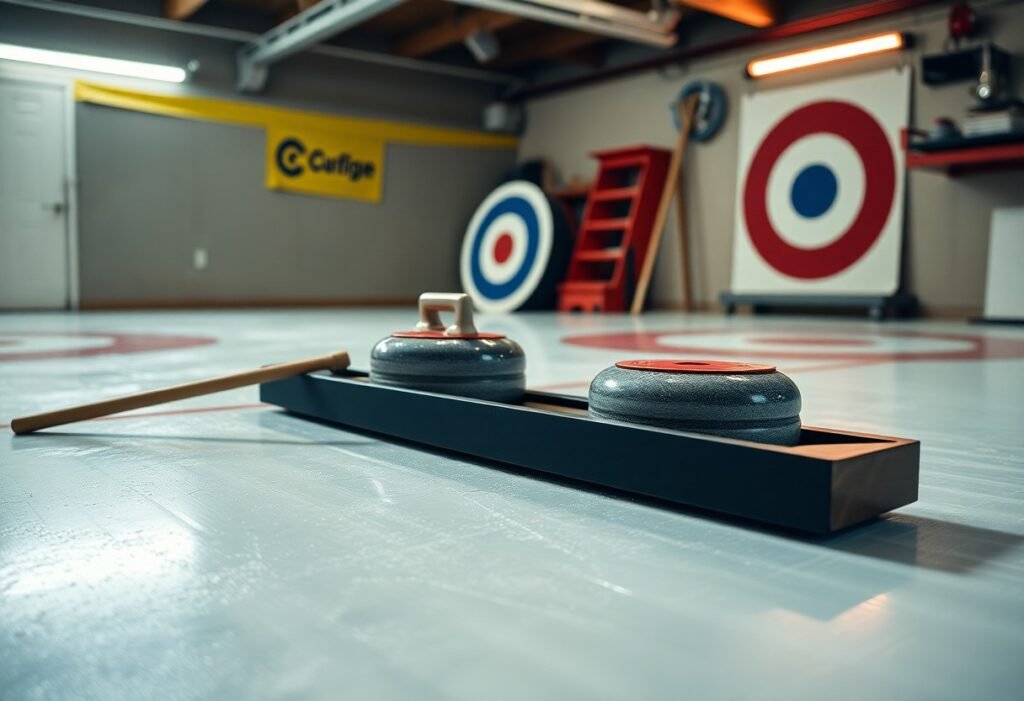
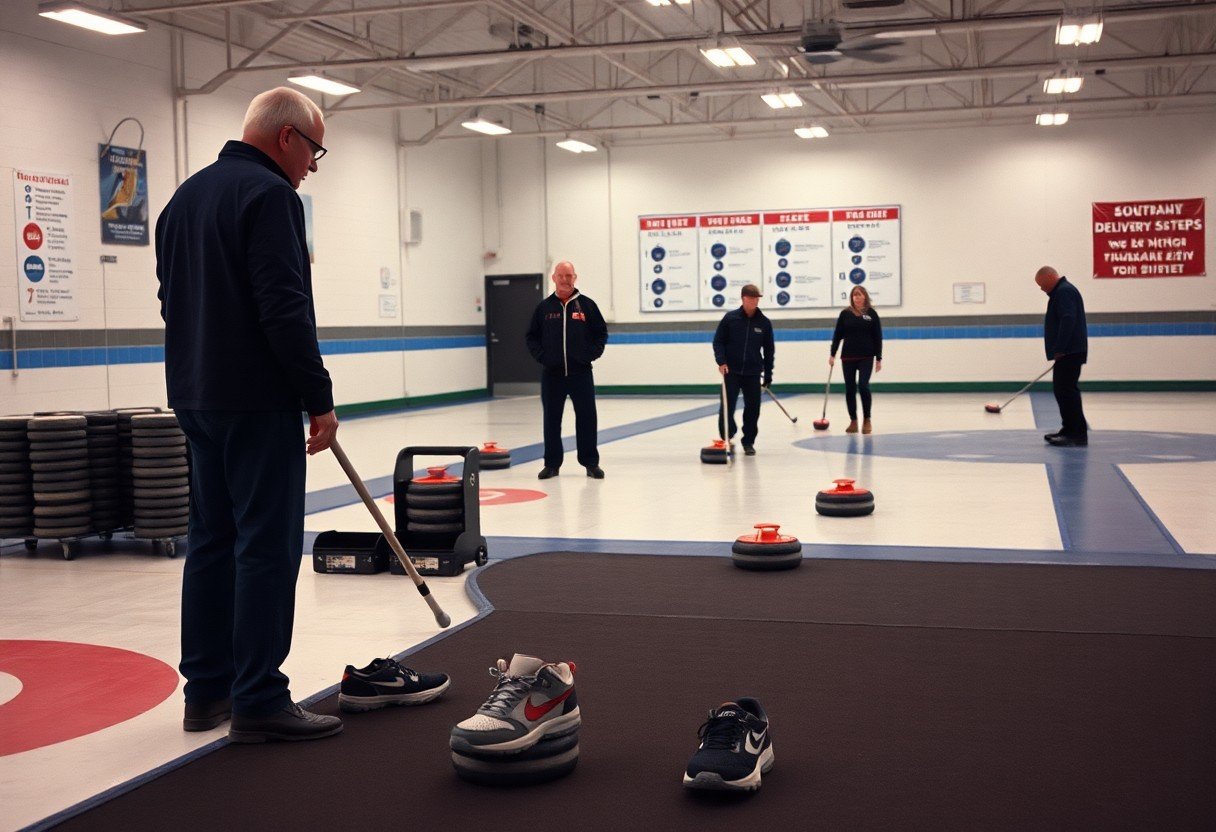
You’ll need a few specialized items to get on the ice and progress safely: granite stones, a broom, and proper shoes. Granite stones typically weigh 38-44 lb, so handle them carefully and develop lifting technique; many beginners find practical tips on forums like Any vital tips for a beginner? : r/Curling. Investing in a quality broom and a pair of slider/gripper shoes improves consistency and lowers injury risk.
Curling Stones
You use polished granite stones-competition pieces weigh 38-44 lb and often come from traditional quarries like Ailsa Craig, which gives a predictable curl. Each stone has a running band and a colored handle (commonly red or yellow) to show team ownership. Practice controlled lifts and safe handling to protect your back, and focus on a smooth release to manage rotation and weight for precise placement.
Brooms and Footwear
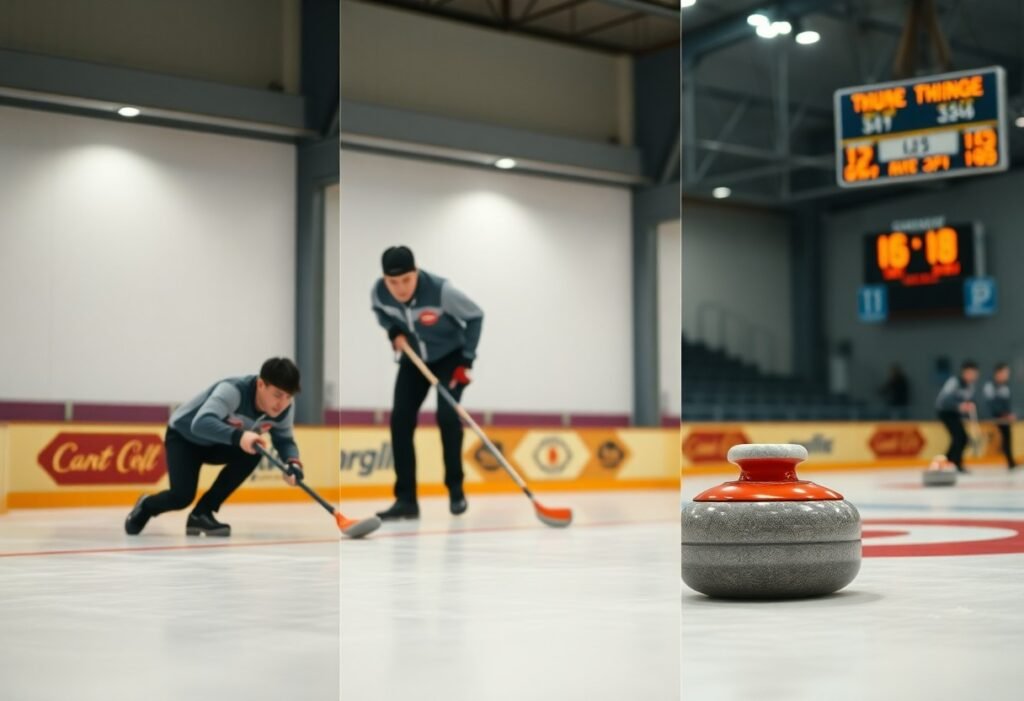
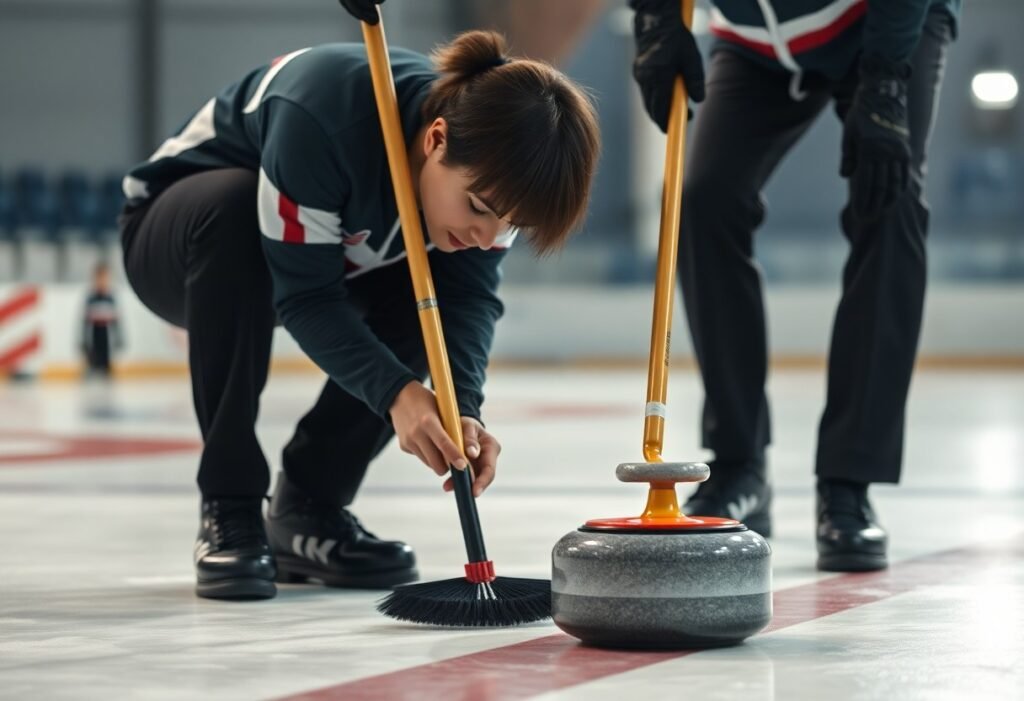
Choose a broom about 100-120 cm long with a synthetic brush head for durable, effective sweeping; modern brush fabrics and vigorous sweeping can significantly alter a stone’s distance and curl. Your shoes should be one slider and one gripper-use the slider to glide during delivery and the gripper for stable push-off so you maintain balance and consistent slides.
Work on broom technique with two sweepers: consistent, fast strokes and body weight over the brush lower ice friction and can add several meters of travel depending on ice conditions. Maintain your slider (keep it clean and replace worn discs) and swap shoe soles to match ice or club rules; if sliding is difficult, a delivery stick allows accurate release without a full slide while keeping you competitive.
Getting Started
From here, commit to regular practice: plan 4-6 hours weekly combining clinics and open ice to build your muscle memory. Join a team rotation to practice your delivery and sweeping under game conditions. Expect initial awkwardness; focus on your balance and footwork. Keep a small kit-gripper, slider, and knee pad-to protect yourself and accelerate progress. Consistent practice pays off quickly.
Finding a Curling Club
Search national federation directories or Google “curling club near me” and check club websites for beginner nights, usually called “Learn to Curl” sessions. Many clubs run 1-2 hour clinics for $10-30 and offer rental equipment. Visit at least two clubs to compare coaching depth, ice quality, and social vibe; pick the one where you feel encouraged and can practice regularly. Try an intro session first.
Basic Techniques for Beginners
Focus first on delivery and release: set your hack foot flat, slide foot straight toward the target, and keep your hips square. Use a low, controlled lunge-aim for 60-70% of your weight on the sliding leg-to stabilize release. Rotate the handle about a quarter turn (clockwise for out-turn, counter for in-turn) as you let the stone go. Practice 30-50 repetitions per session to build consistency. Proper release prevents errant curl; ice is slippery, so use a gripper when needed.
You should spend time on two core drills: hog-to-hog weight (deliver to just past the far hog line) and tee-line accuracy (aim for the button). In sweeping, use low, fast strokes and strong forward pressure; sweeping can add about 1-3 meters to travel on many club ices depending on speed and ice temperature. Communicate constantly with the skip and sweepers, and repeat 10-20 reps per drill to see measurable improvement.
Strategy and Gameplay
Scoring in Curling
At the end of each end the team with the stone closest to the button scores, receiving one point for each of their stones closer than the opponent’s nearest; only one team scores per end. Matches are typically 8 or 10 ends, and holding the hammer (last stone) boosts your scoring chances-teams with hammer score roughly 55-60% of ends. Use guards and strategic draws to increase the number of stones you count.
Common Strategy Tips
You should balance offense and defense: use guards to protect scoring stones, play precision draws to sit in the house, and execute timely takeouts to remove threats. Teams often aim for 2+ point ends while sometimes opting to blank an end to retain the hammer. Effective sweeping can change stone distance by several meters, so communication on line and weight is vital.
- Guard – you place stones to block opponents and protect your scoring stones.
- Draw – you aim to land in the house; precise weight and line (within about 1-2 meters) matter.
- Takeout – you remove opponent stones; accuracy lowers the risk of leaving counters.
- Any blank end – you intentionally score zero to keep the hammer for the next end.
Mid-game you should adapt: early ends favor setting up the center with guards, while ends 6-8 often require more aggressive takeouts if you’re trailing by two or more. When ahead, consider peel strategies and blanking to preserve the hammer; when behind, pursue draws into the house or use a freeze to limit opponents’ angles. Track opponents’ preferences-who favors draws vs. takeouts-and let that inform your shot selection.
- Peel – remove guards to open the center and simplify play.
- Freeze – place a stone tight to an opponent’s to block takeouts and reduce angles.
- Force – you aim to make the opponent score only one when they have the hammer.
- Any aggression – you commit to higher-risk shots when trailing late in the game.

Practice Makes Perfect
To build consistency you should practice deliberately: aim for 2-3 sessions per week of 30-60 minutes, with each session including about 50 focused deliveries and video review to check release and rotation. Track your shot grouping-if your releases vary by more than 1 cm, isolate grip and slide mechanics. Balance on-ice repetition with off-ice strength work to protect joints; overtraining can cause knee and lower-back strain, so schedule rest and mobility routines.
Drills for Improvement
Use targeted drills like hog-to-hog slides (20 reps) to groove delivery, draw-to-button sets of 10 where you aim for 8 of 10 within 6 feet, and weight-control takeout drills with 15 controlled hits. Add sweeping intervals-four 30-second bursts with technique focus-and tempo drills using a metronome at 60-80 BPM to lock in timing. Record before/after videos and compare release angles to measure progress.
Joining a League
Joining a league puts you into real situations quickly: many clubs run 8-10 week sessions with one 8-end game per week, teams of 4, and seasonal bonspiels to enter. Fees typically range $50-$300 depending on club amenities; pick a recreational or novice division so you face appropriately paced competition while applying practice habits under game pressure.
Find leagues through club websites or community centers and start with a beginner clinic or drop-in session-most clubs offer 1-2 monthly clinics. Expect to rotate positions early, bring proper grippers/sliders, and accept a mentor or coach pairing; follow basic etiquette like not crossing the house while the skip is still deciding, which keeps play safe and efficient.
Additional Resources
For deeper learning, tap into official bodies and local clubs: the World Curling Federation and Curling Canada publish rulebooks, coaching guides, and video drills that align with competitive standards; club-run clinics often run as 2-6 hour workshops and let you practice under coach supervision. Note that curling stones weigh 38-44 lb, so prioritize safety when trying new techniques.
Online Tutorials and Courses
You’ll find high-quality, free video libraries from sources like the World Curling Federation, Curling Canada and the Olympic Channel, while paid courses offer structured curricula and coach feedback; many beginner modules are 2-6 hours and include technique breakdowns, live Q&A, and video homework. Beware of unvetted clips that teach unsafe slides or poor sweeping – use official or certified material.
Recommended Reading
Start with the WCF rulebook and national coaching manuals to learn scoring, delivery mechanics, and etiquette; add strategy-focused texts and illustrated technique guides that dissect delivery, sweeping, and shot selection with photos and diagrams for practical reference.
When studying, prioritize chapters on delivery, sweeping mechanics and shot types, then immediately apply concepts in 2-3 practice sessions per week: read a technique section, film your delivery, compare to the illustrations, and make one targeted correction per session. Use the manuals’ drill progressions and checklist-style assessments to track improvements objectively.
FAQ
Q: What basic equipment do I need to start curling?
A: You need four necessarys: a curling stone (usually provided by the rink for beginners), a broom or brush, and footwear with a slider and a gripper. Most clubs rent sliders (a smooth surface for the sliding foot) and grippers (rubber soles for the other foot). Wear layered, warm, flexible clothing and non-restrictive pants so you can lunge and bend. Optional but helpful items are a glove for grip, knee pads for comfort during delivery, and a helmet for absolute beginners or juniors.
Q: What is the basic objective and how are games scored?
A: The objective is to place your team’s stones closer to the button (center of the house) than your opponent’s after all stones in an end are played. Teams alternate delivering eight stones each (four per player in doubles) per end; matches are commonly eight or ten ends. After each end, the team with the stone closest to the button scores one point for every stone that is closer than the opponent’s nearest stone. The team with the most points at the end of play wins. Players must deliver from the hack and release the stone before the near hog line; violations can result in the stone being removed or other penalties under house rules.
Q: How do I perform a safe, repeatable delivery (slide and release)?
A: Start in the hack with your sliding foot on the slider and your other foot on the gripper. Grip the stone by the handle, take a stable stance, and use a smooth push with the hack to start the slide. Keep your body low and balanced, eyes toward the target, and use the broom or your free hand for light balance. Release the stone with a controlled, gentle rotation (typically one to two turns) so it curls predictably; follow through with the handle pointing toward your target. Practice short, controlled deliveries at slow speed before adding power. Focus on consistent foot placement, tempo, and release point so distance and line become repeatable.
Q: What does sweeping do and what are effective sweeping techniques?
A: Sweeping warms and polishes the ice in front of the stone, reducing friction and allowing the stone to travel farther and curl less. Effective technique uses a flat broom head, rapid short strokes, and body weight leaning into the broom to apply consistent pressure. Sweep in front of the stone on the line called by the skip; communicate continuously about whether to sweep harder, softer, or stop. Avoid sweeping too late or in a way that risks touching the stone. Fitness, coordination, and rhythm improve sweeping effectiveness quickly, so practice sprinting short distances and maintaining strong strokes.
Q: How do I get started with practice, find a club, and follow basic curling etiquette and safety?
A: Look for a “learn to curl” clinic at local clubs or community rinks; many offer rental equipment and beginner coaching. Join a novice league or drop-in session to gain on-ice experience with a supportive group. Practice drills include delivery repetition, target draws, and short-range takeouts; focus on consistency before power. Etiquette: stay quiet and still while others deliver, keep brooms and bags off the ice, and wait behind the hack until it’s your turn. Safety: wear appropriate footwear or rentals, use a gripper when off the ice, consider a helmet for new skaters or children, and warm up to avoid strains. Good communication, sportsmanship, and patience accelerate learning and make sessions enjoyable for everyone.