Setup your Spikeball net properly to enhance your gameplay experience and ensure safety. First, ensure a flat, spacious area for optimal performance. Begin by assembling the frame and tightening the net securely to prevent it from sagging during play. Check for any sharp edges on the frame that could pose a risk to you or fellow players. Lastly, confirm that the net is at the correct height for the best competitive play. Follow these steps carefully to enjoy your games fully and safely.
Key Takeaways:
- Ensure the legs of the Spikeball net are fully extended to achieve proper height and stability.
- Secure the net tightly around the rim to prevent it from sagging during play.
- Double-check that the ball can bounce off the net without obstruction for optimal gameplay.
Understanding Spikeball
Overview of Spikeball
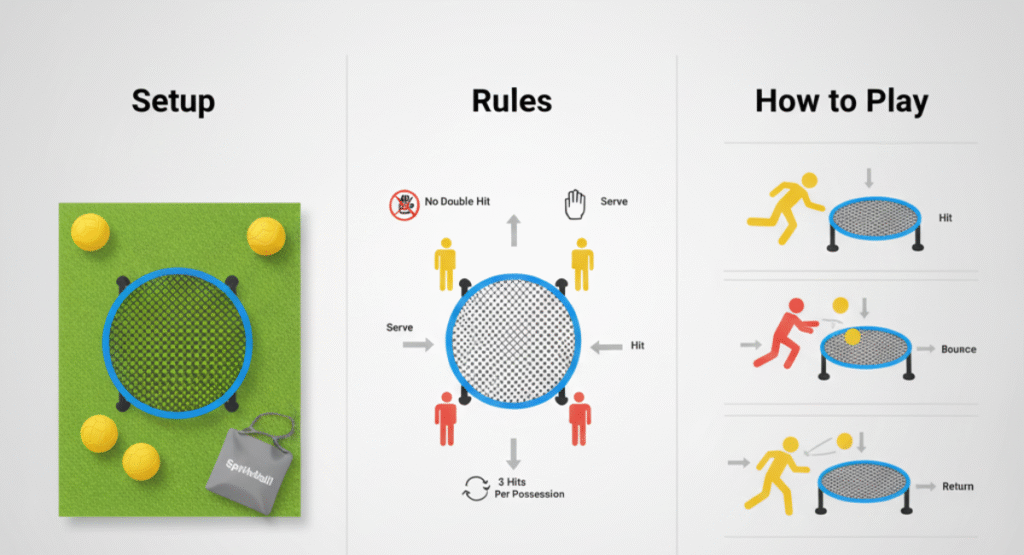
Spikeball is a fast-paced, competitive sport played with a round net and a small ball. Teams of two take turns serving the ball onto the net, making it bounce off in a way that the opposing team must return it. The game emphasizes agility, teamwork, and strategy, as players position themselves to spike the ball or receive it effectively.
Importance of Proper Setup
Establishing your Spikeball net correctly ensures optimal gameplay and minimizes the risk of injuries or damage to equipment. A well-setup net allows for consistent ball bounce and fair play among competitors.
Without proper setup, the dynamics of the game can shift dramatically. For instance, an uneven net may lead to unpredictable ball bounces, frustrating players and detracting from the enjoyment. Setting the net at the correct height and ensuring it is taut contributes to a level playing field, enabling players to showcase their skills effectively.
Equipment Needed for Setup
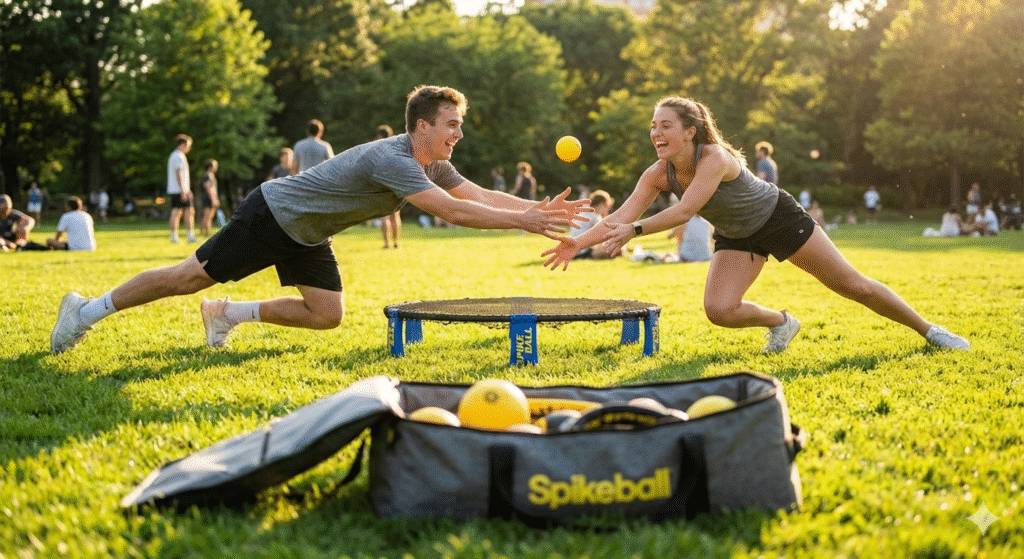
To set up your Spikeball game, you’ll require a Spikeball net set, which includes a round net, a ball, and a carrying bag for convenience. A flat, open playing surface such as grass, sand, or a gym floor is also vital to ensure stability during matches.
Your Spikeball set typically comes with specific instructions and all necessary components; however, it’s advisable to check that the net is free of tears and the ball is properly inflated for the best experience. Venturing onto different surfaces may also require specific adaptations, such as securing the net with stakes on sand for better stability.

Preparing the Playing Area
Choosing the Right Location
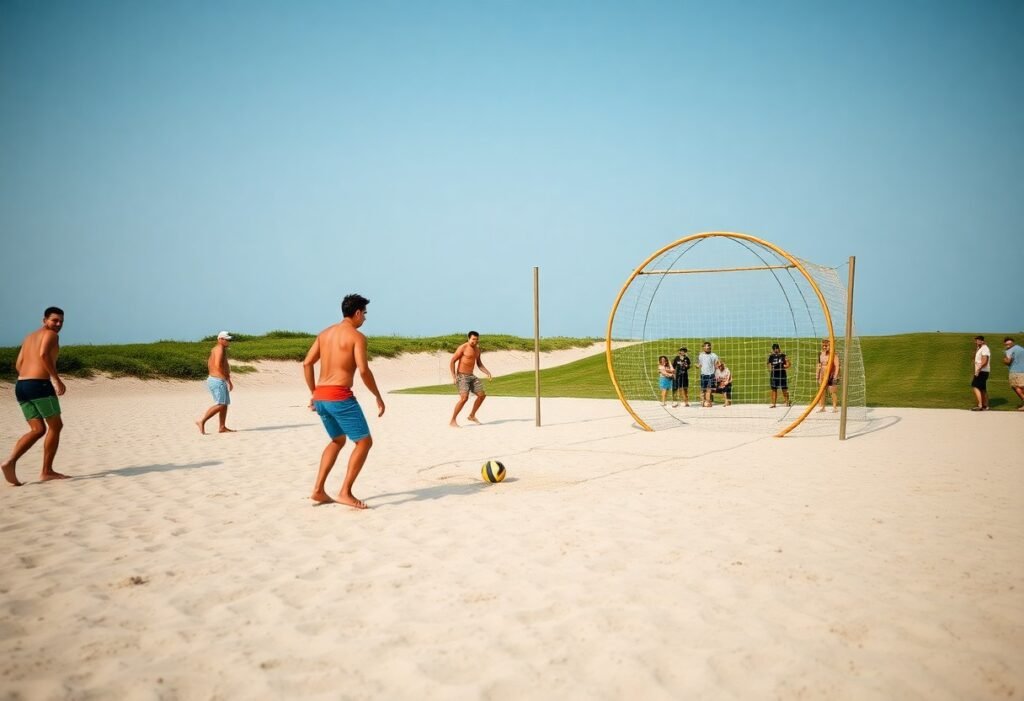
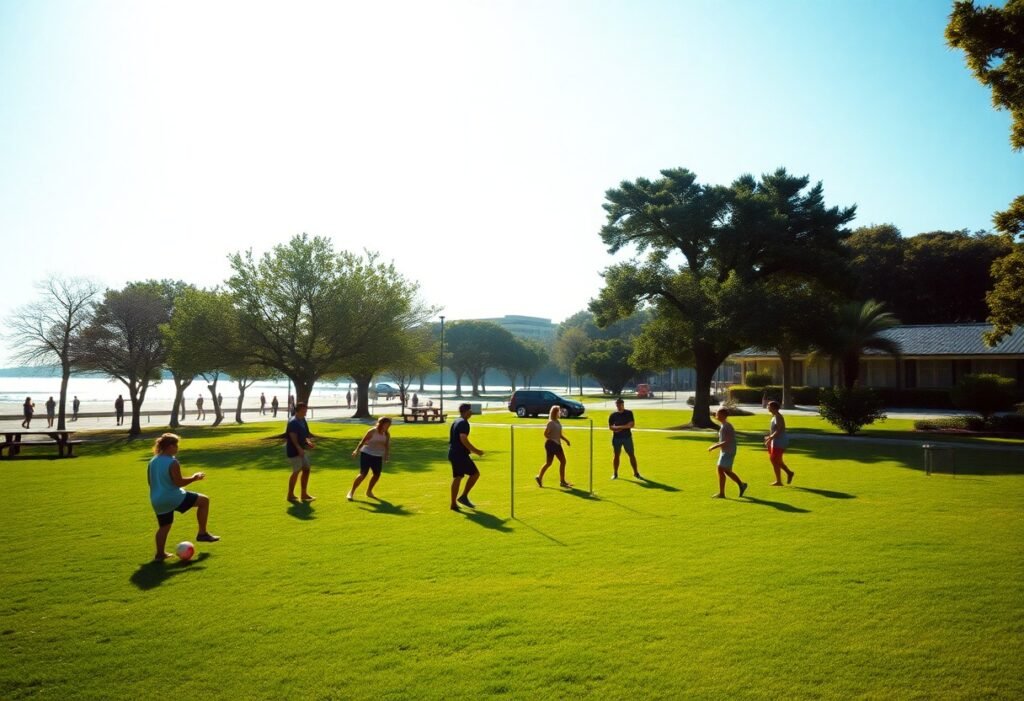
Selecting the ideal location for your Spikeball game involves finding a flat, open area free from obstructions like trees, poles, or rocks. Consider places like parks or open backyards where your game can thrive without distractions. Additionally, ensure the area is private enough for uninterrupted gameplay and to maintain a fun atmosphere without external disturbances.
Ensuring Adequate Space
You need a minimum of 20 feet around the Spikeball net for safe and enjoyable play. This distance allows players to dive safely without running into obstacles. A larger space is preferable as it accommodates running and jumping, enhancing your gameplay experience.
Having adequate space is not just about avoiding obstacles; it’s imperative for player movement and strategy. If you’re too close to boundaries or objects, it hampers your ability to make plays. Ideally, scout out an area where you can maintain at least 20 feet of clearance in all directions, allowing for full-speed action without constraint.
Checking Surface Conditions
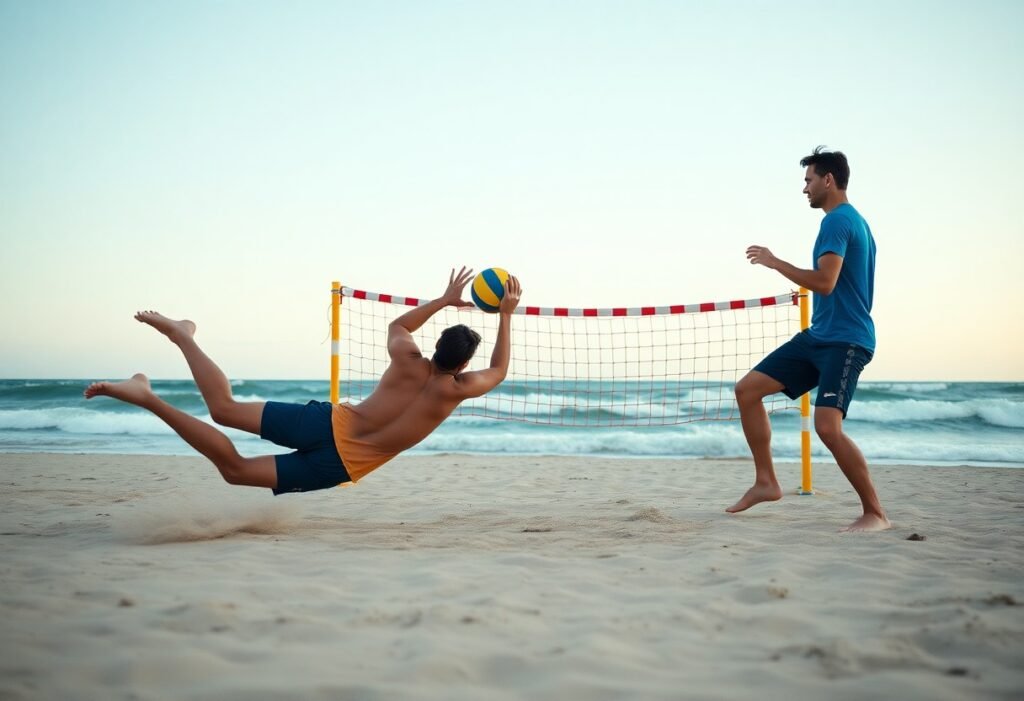
The surface under your Spikeball setup should be even and stable. Grass or sand surfaces generally provide the best traction and reduce the risk of injury. Avoid playing on hard surfaces such as concrete, as they can lead to injuries from falls or slips.
Evaluating surface conditions is vital for both safety and gameplay quality. Grass surfaces allow for softer falls and a natural grip, while sand can cushion dives. Conversely, playing on uneven or rocky terrain can increase the risk of sprained ankles or falls, which can detract from the enjoyment of the game. Always check the ground for stability and smoothness before setting up to ensure a safe environment for all players.

Unpacking Your Spikeball Set
Removing Components from the Box
Carefully lift the lid of the Spikeball box and remove the contents, ensuring not to damage any components. Place all items on a flat surface to prepare for assembly. It’s crucial to handle the pieces gently to avoid any unintentional damage during this initial step.
Identifying All Parts
Upon removing the components, take a moment to identify all parts included in your Spikeball set. You should have the net, ball, legs, and a carrying bag, among other accessories. Familiarizing yourself with each piece will simplify the assembly process.
The Spikeball set typically consists of a round net, a ball, four flexible legs, and a compact carrying bag. The net is the central component, while the legs provide stability during play. The ball is lightweight and designed for optimal bounce. Knowing the function and appearance of each part helps streamline setup, especially when you need to quickly assemble the game for friends or family.
Inspecting for Damage or Issues
Thoroughly inspect each component for any visible damage or defects. Look for broken parts, frayed netting, or any signs that could affect the performance of the net or ball. Early detection of issues can save you time and frustration later on.
During your inspection, check that the net’s edges are intact and the legs are not cracked or warped. If you find any defects, contact customer service for replacements, as using damaged equipment can compromise the gameplay experience and potentially lead to injury. Always ensure everything is in proper working order before you examine the fun of playing Spikeball.
Assembling the Spikeball Net
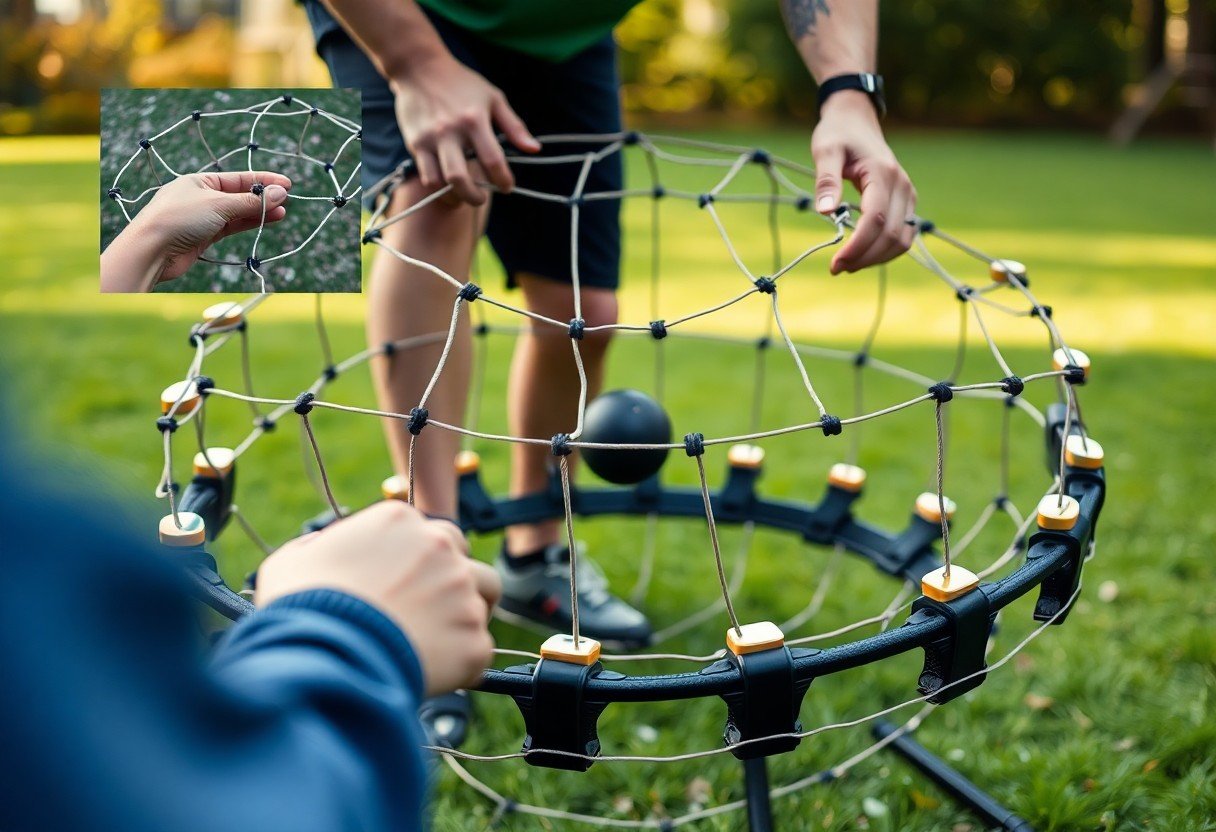
Understanding the Net Components
The Spikeball net consists of several key components: the rim, the net itself, and the legs. Each piece plays a vital role in creating a functional setup. The rim forms the circular structure that supports the net while the legs ensure stability during play. For a comprehensive breakdown of assembly, check out this How To Set Up a Spikeball Net Properly – Pro Guide!.
Connecting the Rim Sections
Begin by connecting the rim sections to form a complete circle. Align the ends of the sections so that they interlock securely. Each connection should create a firm joint, preventing any movement during gameplay. If you notice any loose fittings, take the time to adjust them for a solid structure.
When connecting rim sections, make sure each segment clicks into place; this ensures no gaps exist, which might compromise the game’s integrity. It’s beneficial to inspect all connections visually and physically to verify they are tight. This attention to detail is crucial for maintaining an enjoyable playing experience and can prevent issues during matches.
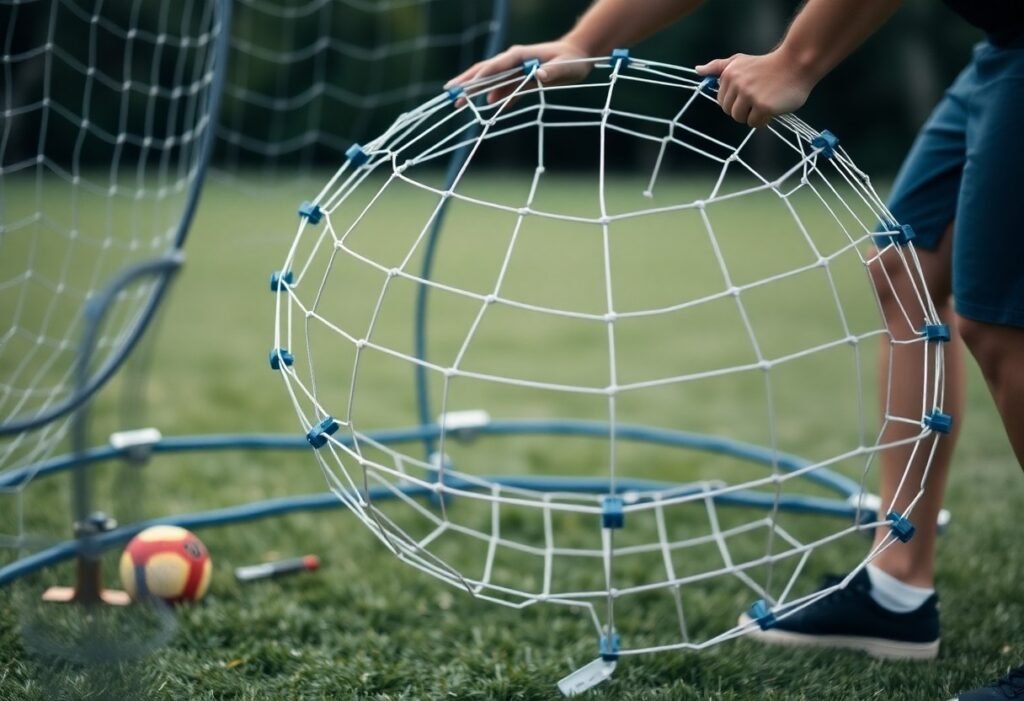
Attaching the Net to the Rim
Once the rim is assembled, the next step is to attach the net. Begin by placing the net over the rim and securing it with the built-in clips or hooks. Ensure the net is evenly distributed along the rim, allowing for balanced tension.
Importance of Proper Net Height
Ensuring your Spikeball net is at the correct height, typically 36 inches for standard play, is necessary for fair gameplay. It guarantees that all players experience the same challenge, allowing for a more engaging and competitive environment. An improperly adjusted net can lead to frequent misses, unfair advantages, and ultimately frustrating gameplay.
How to Adjust the Net
To adjust the net, begin by locating the tension strap attached to the rim. By pulling the strap taut and securing it, you can increase the net’s height. For a lower net, gently release the tension to allow the net to sag slightly. It’s a straightforward process that helps tailor the game to your preference.
Make sure to adjust both sides evenly for precise height. The net’s tension should feel uniform when you press down on it. It often helps to use a measuring tape to confirm you’re at the desired 36 inches. After adjustments, give the net a light shake to check its stability and ensure it remains in place during play.
Verifying Height Consistency
After adjusting the net, consistency in height across the entire surface is vital. Inconsistent height can lead to unfair play where some shots may bounce higher or lower than expected, disrupting the flow of the game.
To verify height consistency, check multiple points around the net, ideally every few feet. Use a level or measuring tape to confirm that all points are at the same height. If discrepancies occur, make the necessary adjustments to ensure the net is uniformly level, promoting a better gaming experience for everyone involved.
Final Setup Checks
Ensuring Stability of the Setup
Verify that your Spikeball net is firmly anchored to prevent any movement during gameplay. Check that each leg of the base is securely extended and sits evenly on the ground. If you’re on uneven terrain, adjust the legs accordingly to achieve a level setup, increasing the chances of an uninterrupted game.
Double-Checking Net Tightness
Make sure the net is taut before starting to play. A loose net can drastically affect ball bounce and gameplay dynamics, leading to uneven play. Check that the elastic bands and hooks are properly secured and tight enough to offer the right tension.
A well-stretched net contributes significantly to the game’s quality. Test the net by lightly pushing down on the center; it should have a slight give, but not sag noticeably. Ensure the edges are also tight to prevent the ball from slipping under rather than bouncing off, ensuring a fair play experience.
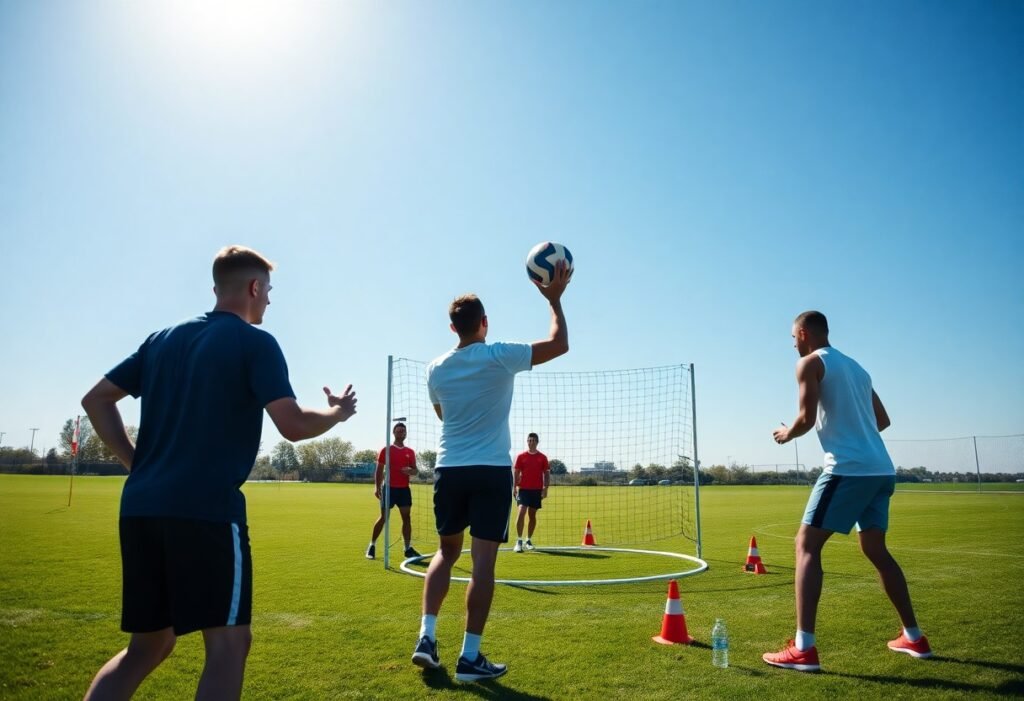
Confirming Playing Area Readiness
Inspect the surrounding area for obstacles and assure plenty of space around your setup. A clear, flat area enhances safety and allows for optimal movement and ball play without interruptions from nearby objects.
Take note of any potential hazards, such as rocks, tree roots, or sharp objects, that could lead to injuries or damage your equipment. Ideally, a 10-foot clearance around the Spikeball net is ideal, allowing you to run freely and play without worry. Safety first ensures an enjoyable game for everyone involved.
Summing up
Now that you have followed these step-by-step instructions for setting up your Spikeball net, you should be ready to enjoy a game with friends or family. Ensure that your net is firm and the tension is appropriate to enhance your gameplay experience. Properly set up, your Spikeball equipment will provide hours of entertainment and competition. Embrace the challenge and have fun while playing!
FAQ
Q: What is the first step in setting up a Spikeball net?
A: Begin by removing the Spikeball net and legs from the carrying bag. Unfold the legs and ensure they are fully extended to form a sturdy base.
Q: How do I attach the net to the frame?
A: Take the net and locate the four loops at each corner. Insert the metal pegs through these loops. Ensure the net is taut and adjust if necessary for an even setup.
Q: How do I adjust the tension of the Spikeball net?
A: To adjust the tension, pull the net firmly in the center. Ensure that the net is level and parallel to the ground. Loosen or tighten the pegs as needed to achieve the desired tension.
Q: What should I do if the net is sagging?
A: If the net is sagging, check the peg inserts to ensure they are fully engaged. Re-tighten the pegs or adjust the net’s tension at each corner to restore the appropriate height and tightness.
Q: How can I secure the Spikeball net during windy conditions?
A: To secure the net in windy conditions, place weights around the base, such as sandbags or spike bags. Alternatively, you can stake the legs into the ground if you are playing in a suitable area.